
")
By Amanda Sabo
Hello All!
 Today’s laser engraver art blog post is geared to those of you who are already certified to use the laser engraver. For those of you who haven’t been able to get certified because of the COVID closure and our limited services, I hear your frustration! The Ignite staff are working out the best way to get you safely certified. Until then, let this post serve as inspiration for future possibilities.
Sydney taught us about contour drawing in her post “Getting Started with Plein Air: Drawing.” To entertain ourselves during the stay-at-home order, my husband and I took it a step further and decided to make blind contour drawing portraits of each other. To do a blind contour drawing, you draw without looking at the paper and without lifting your writing utensil from the paper. We put on a timer and stared at each other for a few minutes, trying to get the essence of the other person onto the paper. I really loved how they turned out. To my eye, they look Picasso-esque.
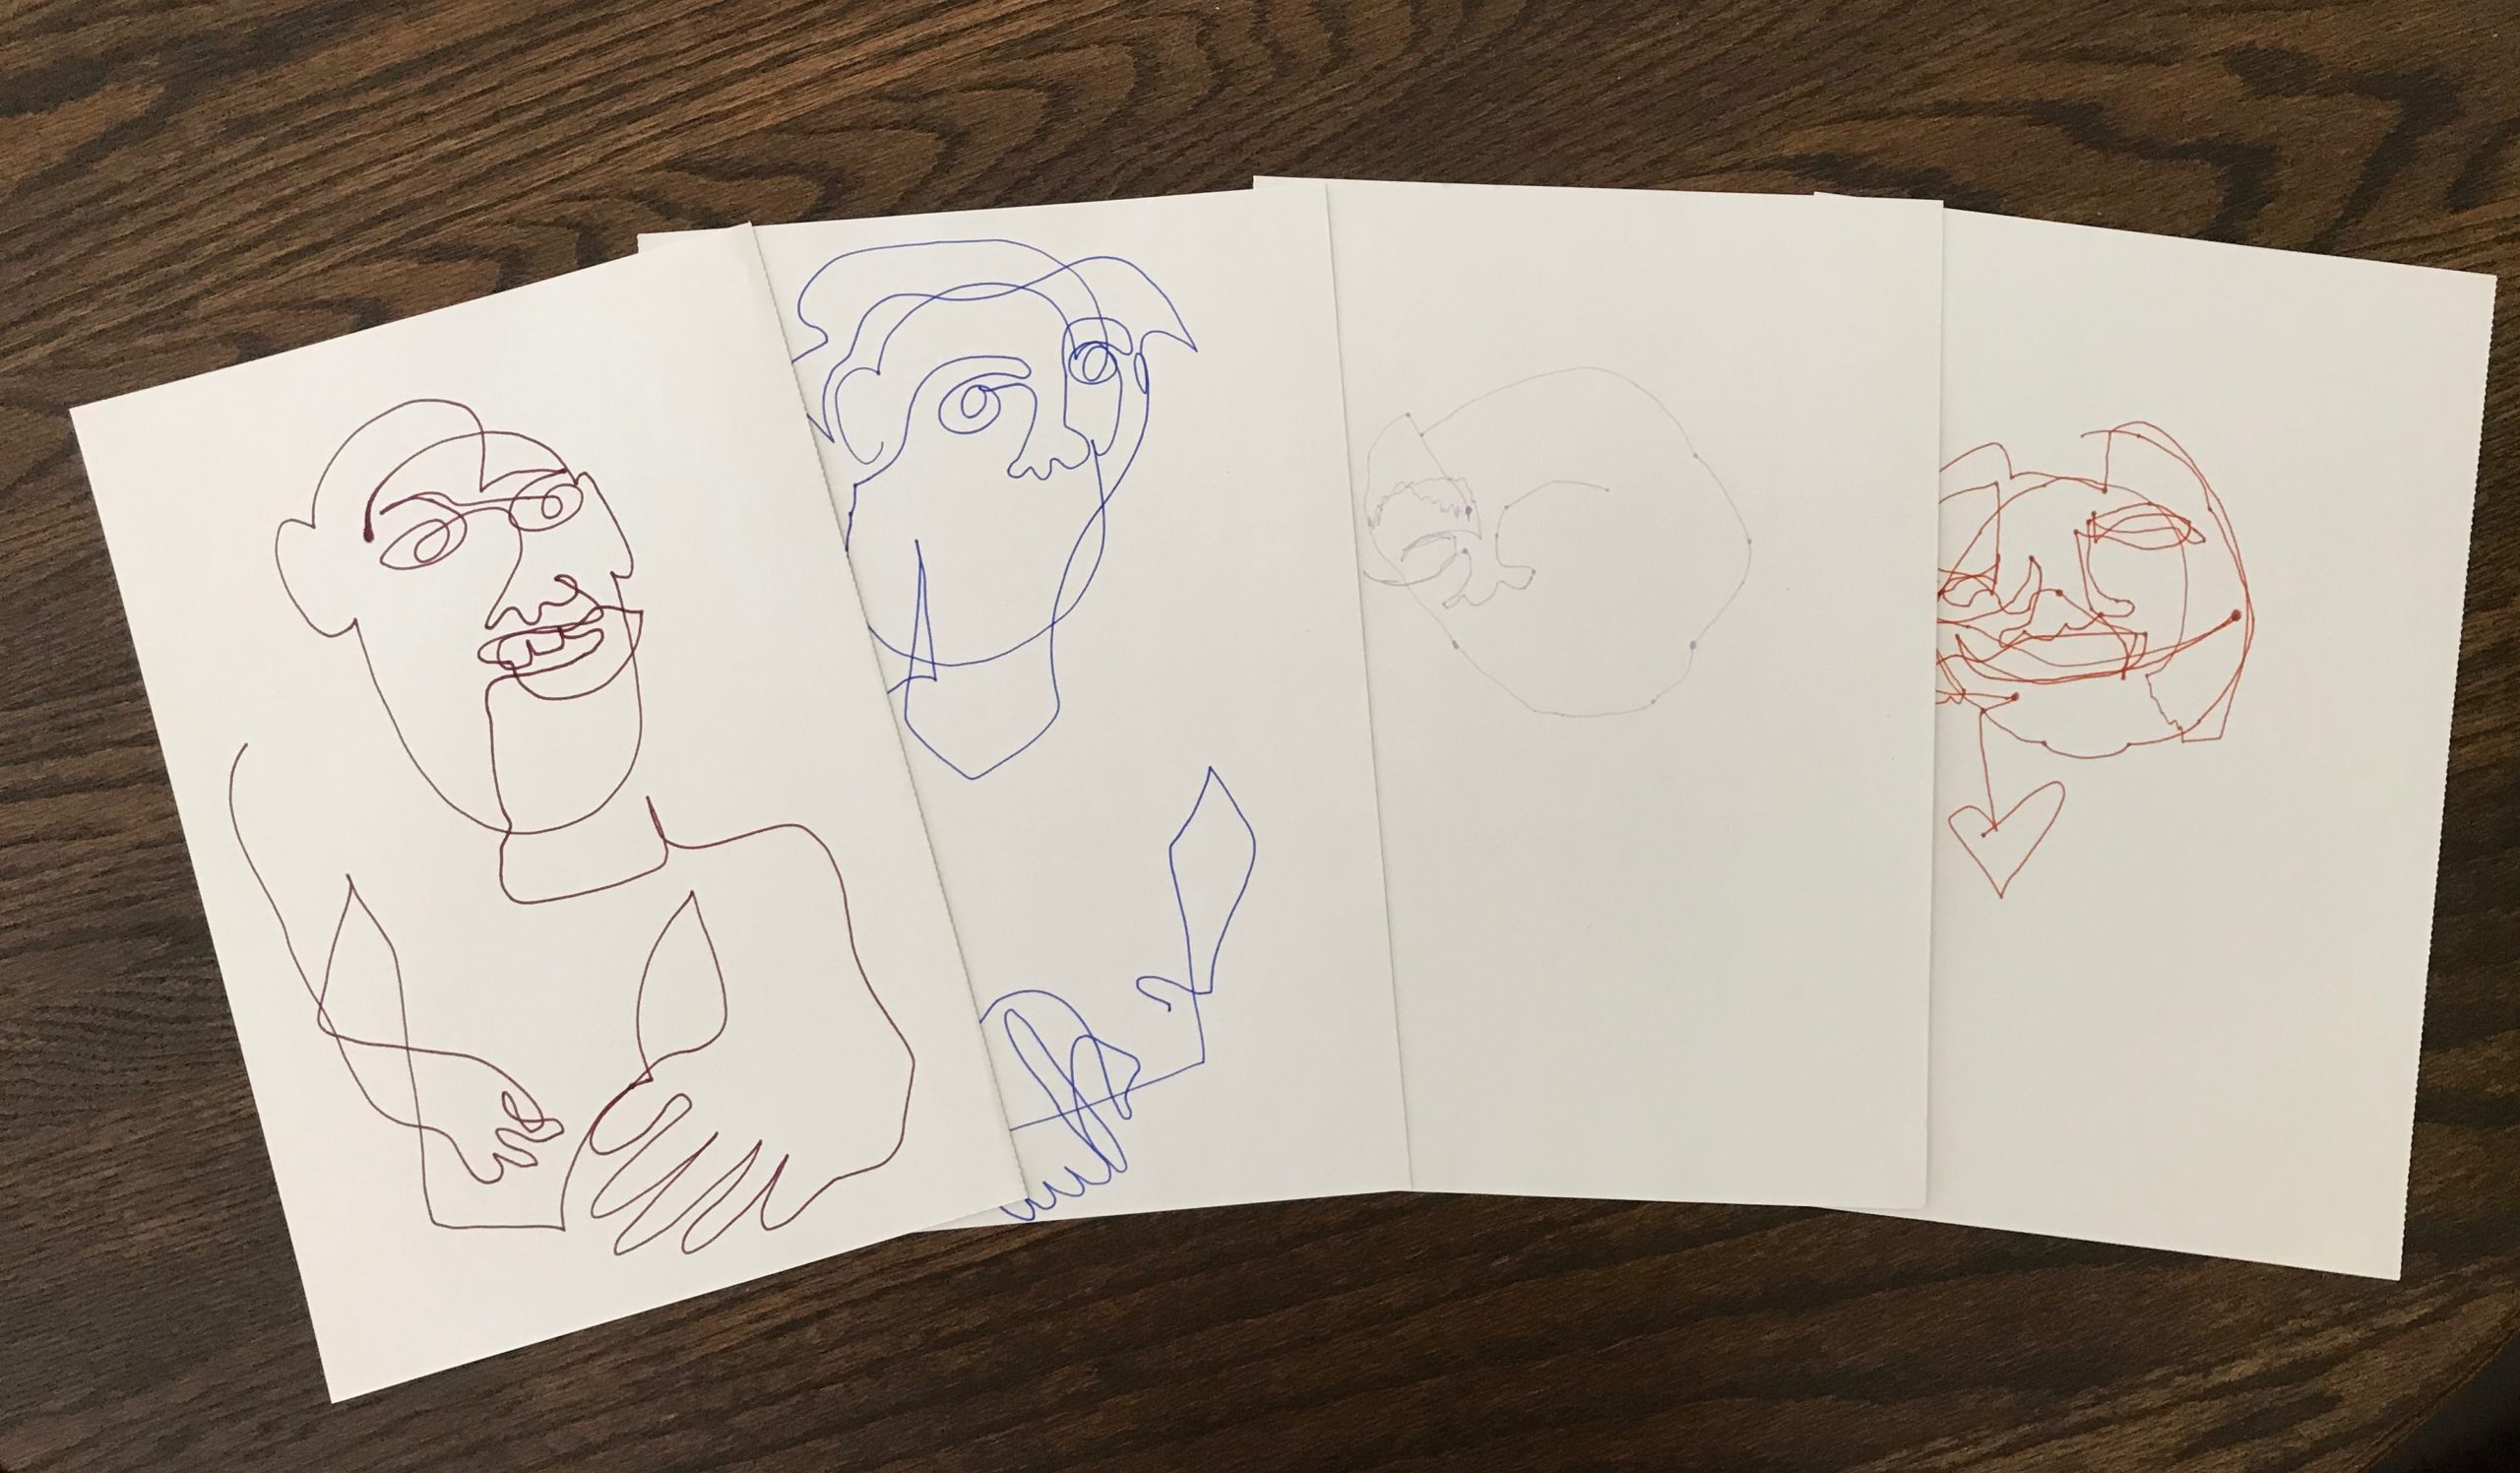
Blind Contour Line Drawings
We made these cool drawings on a whim, but what do we do with them now? They stayed in a pile on my desk for several weeks, until inspiration hit, and I decided to turn them into laser engraver art.
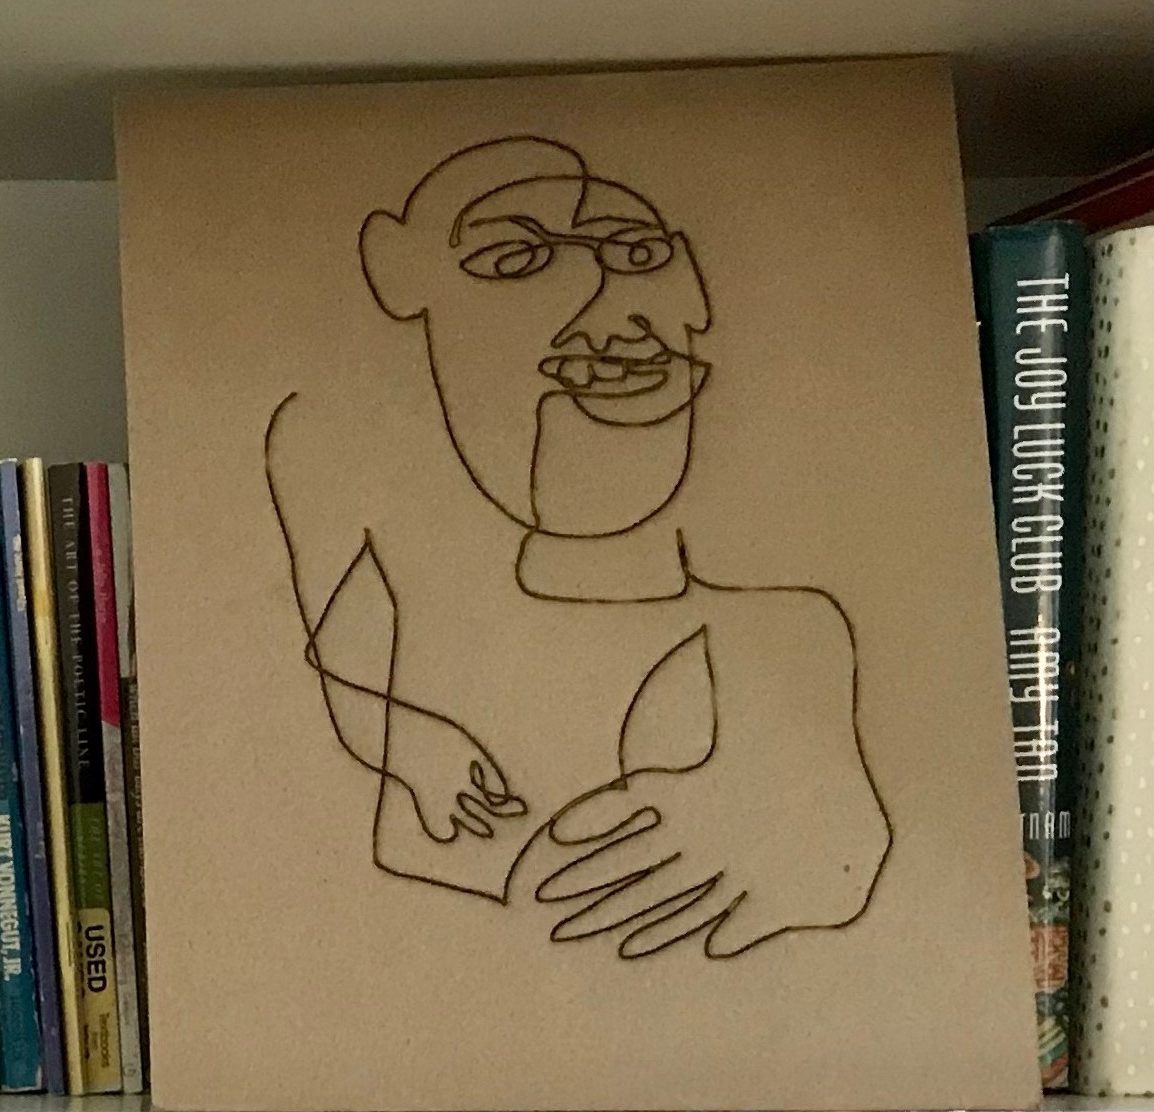
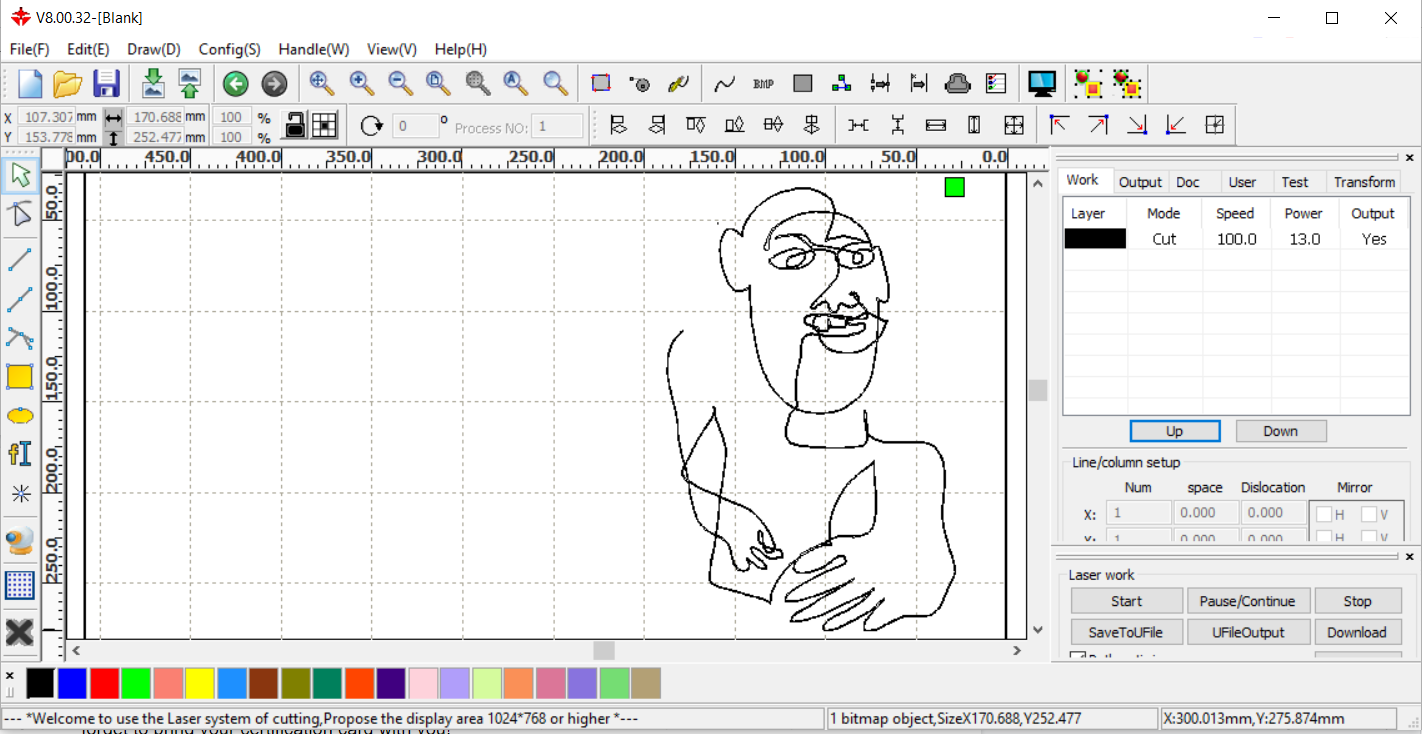
Laser Engraver Contour Line Drawing
First I scanned my drawing. Since most people don’t have a scanner, try taking a picture of it on your phone. You’ll be a step ahead since it’ll save as a .jpg. My scanned image saved as a .pdf so I had to convert it using one of Ignite’s Digital Media Labs. I imported the .pdf into Photoshop and saved it as a .jpg.
Next, open RDWorks. RDWorks is a Windows-compatible, free software that you can download onto your home computer. (Click here to download.)
Once you’re in RDWorks, open a new page and locate your .jpg using the import feature.
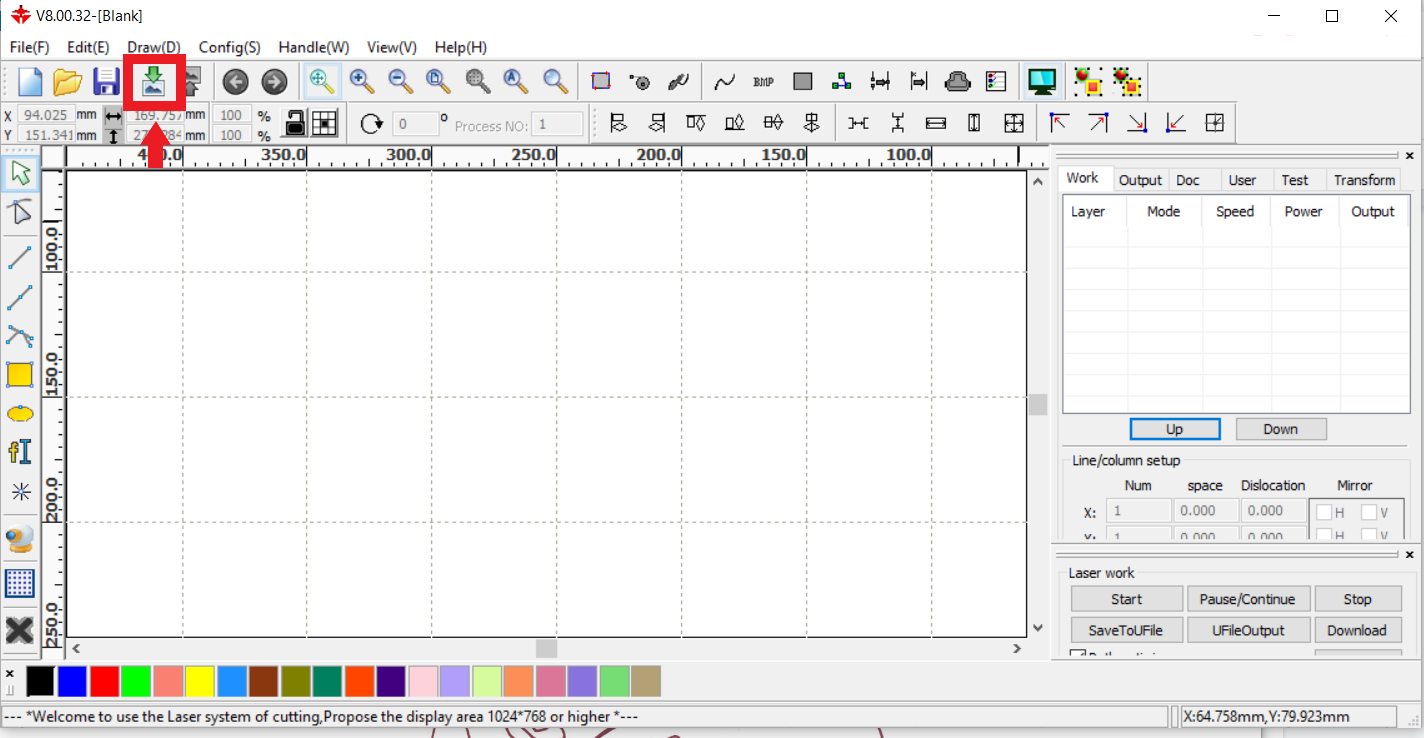
Import Button
From here, you have two options. You can engrave your drawing (using scan), which can be time consuming, or you can change your image to a Bitmap and use the cut option. When you engrave, the machine goes back and forth, left to right, from the top to the bottom of the image. When you use cut, the machine follows the path of your design, which is faster because the machine has a lot less traveling to do.
To use Bitmap and cut, you will select your image then click the Bitmap icon in the toolbar.
Bitmap Icon
A new window will appear, and you will select “get outline” and “apply to view.”
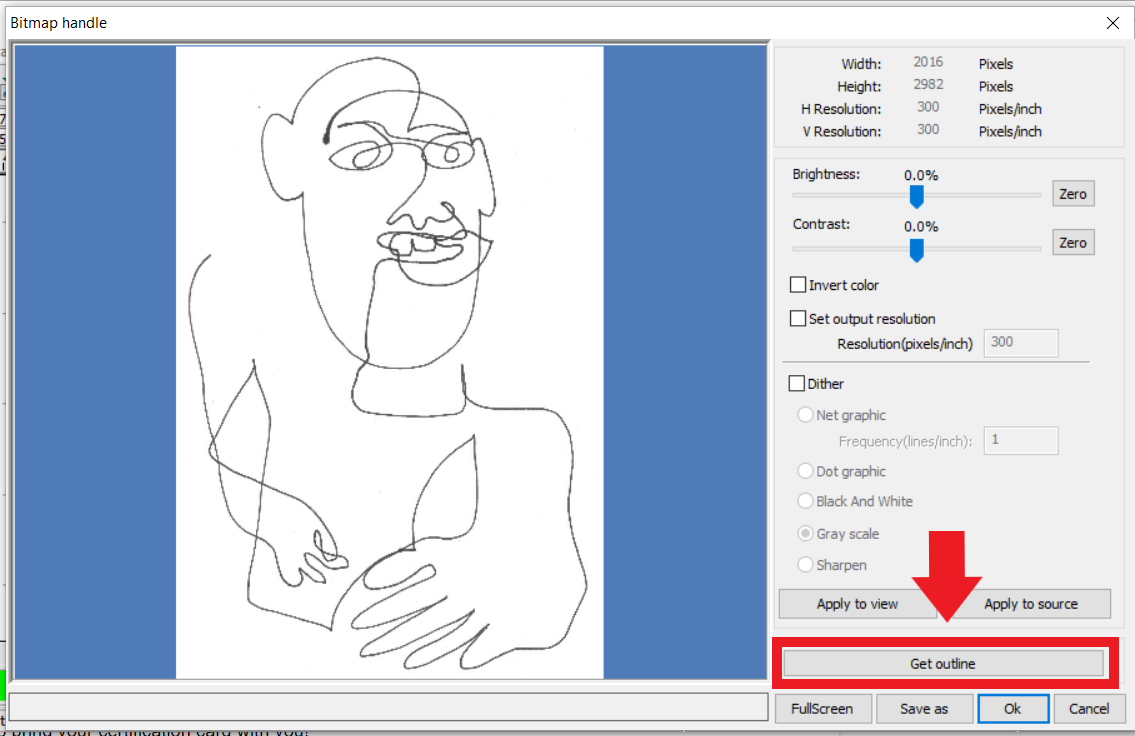
Get Outline

Select Apply to View
Next, click on your image. You will see the outline appear directly on top of it. You now want to delete your original .jpg so that you only have the Bitmap. You’ll know that you’re deleting the .jpg because the box around the image will turn red when selected.
Outline Complete and .jpg Deleted
To keep this project cost-effective, I chose to use the mat-board backing off of a sketchbook. It’s a thin, cardboard-like material that is also sturdy. You could use the back of an old notebook. With my material in mind, I set my cut speed to 110 and my cut power to 14.
That’s it! Your project is ready to download into the laser engraver.
Now it’s time to make your reservation for the laser engraver. Call us at 317.579.0331. Don’t forget to bring your certification card with you!
