

by Sydney Brink
Doing a relief-cut print in multiple colors is a great way to make your print more visually interesting! This is something you can do with the relief cut kit in Ignite’s kit library. Read on to find out why and how to do multi-color relief cut prints!
About Multi-Color Relief Cut Prints
Often when making a multi-colored relief cut print, artists will use the same block and plan out how to do multiple colors on the same printing block. They will usually work lightest to darkest, carving out the areas they want to remain either white or their lightest color first. They’ll do an edition of how ever many prints they want from this one design or block, then move on to carving out the next lightest color on the same block. This is called a “reduction” print. Because of the nature of the carving, the printer eventually ruins the block. This results in an extremely limited number of prints with little room for error on the part of the printer.
Doing multicolor prints on separate blocks certainly isn’t less work than creating a reduction print, but it does widen the margin for error. It also makes the printing process a little less high stakes, since the process is less dependent on getting each cut right. Typically for reduction prints, the block is destroyed either through the carving process to achieve the desired print colors, or by the artist afterwards to ensure their edition of prints they made with it retains its value. Using multiple different blocks will also let you reprint your image, which can be valuable for people making hand-printed goods instead of artist’s prints.
How to Make Multi-Color Relief Cut Prints
Step 1
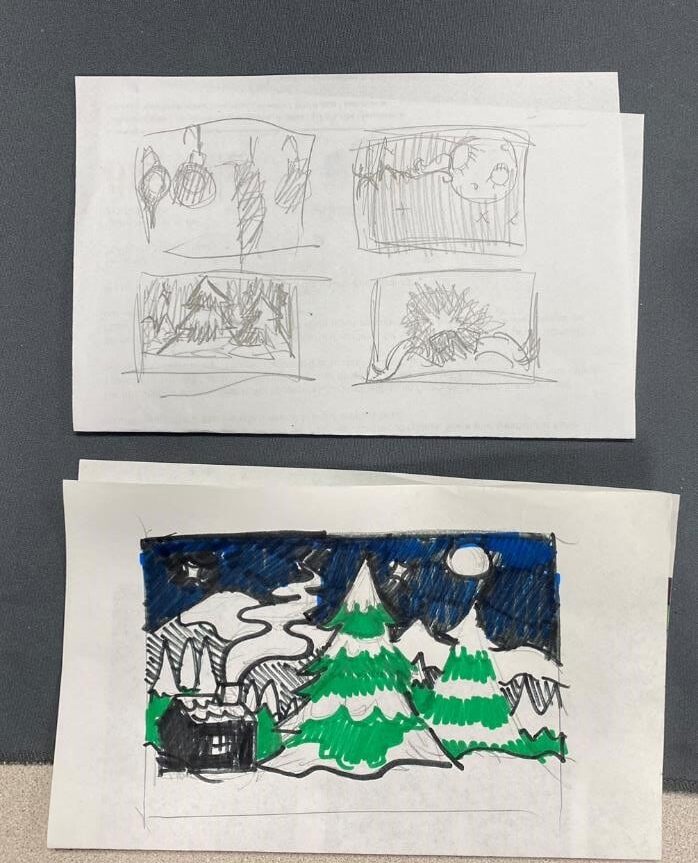
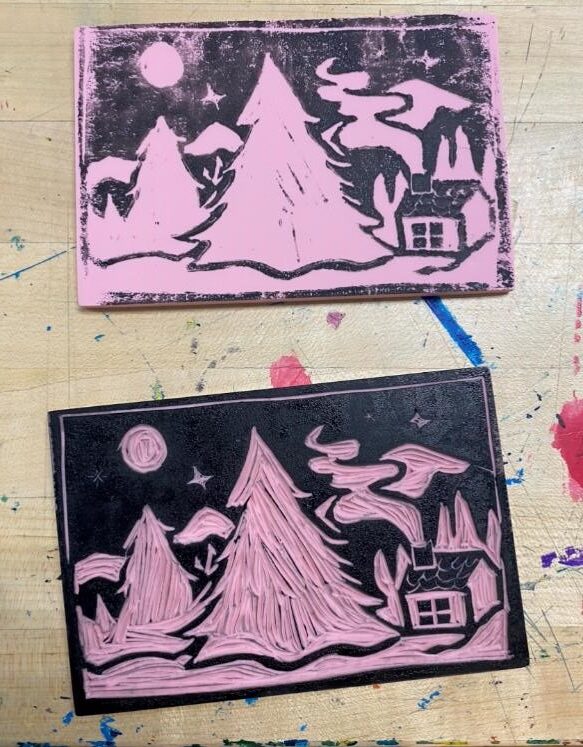
It will still take some planning before you start. Make sure you have a game plan for your designs, colors and how many blocks it’ll take to make your print before you start. I decided that I wanted a two-color print: black for my lines and background, and green for the trees underneath the snow.
Step 2
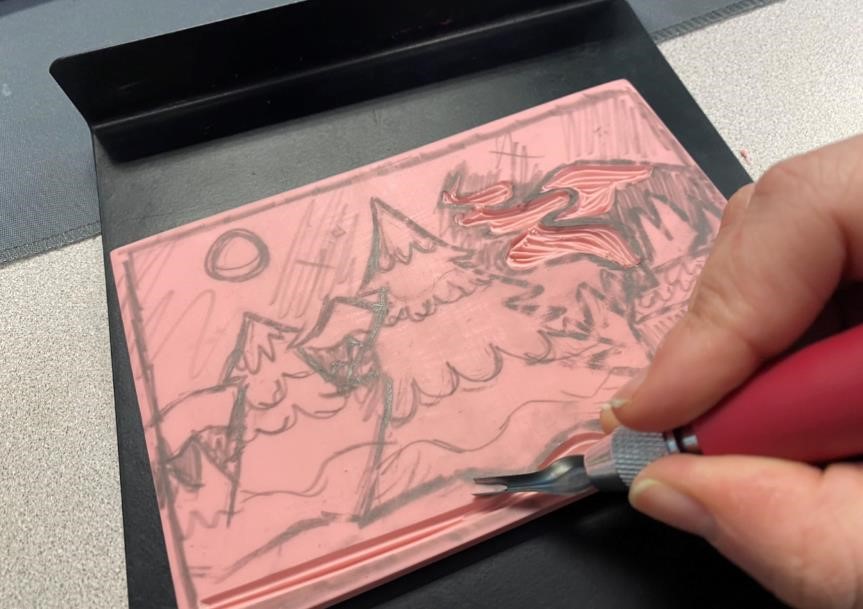
Start your carving! If you need some tips, you can check out my previous blog on relief cut prints. I started by doing my black layer first. It’s design is larger, and it would give me a better idea of where to map out the second block.
Step 3
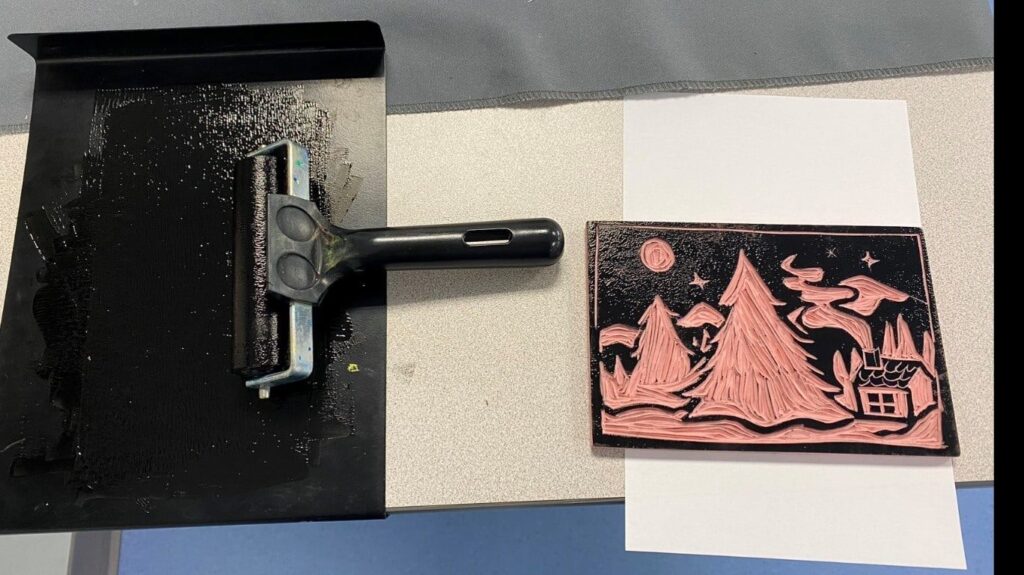
Once you’re done with the first block, ink it up with a liquid-y coat of acrylic paint or printing ink.
Step 4
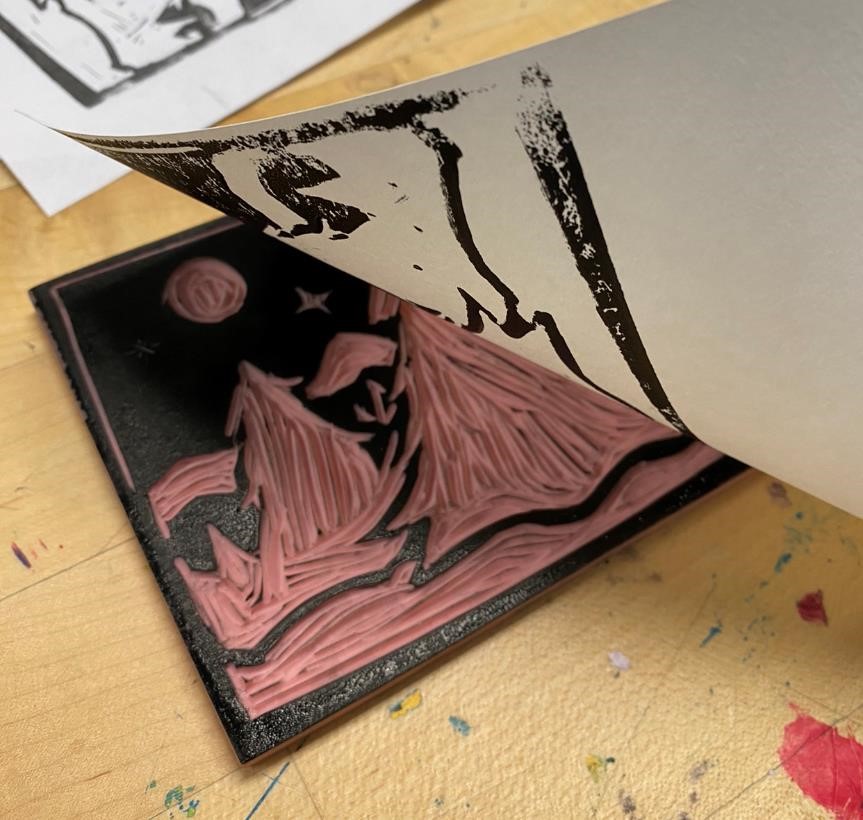
Using scrap paper, pull a first print.
Step 5
While the paper is still wet, apply it face-down to the second block.
Step 6
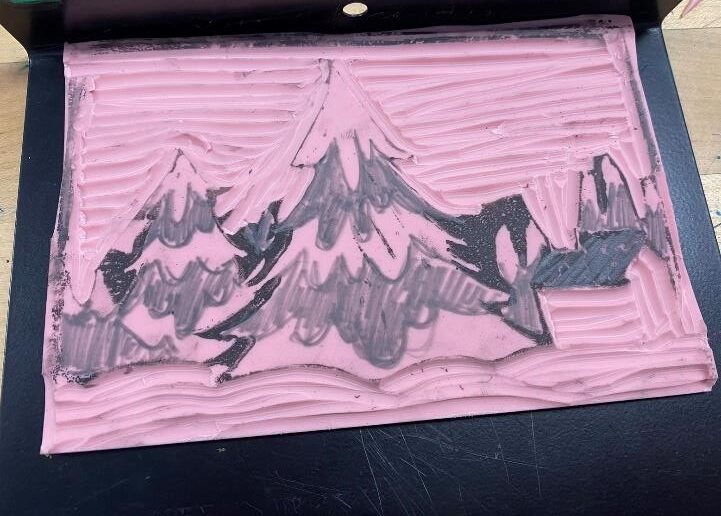
Now you have some guidelines on where to cut for the second color! I started trimming away the parts I didn’t want to be green. And I marked out the areas I wanted to keep in pencil.
Step 7
And finished carving my second block! Repeat steps 3-6 for how ever many colors you want in your print.

Step 8
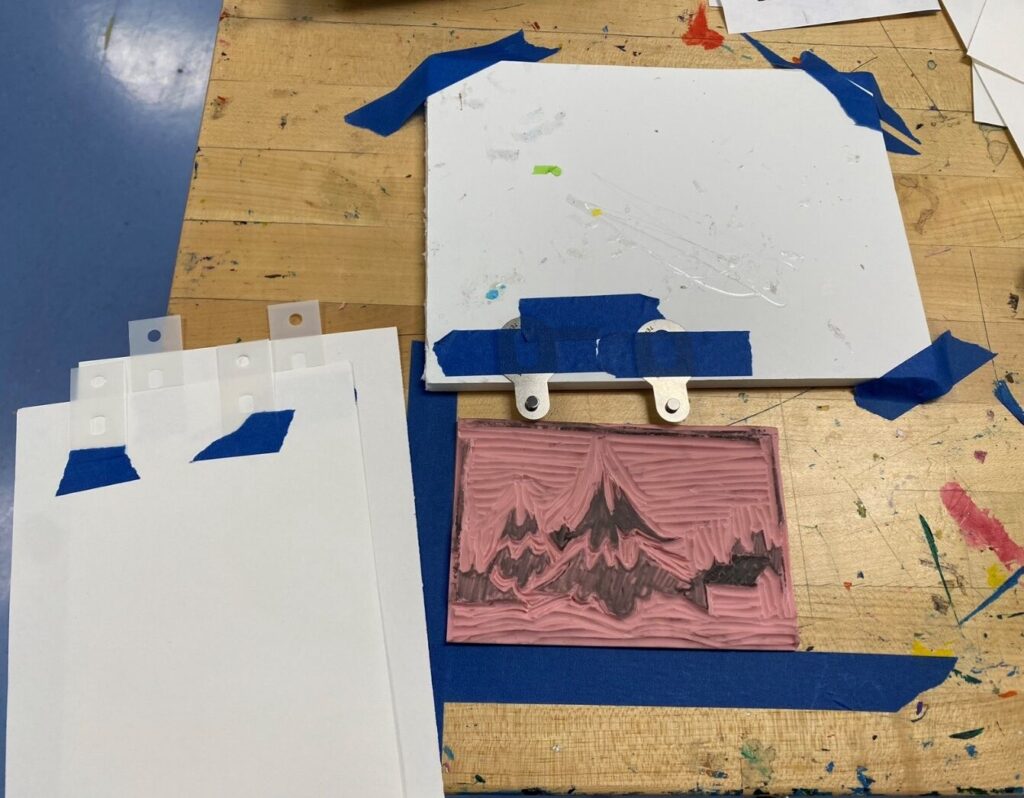
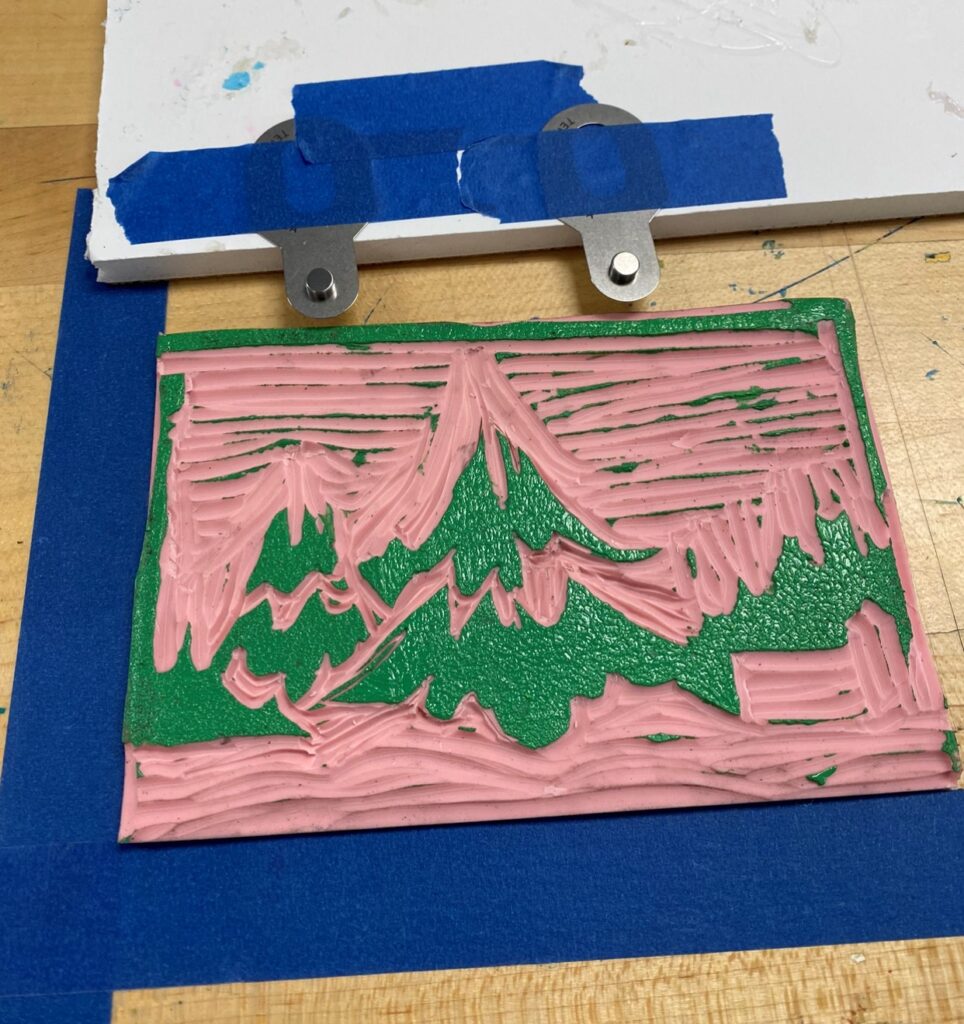
You’ll need to make a registration system for your prints. This will ensure that your different colors are all aligned. I recommend using the Ternes-Burton registration pins and tabs available in the relief cut printmaking kit in Ignite’s kit library. (If you’re interested in learning more about this or want to watch a video demonstrating how to get stared, I recommend this short video) I marked out an area for the carved block using blue masking tape, and taped down the silver registration pins above the block.
Step 9
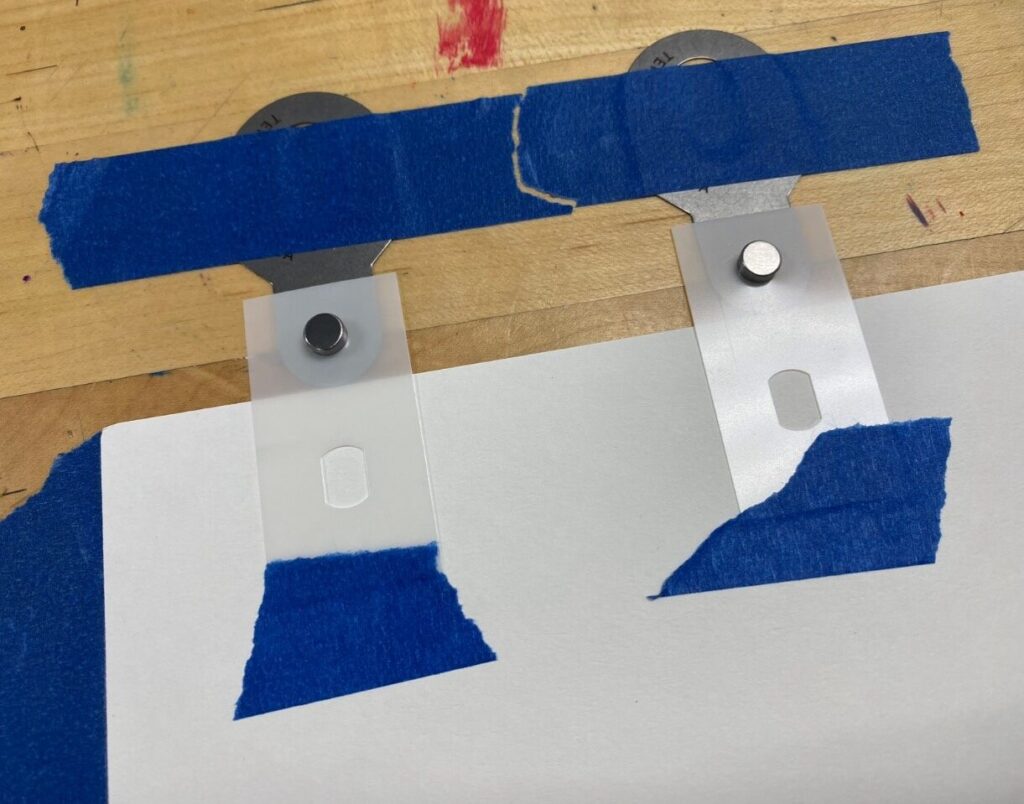
Then, lining up the circular hole on the pin, I taped the plastic tabs to the back of all of the papers I planned to print on. This ensures that the paper and the block are always lined up.
Step 10
Starting with the lightest color, you can ink your block and pull prints. I started with green on mine.
Step 11
Once the first layer dries, you can move on to the next block. I made sure my block was in the exact same position as the last one, then inked the block and applied the circular hole of the tabs to the pins to line up the paper in the exact same place as the first color.
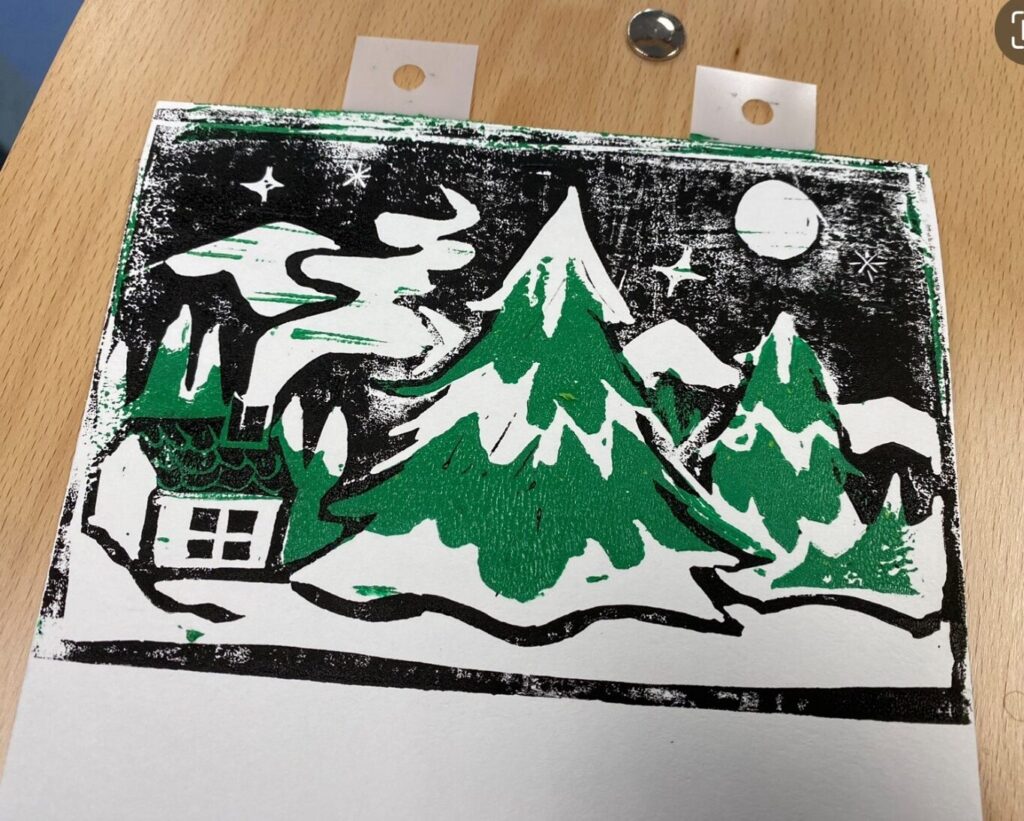
Step 12
Then pull your print! Rinse and repeat until you have as many colors on as many prints as you want.
I’ll be cleaning up these blocks and using this image for holiday cards ! Does this give you any ideas on how you’d like to Ignite Studio’s relief cut kit? Let us know on Facebook in the Ignite Community Discussion Board. Happy making!
