by Sydney Brink
I love relief cut printmaking. It shares similar ground with relief carving in the way you have to handle material. As a person with a background in sculpture, carving like this makes a great segue into the world of printmaking. Despite how much I love it, there’s still an awful lot of troubleshooting to do. So I compiled a list of the little extra things I do in my workflow that might help you out in yours. Read on for a complete guide to troubleshooting tips for relief cut printmaking.
Troubleshooting Tips for Relief Cut Printmaking
If you read or watched instructions on how to do relief cut, and are still a little mystified on certain aspects, here’s some tips and tricks to help you on your way to making a relief cut print:
Tip 1: Use carbon paper to get your design onto the cutting surface.

Make a sketch or drawing of what you want your carved design to be on scrap paper. Then ask Ignite staff for a piece of carbon paper and put it face-down on your carving surface underneath your sketched artwork. You can trace the lines of your sketch with a pencil or pen and the carbon paper will leave your mark on the carving surface, meaning less guesswork for you! Remember that the printing process will leave you with a reversed version of your carving, so mirror any text or images before transferring your design to the carving surface.

Tip 2: Use a sharpie to define your lines.
Use a Sharpie to go over your pencil lines. If you color in everywhere you want ink to be in the final print with the marker, you’ll have an easier time deciphering your lines when carving.

Tip 3: Warm your linoleum.
There are many different surfaces you can use to make a relief cut print, from rubber and linoleum to wood and plywood. Legends I’ve heard from other printmakers over the years say that the “battleship gray” linoleum you can find in Ignite’s printmaking kit is called so because during World War II the art world suffered material shortages much like the rest of the country. And linoleum went to be used for battleship decks instead of being available to artists. During the war, linocut could only be done on scrap linoleum from dismantled battleships, hence the legacy name!
Whether or not this is true is up to a printmaking historian to tell, but this burlap-backed linoleum is one of the most popular carving surfaces for modern printmakers. However, it can be quite brittle and hard to carve, which might frustrate first-time users. I highly recommend warming your linoleum before beginning and throughout the carving process. Giving it a quick blast from a hairdryer or a heat gun can soften the material and make for easy carving.
Tip 4: Test your stamp with an ink pad.
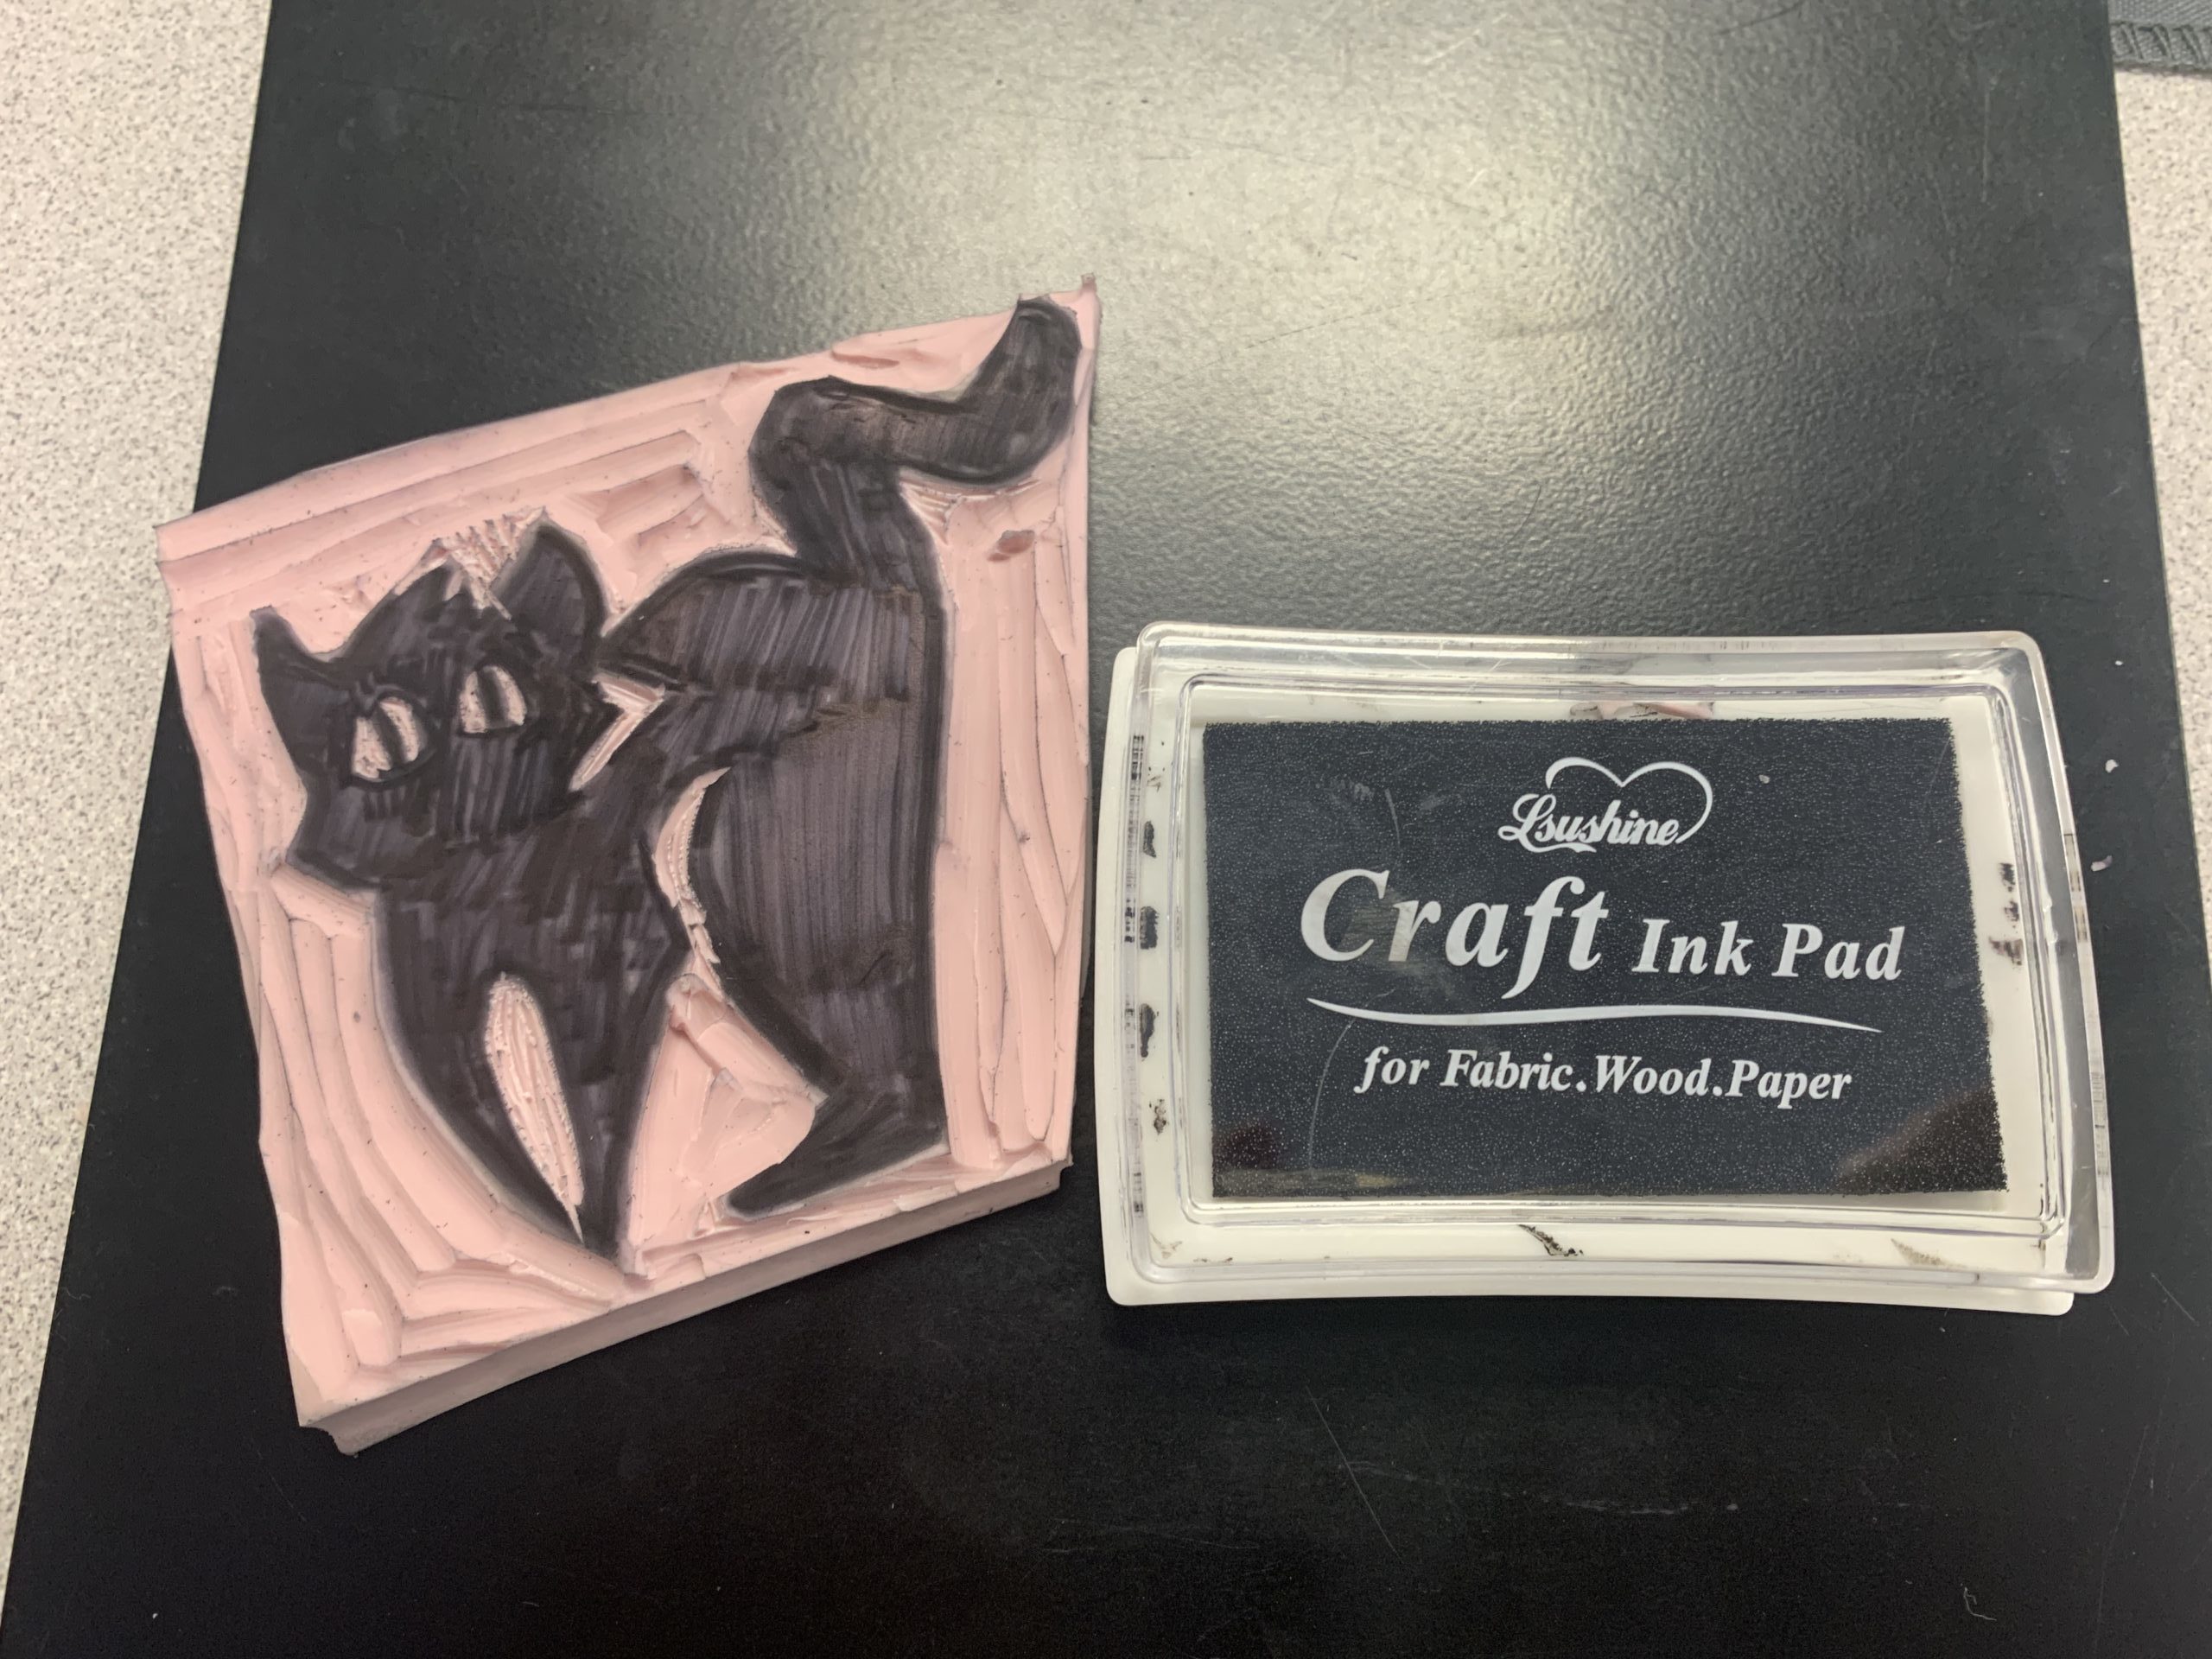
If you’re unsure about how to continue carving or think you’re done, you can use a craft ink pad to put it to the test. Pat your carving onto the ink pad and stamp a piece of scrap paper to see a preview of what your final print will look like. Then wipe your carving off and modify it as desired. This is a good technique for perfecting your lines without wasting printmaking ink and creating unnecessary clean-up.

Here’s a before and after of testing my carving out with this method. It’s hard to tell, but I got to make modifications that made me much happier with my final result!

Tip 5: Rolling the ink out.
Getting the consistency of the ink on the brayer is important to pulling a good print. When I was just learning how to ink up a block, a teacher told me that the ink spread out with your brayer should have the same texture as a wall does when you apply a fresh coat of paint with a soft roller. This is kind of abstract if you’ve never painted a wall before, but it should look kind of textured and fuzzy. If the ink is pooling, rippling, or dripping, then you’re definitely using too much ink! This is one of those art things that just takes practice to recognize, but Ignite has plenty of scrap paper to practice on.
Tip 6: Set your ink with heat.
Most printing inks (including the ones you’ll get in the kit at Ignite) will need to be heat-set if you’re using them on fabric (like tea towels, aprons, or clothing). Let your items touch-dry first, which may take 24 to 48 hours depending on the humidity of where you leave your items. Then you can bring them back to Ignite to use our heat press to set your ink – 320 F for at least 40 seconds.

I hope these tips help you on your way to making successful prints! Share what you make or ask for help in Ignite’s Facebook group. Happy making!


