

by Jared Hart
Introducing the new Alcohol Inks Kit in Ignite! Alcohol inks are known for their fast-drying, highly pigmented, qualities and are typically used on non-porous surfaces. Alcohol inks can be very unpredictable, so when first getting started it might be best if you don’t have much of a plan. Just explore and make decisions as you go. Remember to have fun and experiment.
What’s In the new Alcohol Inks Kit in Ignite
Inside your kit, you’ll find:
- a tub full of various colors of alcohol inks
- a couple folders of papers
- a book if you’d like to read more about alcohol inks
Here are some supplementary supplies you can find in our clean-up area that you may like to use with your kit:
- Gloves
- Apron
- Straws
If you’d like to use a hair dryer, you can find one on our tool wall.
Preparing Your Workspace
Grab one or two sheets from the scrap paper folder and lay them out (white side up). This will help you see the inks you are placing, as well as protect your work surface from any stray ink splatters. Place a sheet of clear acetate on top of your scrap paper.
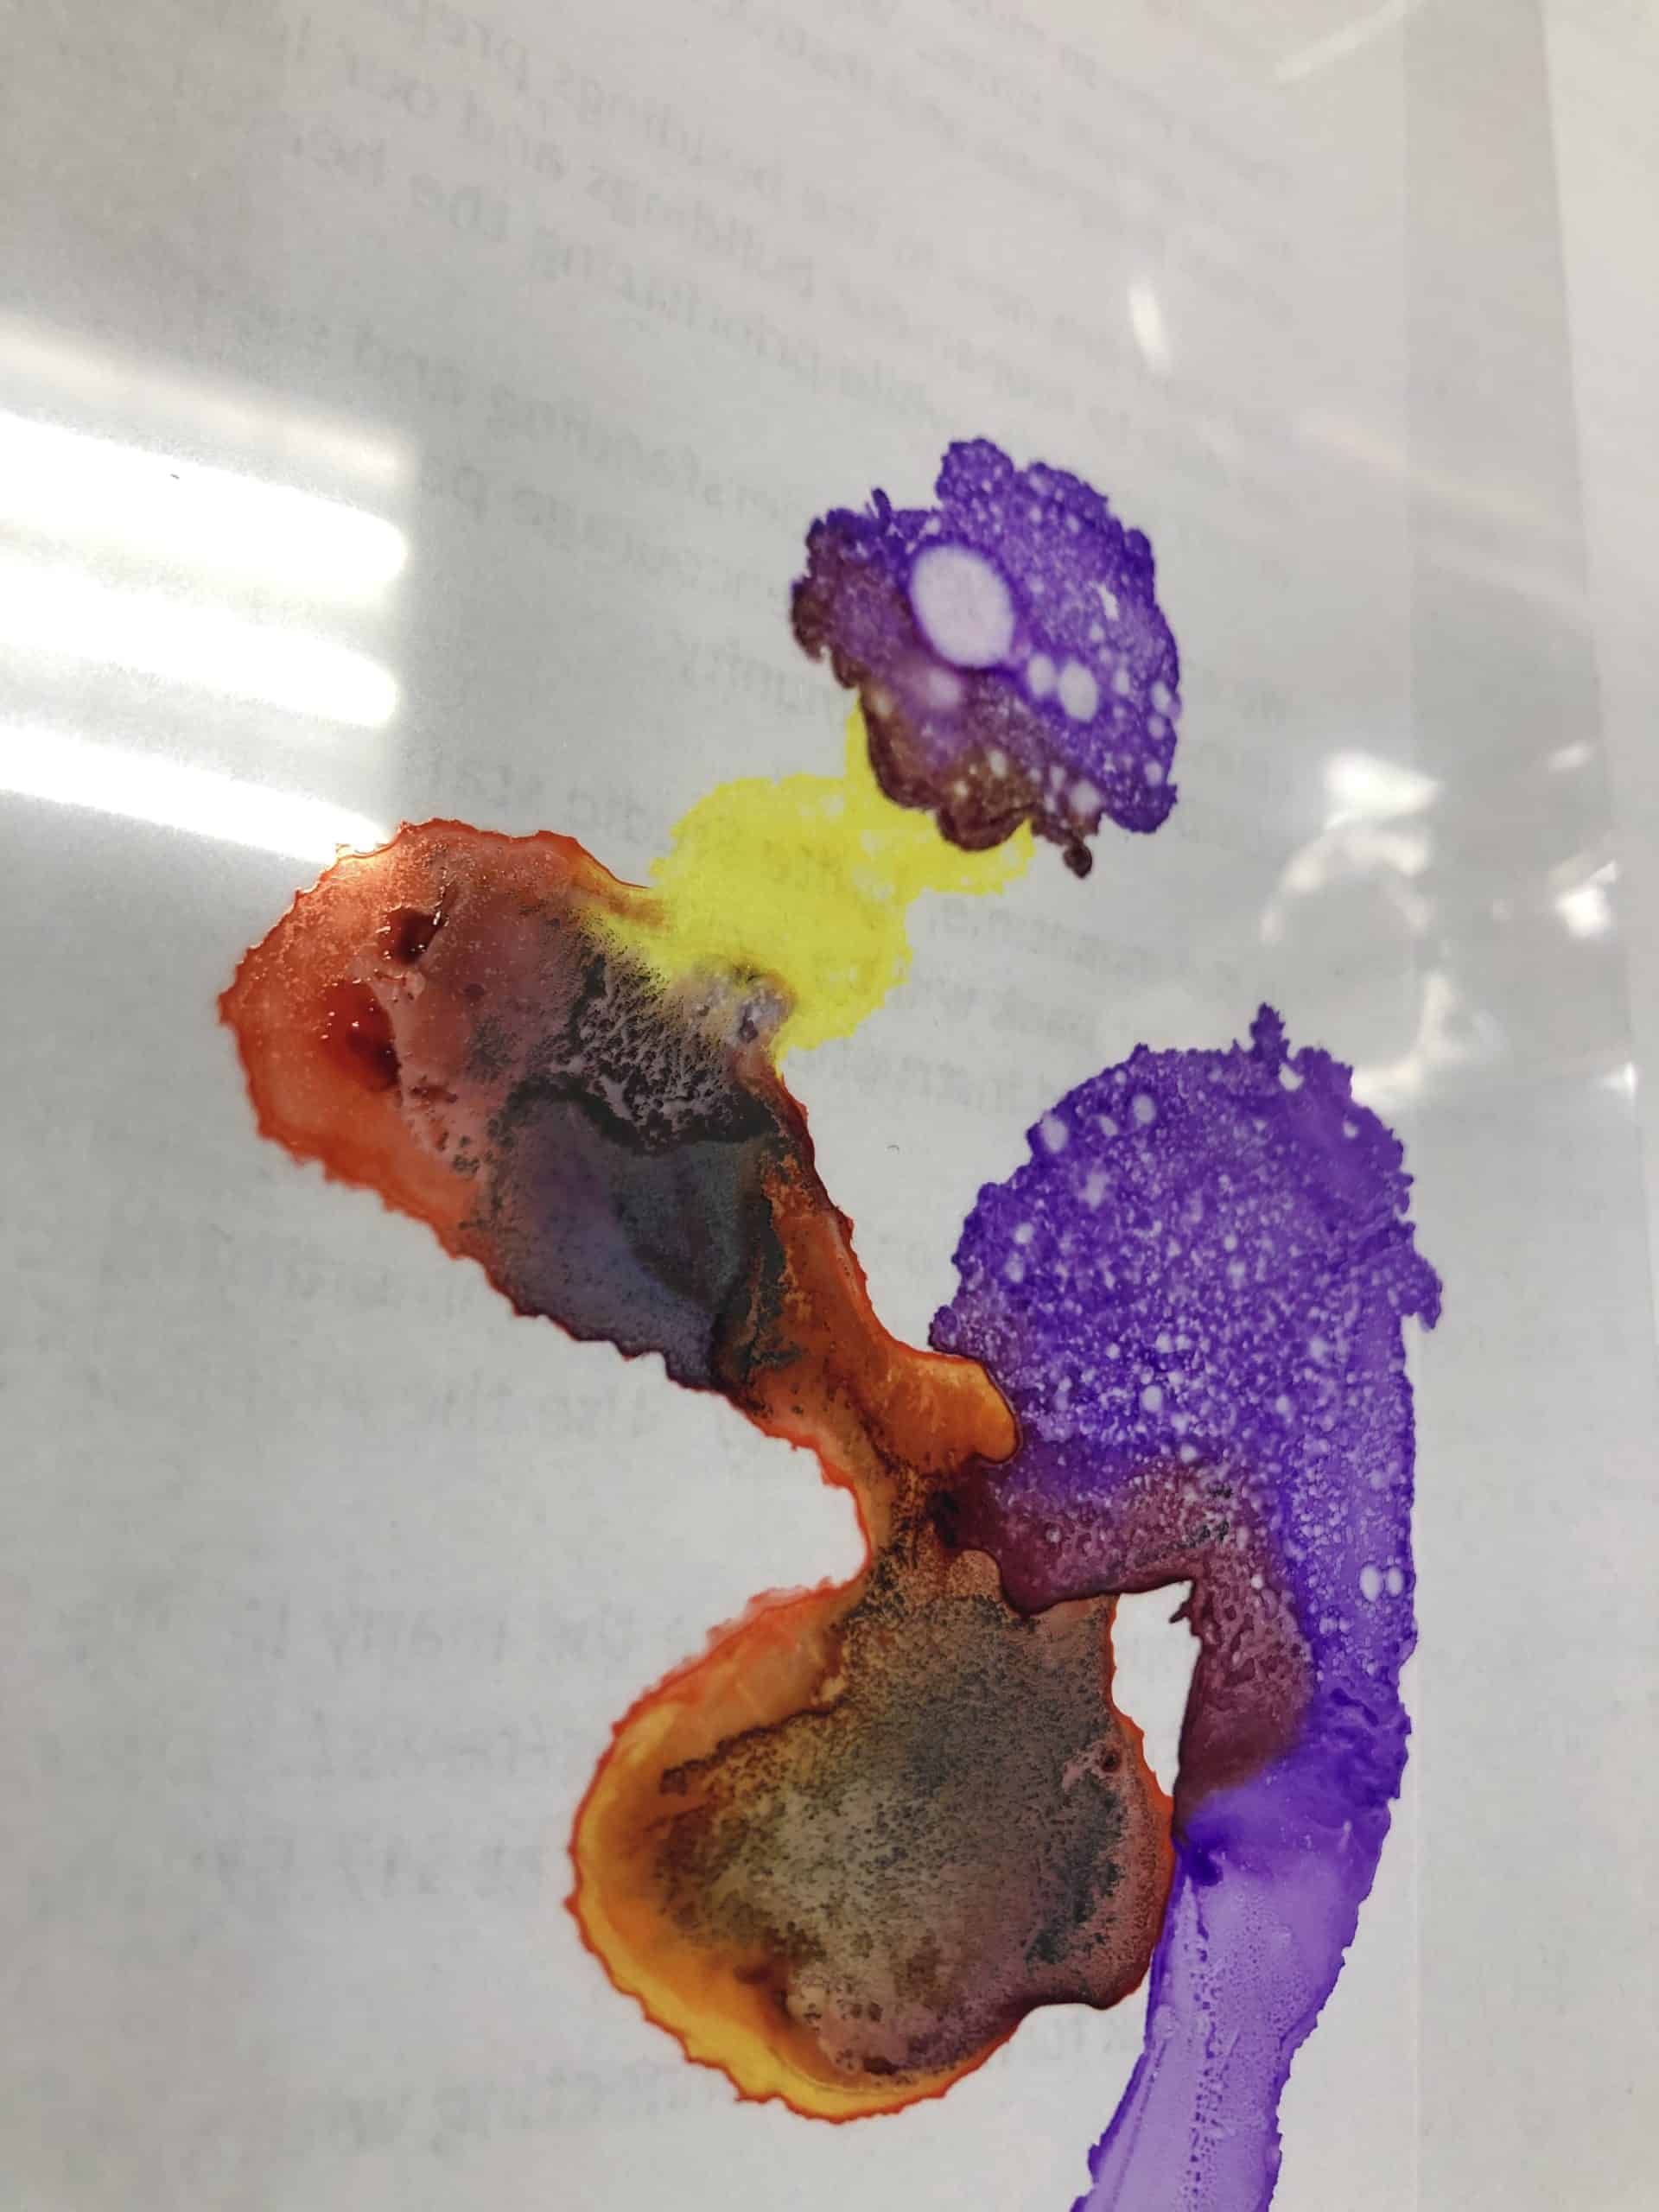
I’d recommend to start out by picking two or three colors. If you start out with too many, you will end up muddy brown mess. You can always choose to add more colors later.
IMPORTANT: The metallic inks will separate fairly quickly. Make sure to shake them very well between each use. Hold your finger over the plastic cover so it doesn’t slip off while shaking. The silver and gold have a mixing ball inside. Shake them at least until you hear the balls rattling inside.
Getting Started
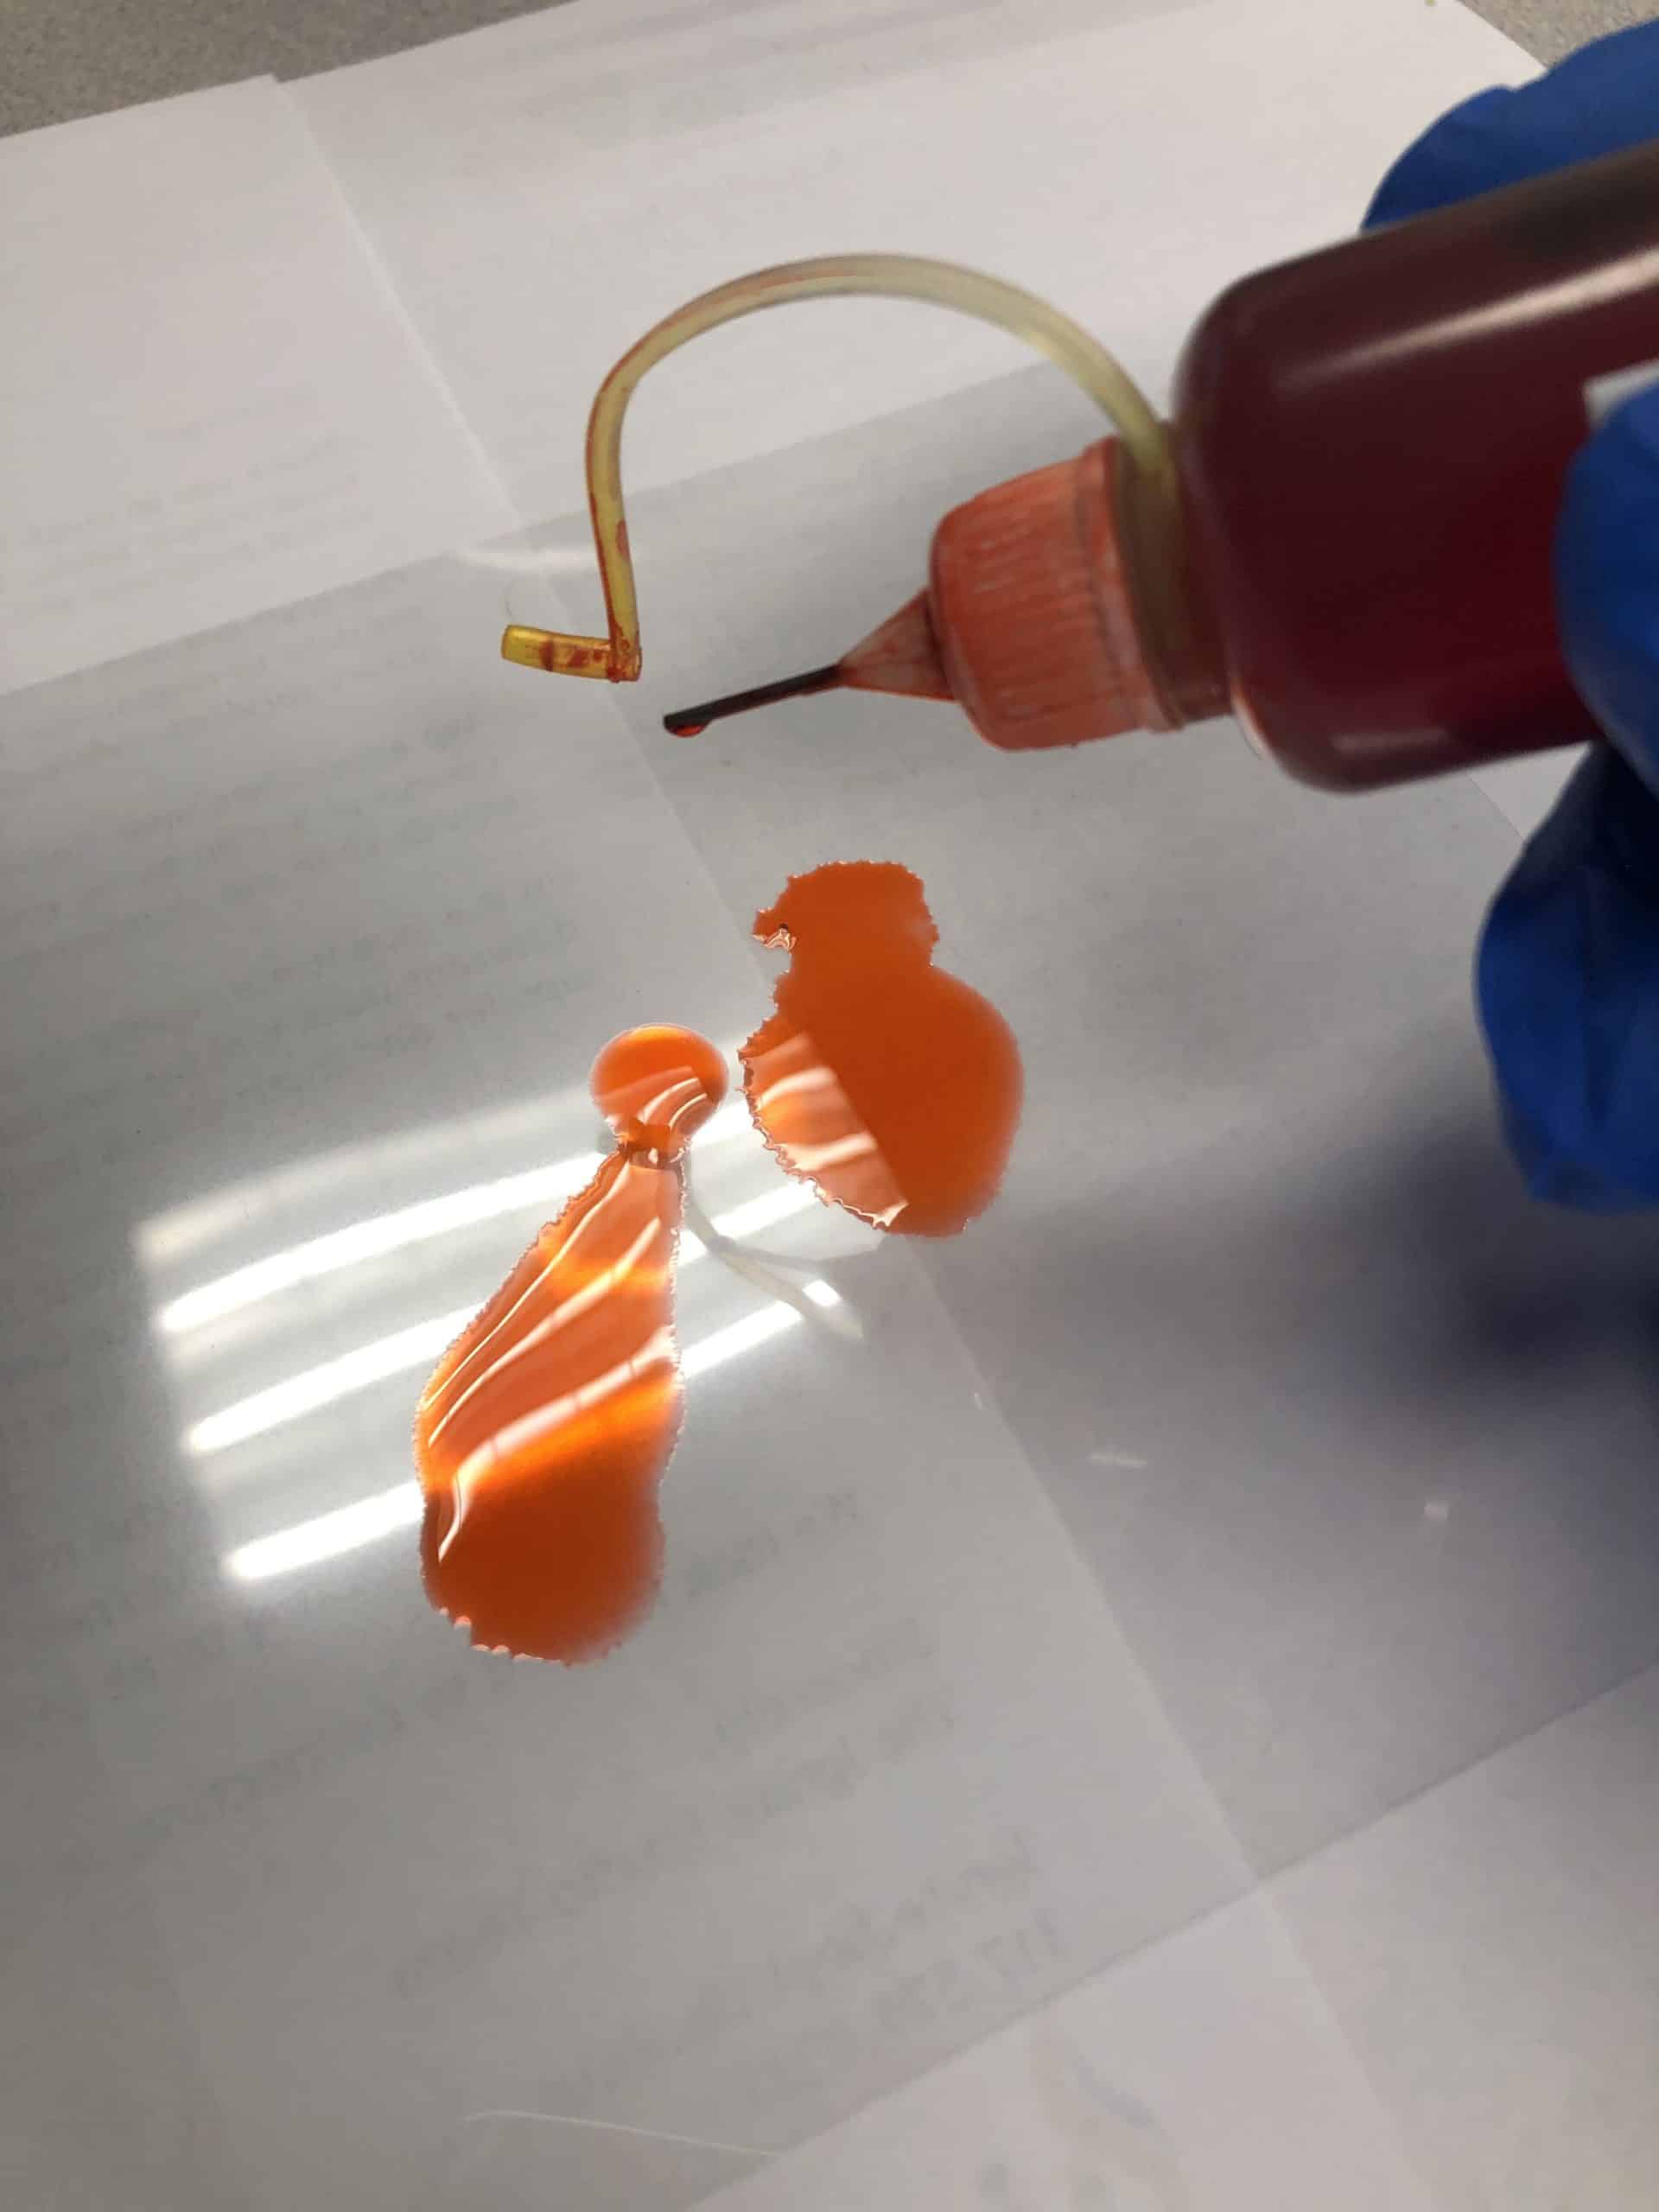
Begin by placing a few drops of colors on your acetate. As the alcohol evaporates, the pigment will remain and stain the sheet of acetate. The colors will mix if you place them together while it is still wet. However, if you wait for it to dry before adding more, you can create some layering effects. This is when you can play around and try different techniques.
Here are a few techniques to play with:
Pick up your paper and tilt it to let the ink drip.
Use the alcohol mist bottle on your dried inks to give them a speckled texture
Use the larger alcohol bottle and very gently pull the trigger until you get a drips to come out. Use it on wet or dry areas and watch how it manipulates the pigments.
Blow on it. Try using a straw if you would like to be more precise about where the inks flow.
IMPORTANT: With the limited amount of inks we are using here, fumes aren’t a big concern, but when using this technique make sure to inhale away from the inks in order to reduce the amount of fumes you inhale.
Wrapping Up
 Once your piece has dried and you’re finished adding ink, replace your scrap paper with one of the white sheets of paper out of the “Alcohol Inks Paper” folder from your kit.
If you didn’t use gold or silver inks, one way of finalizing your piece could be to laminate the two sheets together. However, if you did use gold or silver, those inks would flatten and smear when going through a laminator. Alternatively, you could place your two pieces into an appropriately-sized frame.
IMPORTANT: Make sure to recap all of the inks before putting them away.
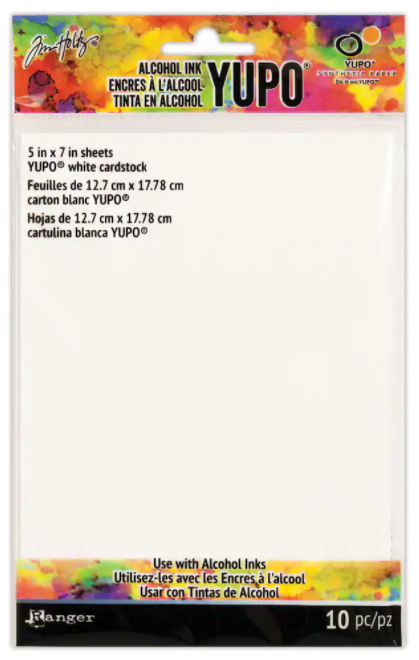 If you plan on using alcohol inks regularly or in a more professional manner, I’d recommend investing in some actual alcohol ink paper such as Yupo paper. It can be found at most arts and craft stores. The inks will work similarly; however, the non-porous surface is white rather than clear. This way you wouldn’t have to worry about having a separate white background piece to put behind it. I hope to see you in Ignite to try out this new kit soon!
Video Tutorial
Happy Making!
