
by Jared Hart
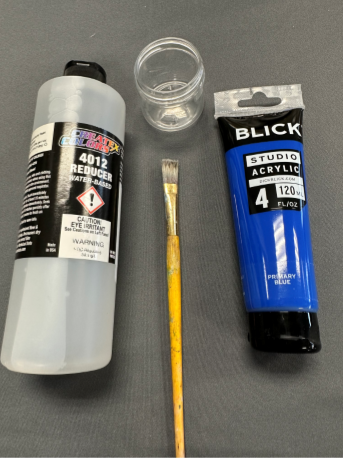
Ignite is excited to announce that we have a new airbrush take-home kit! Before you can actually paint with this kit, there will be a few supplies that will need to be provided by the patron. Supplies you will need include:
- Acrylic Paint
- Paintbrush
- Airbrush Reducer (If you’re just trying out airbrushing and would like to wait before purchasing reducer, you can substitute it with water. The process is still the same; however, it will significantly reduce the paint quality.)
There are a lot of small things to learn when getting started in airbrushing. Just take your time and try not to overload yourself with information. If you’d like to go through this slowly and practice how the airbrush functions without investing in materials or risking paint drying inside of it, you can always use only water instead of paints. It’s also a good way to practice the cleaning steps as well. All of the instructions in this blog will be included inside the kit for reference as well.
About the New Airbrush Take Home Kit
There are four main things to learn in order to use an airbrush. These four topics of discussion are:
- How to Hold the Airbrush
- How to Operate the Trigger
- How to Mix Paints
- Cleaning the Airbrush
Airbrushing is a challenging method of painting. Each stroke is affected by distance, speed, and the amount of paint you’re applying. To complicate airbrushing a little further, they have many internal moving parts. If one of the parts is malfunctioning, the entire airbrush will malfunction. Because of this, I tried to make these instructions as detailed as possible. It can also be useful to learn and understand how the airbrush nozzle functions in order to troubleshoot any problems you may experience in the future. You will likely learn most of the internal pieces throughout the very important cleaning process discussed later.
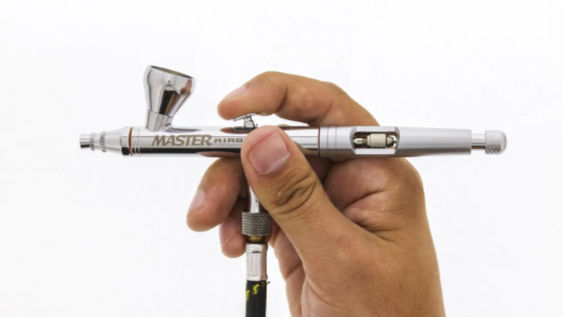
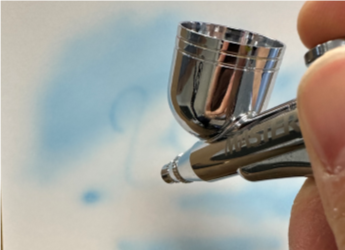
How to Hold Your Airbrush
Hold the airbrush just like you would a pencil, but allow your index finger to reach the trigger on top.
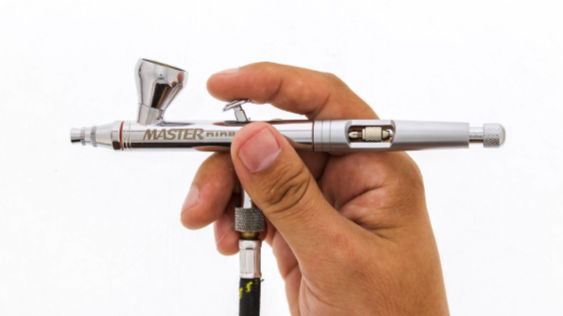
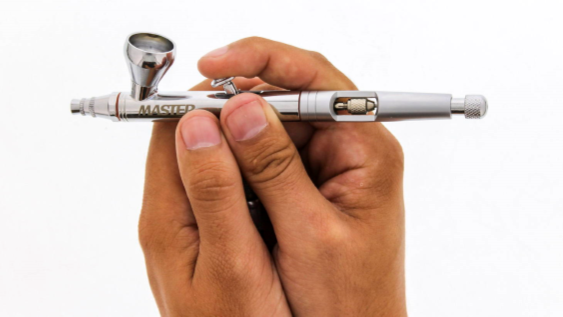
You can use your free hand to support the hand controlling the airbrush.
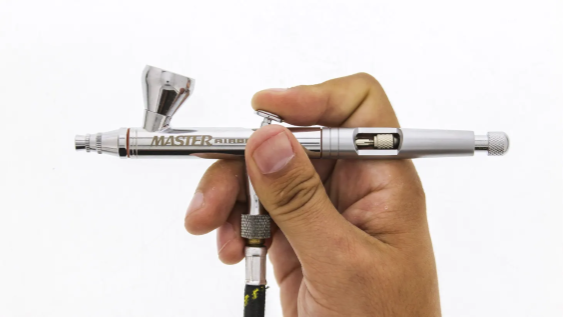
How to Operate the Trigger
With your index finger, push down on the trigger completely for the airflow to start.
Gradually pull the trigger back to release the paint flow.
Before lifting your finger to cut off the air, make sure to push your finger forward to cut off the paint. Failing to do so will leave a little paint on the nozzle head that will splatter as soon as you provide more airflow. In general, while airbrushing, it is good practice to keep the air flowing at all times.
Mixing Your Paint
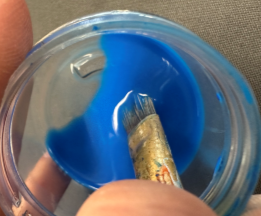
When using an airbrush, you can use about any type of acrylic paint as long as you get it to the right consistency. Always prepare paint prior to loading it into your airbrush to avoid getting any clumps of paint clogged in the nozzle. I am using a fairly standard tube of acrylic paint. Depending on the type of paint you use, you may need to use more or less of the airbrush reducer.
Start by putting some airbrush reducer into the mixing cup you can find in the kit. Add paint a little at a time until you get to a milky consistency. Make sure to mix the paint in until there are absolutely no clumps. Even a very small clump could get caught in the nozzle and stop it from spraying properly.
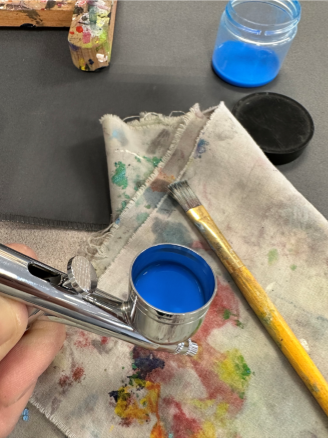
Once you have the right consistency, pour it into the airbrush nozzle and test it out. If you’d like to make any adjustments, pour it back into your mixing cup and try again.
Cleaning the Airbrush
This is a very important step in airbrushing. Improper cleaning can result in either a clogged nozzle or damaged components. Both problems result in the airbrush not working correctly. Therefore, maintaining good cleaning practices is essential in making sure your airbrush continues functioning correctly. Cleaning the airbrush is something you’ll want to get pretty comfortable with, as you will need to clean the airbrush between each major color change to avoid any unwanted color mixing.
WARNING: Please follow these steps in the order listed to avoid any unwanted damage to the airbrush. Most importantly, do not clean the front end of the nozzle (discussed in step 8) before removing the needle (discussed in step 6). Failing to do so could result in a damaged needle.
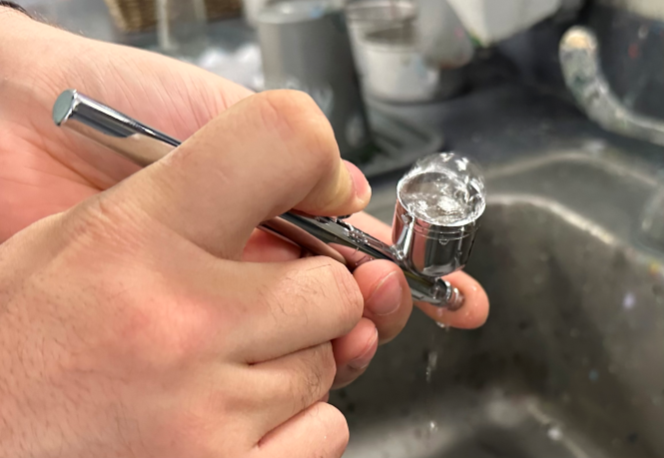
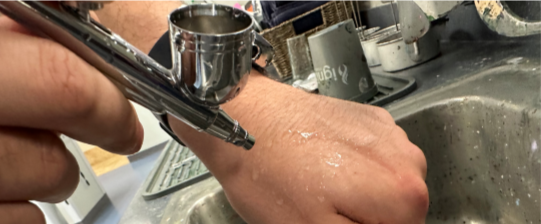
- To begin cleaning the airbrush, you’ll want to move your setup near a sink. Be careful not to get water on the air compressor during cleanup. Remove any excess paint from the paint cup by either pouring it into a container for future use or disposing of it.
- Pour water into the paint cup and continue spraying the water into the sink.
- In addition to spraying out the front as you normally do when painting, you’ll also need to “back-feed.” To do this, hold your finger over the nozzle cap to block any air and water from coming out of the nozzle. Now when spraying the air and water, it will be forced back up into the paint cup. This will help clean off the components between the paint cup and nozzle head.
- Repeat these steps until the liquid spray is fairly clear.
- Next, unscrew the back handle to expose the inner mechanics.
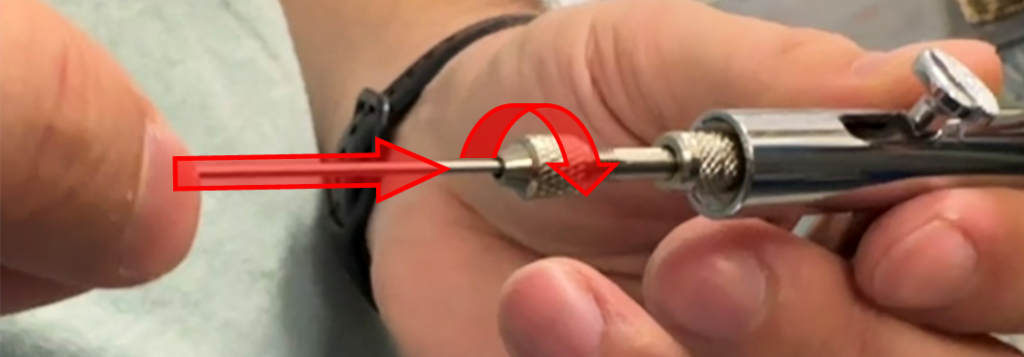
- Loosen the locking nut. You don’t need to remove the nut completely. Just loosen it enough for the needle to slide out gently.
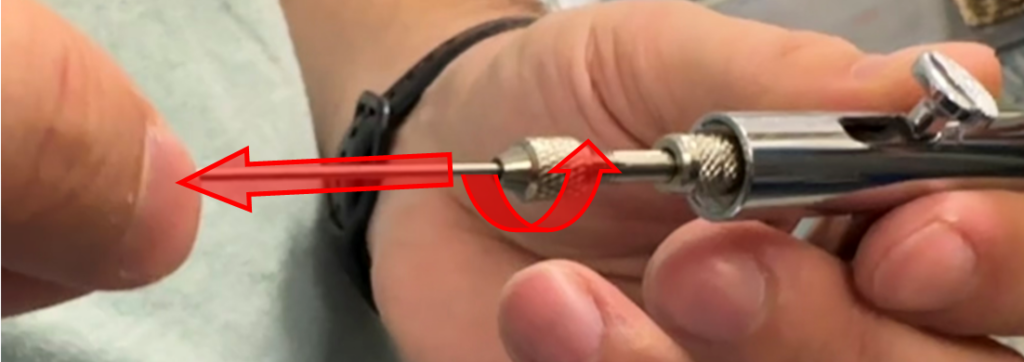
NOTE: While the needle is out, there won’t be anything holding the trigger in place. If you flip the airbrush upside down, it may fall out. In the event that this happens, I’ll discuss how to reassemble it at the end of these instructions.
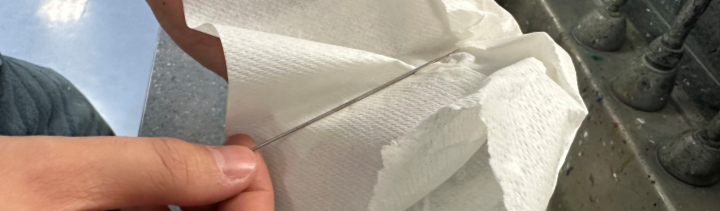
- Use a paper towel and a little bit of the provided cleaning solution to clean any leftover paint off of the needle. Be careful not to put any pressure against the needle in a way that may cause it to bend.
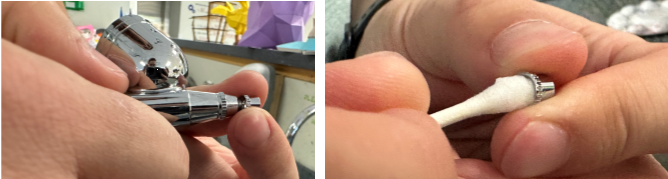
- Now that the needle has been removed, you can also use a little cleaning solution and a cotton swab to clean out the nozzle cap. Use the paper towel and cleaning solution to also clean the inside walls of the paint cup.

This is a good time to wipe off any other stray paint that you find on the surface of the nozzle.
- You’ll also have paint on the other side of the nozzle cap. To get to that segment, Move away from any open sink drains. Carefully unscrew the tip from the rest of the nozzle. This is a very small, yet vital piece of the airbrush. Once you’ve cleaned any paint off with a cotton swab, reattach it to the nozzle head.
- Once again, repeat steps 2 and 3 until there is only water and no paint when spraying. NOTE: Because the needle is still out, when you press down for air, you will also be spraying liquid. While the needle is out, pulling back on the trigger has no effect.
- Now that all of the paint has been cleared out of the nozzle, you can very gently reinsert the needle back in through the back. Make sure not to force it. It should slide right in with little effort. Once it meets the end, don’t push it too hard as it can flare the end of the nozzle head allowing paint through at all times.
- Finally, screw the handle back on and you’re ready to store away your nozzle brush or start painting with a new color!
Reattaching the Trigger

If the trigger fell out of the nozzle during the cleaning process. Here is how to reattach it.
Pull back on the small lever where the trigger goes to reveal a small circular hole.
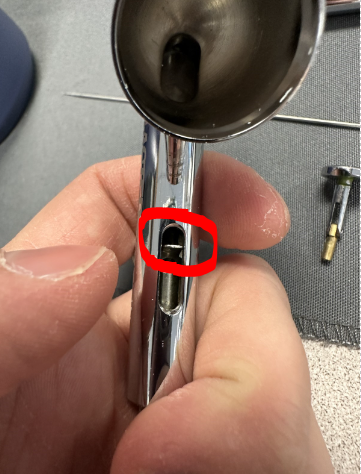

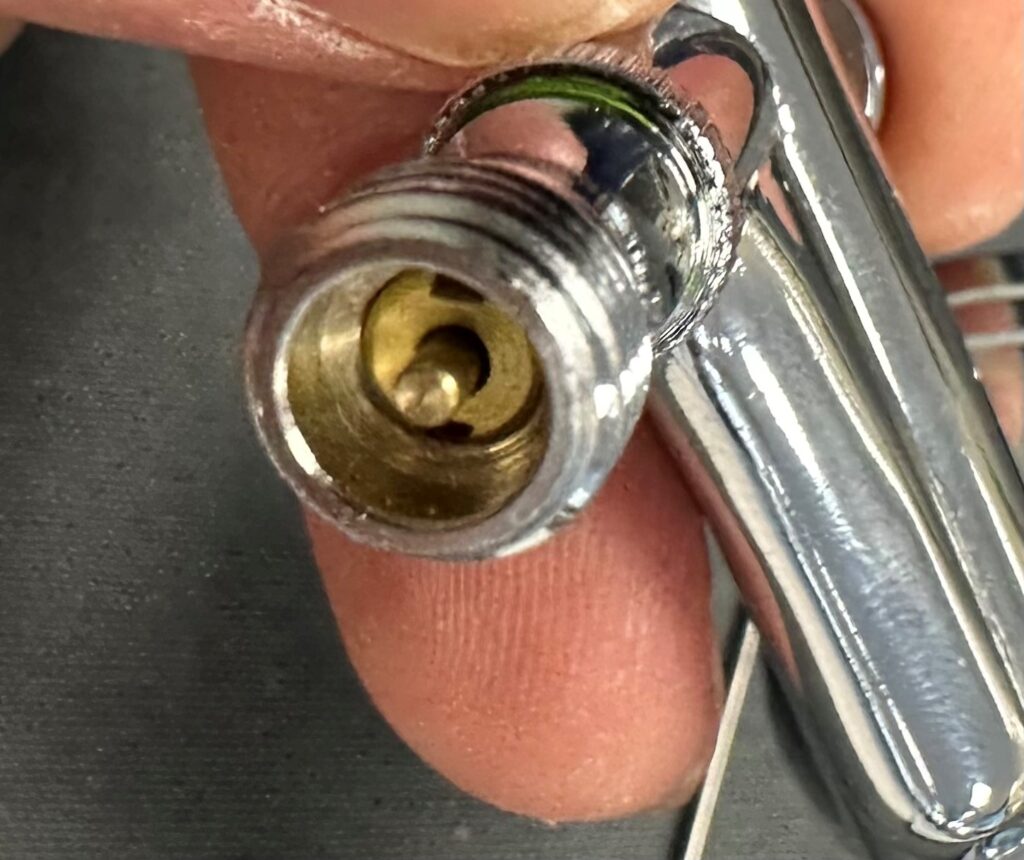
Carefully insert the gold part of the trigger into this small hole (Textured side of the trigger facing forward). Once it’s inserted, you can check if it’s in place correctly by pressing down on the trigger while examining the bottom side of the airbrush where the air hose connects to it. As you press and release on the trigger, you should see the small piston at the center moving along with the trigger.)
I hope this guide has been a helpful source to get you started in airbrushing. If you create something using our airbrush kit, we’d love to see it! Feel free to share it on the Ignite Community Discussion Board on Facebook page. Happy Making!
