
By Alyssa Dyar
You may have noticed that puzzles have had a resurgence in popularity since quarantining began, and it’s no wonder. They’re a great way to keep the mind engaged and sharp and enjoy the time passing. Another great way to enjoy puzzles is to make your own. Ever since I started as a Studio Assistant at Ignite, it’s been a dream of mine to make a laser engraver puzzle, and that dream has finally become a reality!
Today’s laser engraver puzzle is geared toward little ones.
Design Your Puzzle
I used the program we use for the laser engraver, RDWorks, to design the puzzle I made. I only used basic shapes for my puzzle so the applications in this program were sufficient. You may choose to use CorelDRAW, available on our laptops, or Adobe Illustrator, available in the Digital Media Labs, to design something more complex.
A piece of advice: Make sure your measurements are precise! My circle ended up being a little oval-ish, and the triangle turned out not to be as equilateral as I thought it was—things I will consider for the next puzzle I make.
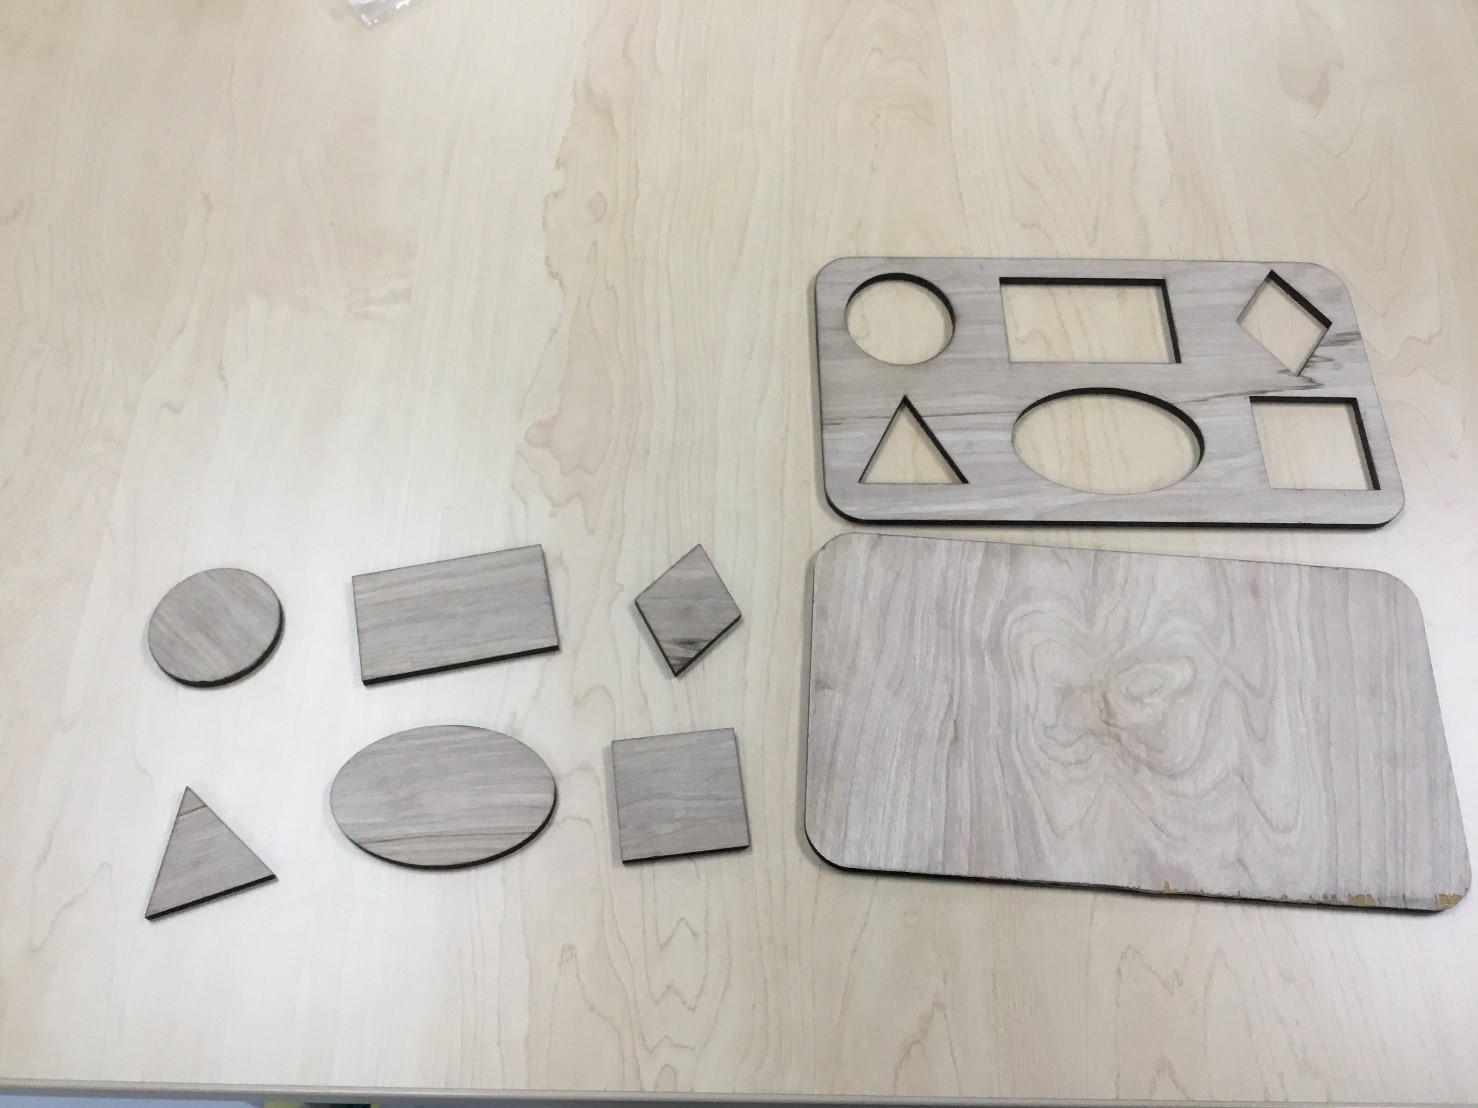
Cut
I used one 20″ x 12″ piece of plywood for this puzzle. You can purchase 20″ x 12″ plywood at Ignite for $3 a sheet or bring your own. I also made the small knobs for the puzzle pieces with this piece of plywood (not pictured).
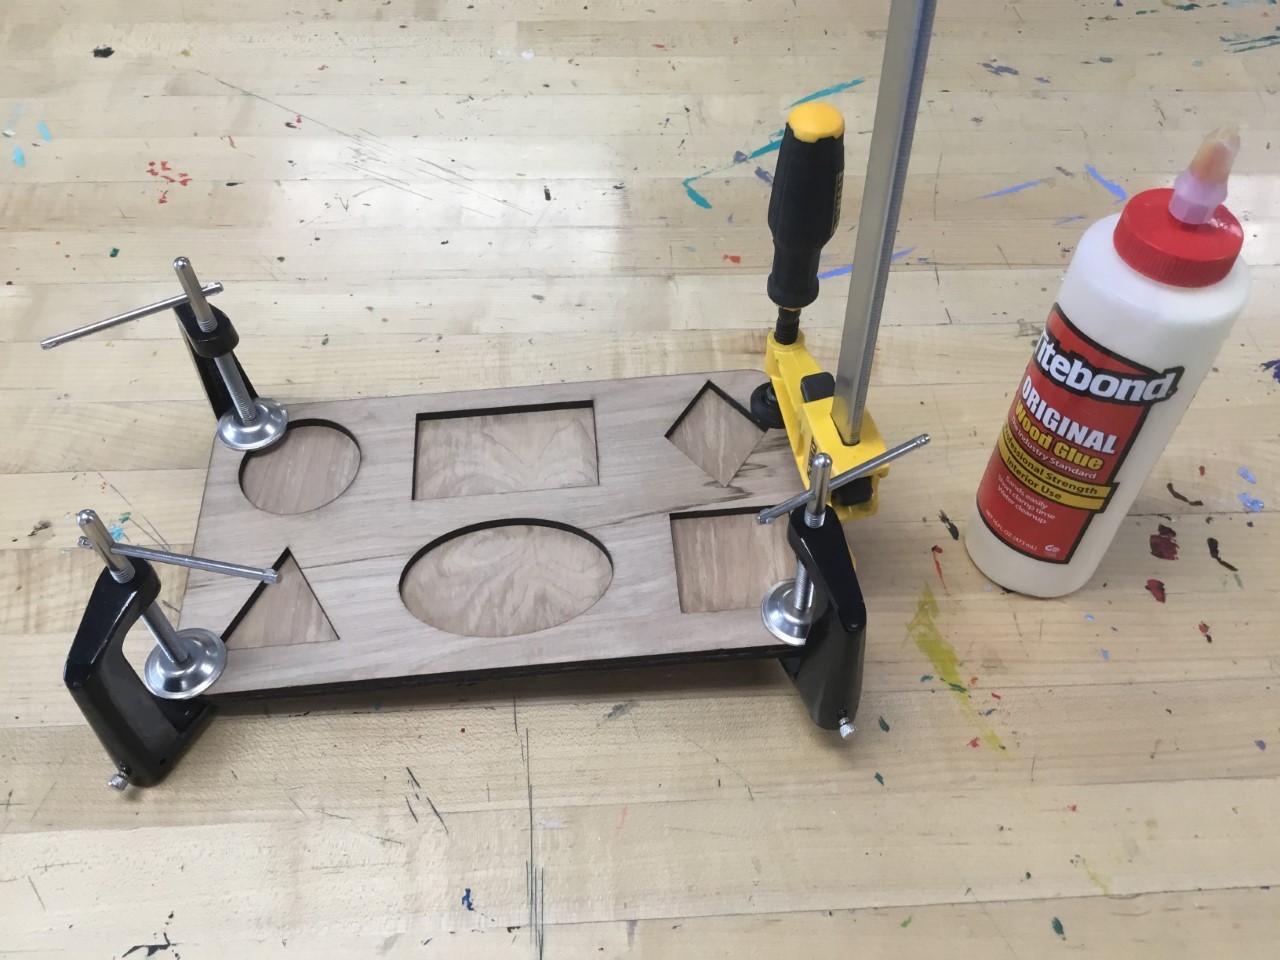
Glue
Glue all of the pieces together using wood glue and clamps (we have both in Ignite). For the small knobs, I laid a book on top of the pieces to give it some pressure.
Paint
Give your puzzle some color! I used acrylic paint. I may put a glossy coat on top using Mod Podge.
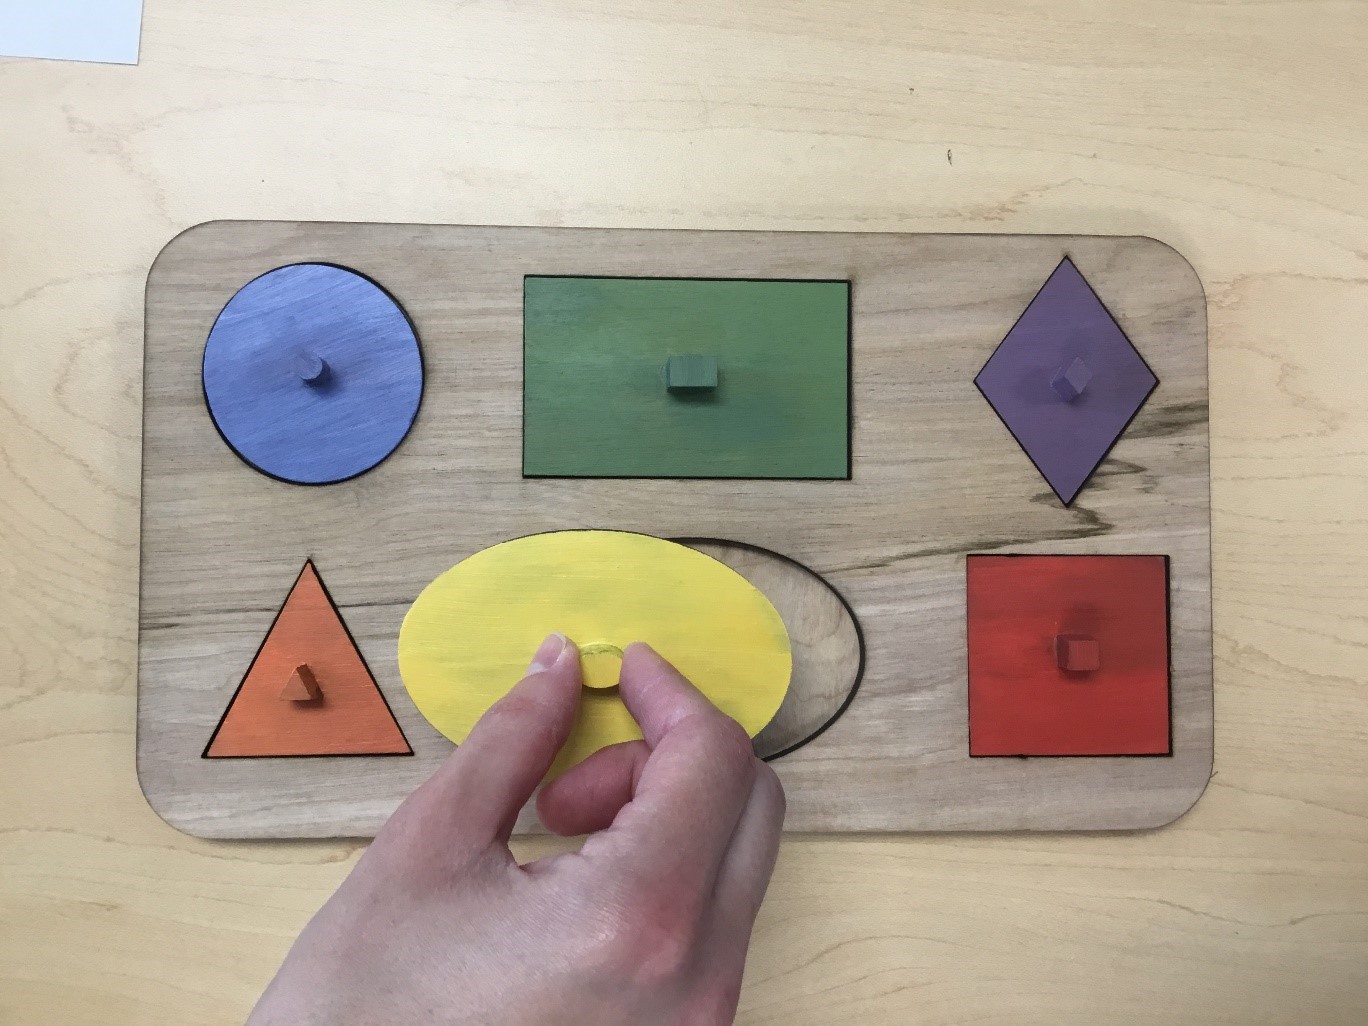
Puzzles like this one are great for teaching children color and shape vocabulary.
If you enjoyed this post, you can see more of Alyssa’s DIY projects here.
