

by Jared Hart
We have posted a blog about cyanotypes in the past (Making Cyanotype Prints at Ignite). If you have read through that blog, you’ll know that there is a whole chemical process you need to follow in order to get your paper ready to make a cyanotype print. I had never worked with cyanotypes before, so rather than working with all of the chemicals to prepare my own paper, I thought I would test out an easier method by ordering some pre-prepared paper. Read on for a quick intro to cyanotypes.
Intro to Cyanotypes
Although it has been fun and the process itself is fairly simple, I quickly learned that getting the high-contrast blue and white is not quite as simple as all of the articles I read make it seem. However, that may just be due to the paper I ordered. It may have been slightly exposed on arrival. For my prints, I used Spakon’s Cyanotype paper. I’ve read that SunPrint’s kits might have been a better choice. Even though I didn’t get the quality of results I had hoped for, it was still a great introduction to how this printmaking process works.
Exposure Methods
There are two main ways to expose your print: sunlight and an exposure unit. In either case, it is generally better to overexpose rather than underexpose. As the paper is exposed to light, the color of the paper will change. The blue of the paper will become paler in color. Watching this is a good indicator of how well exposed your print is.
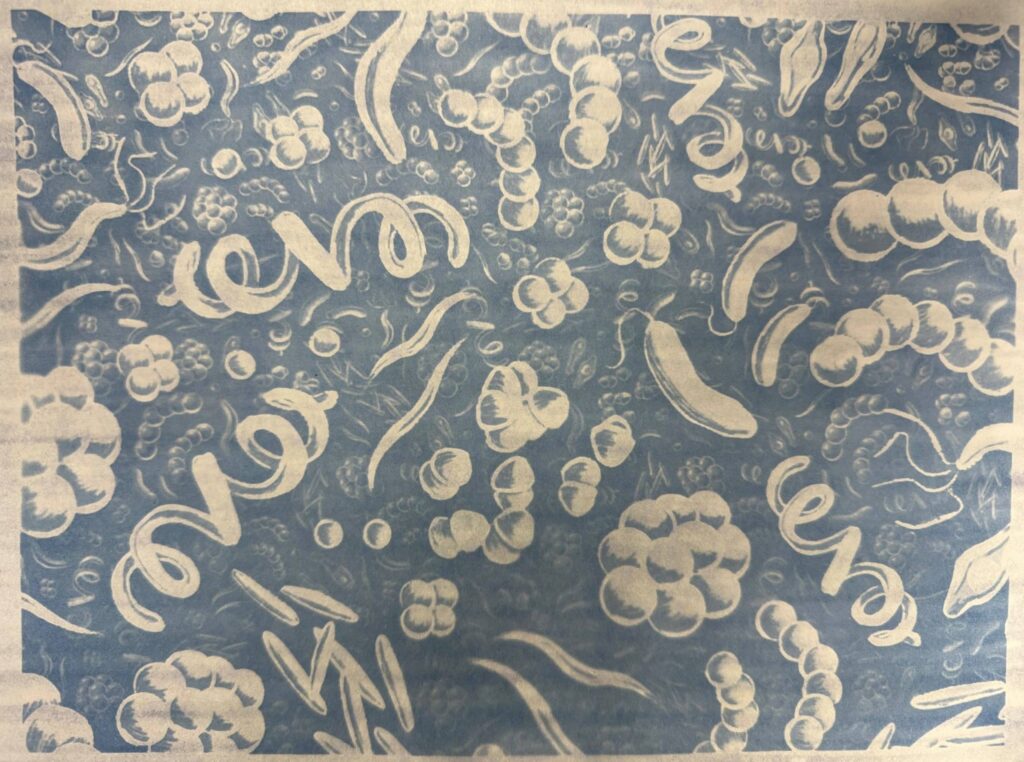
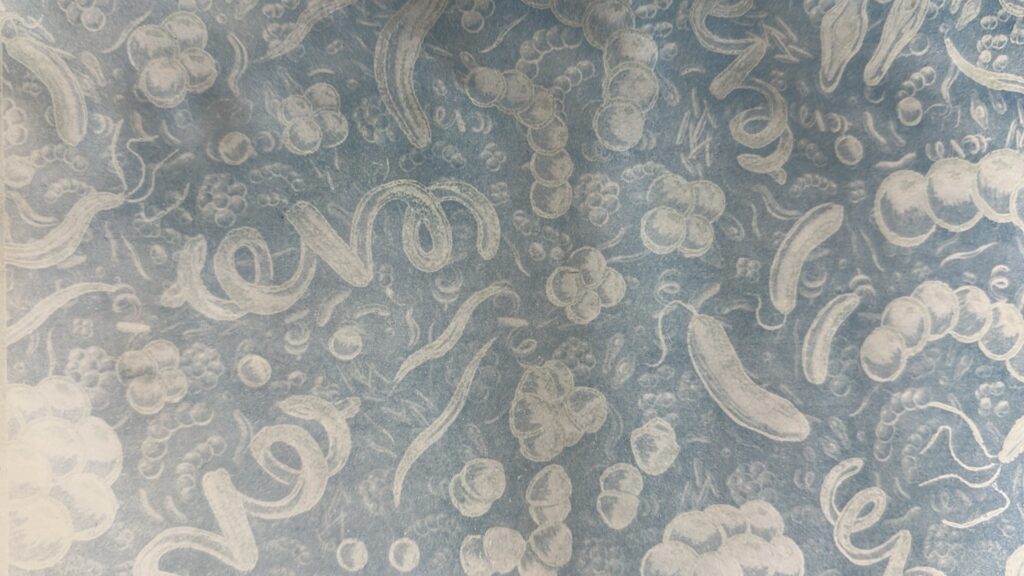
I primarily used the exposure unit for my prints, but later discovered I was receiving better results from sunlight even on a cloudy day. I’ll show you the best print I achieved for each method below.
Sunlight
If you plan to expose your print using the sun. It is best to expose it at midday. You may need to experiment with how long to expose your print as it will vary depending on the weather. Generally, you’ll want to expose it somewhere between 5 minutes on a day with full-sun to 20 minutes on a cloudy day. By monitoring the color of the paper changing, after a few prints, you’ll likely learn when to take your paper out of the sunlight to get the results you’d like.
Exposure Unit
Since I didn’t have a lot of time to experiment with varying weather conditions, I decided to primarily work using the exposure unit. From the handful of prints that I’ve made, I discovered that a longer exposer has yielded better results. In general, I had some success when exposing it for at least 15 minutes, but had the most success on the print I exposed for 30 minutes. The downside of using the exposure unit is that you can’t see the paper changing in color to know when the print is done.
Getting Started with Cyanotypes
Before exposing your print there are a few things you’ll need to have ready. This process is time-sensitive. First of all, you will need to have a water source. The paper will continue developing until it has been soaked in water.
The pre-prepared paper is sensitive to ultraviolet light and will come in a black bag. Be sure to not open the bag until you are ready to prepare your print. You’ll want to work quickly in order to let as little light touch the paper as possible while you’re pulling out a sheet. Due to this, it’s best to prepare your print in a place sunlight can’t reach. Direct sunlight will expose the paper very quickly. Even ambient light from a room with a large window will cause slow exposure.
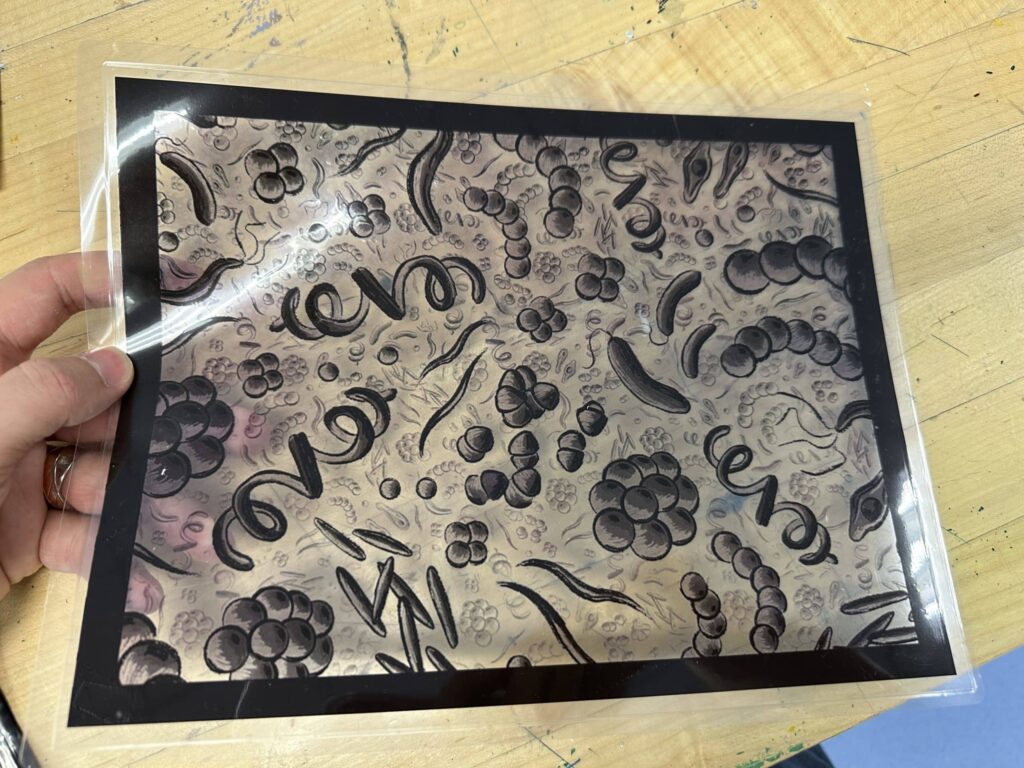
In order to prepare your print, you’ll need to decide what you want on your print. You can use anything that will block UV light from hitting the paper. A common suggestion is using various plants. For mine, I decided to print a black and white negative on some transparency paper.
You will then layer your design with your materials on top of the blue side of your paper. When exposed, your design will block the UV light (from the sun or exposure unit) from hitting those parts of the paper.
Note: if you’re using our exposure unit, you will need to layer your design in reverse-order since the light source is coming from below.
Exposing & Washing Your Print
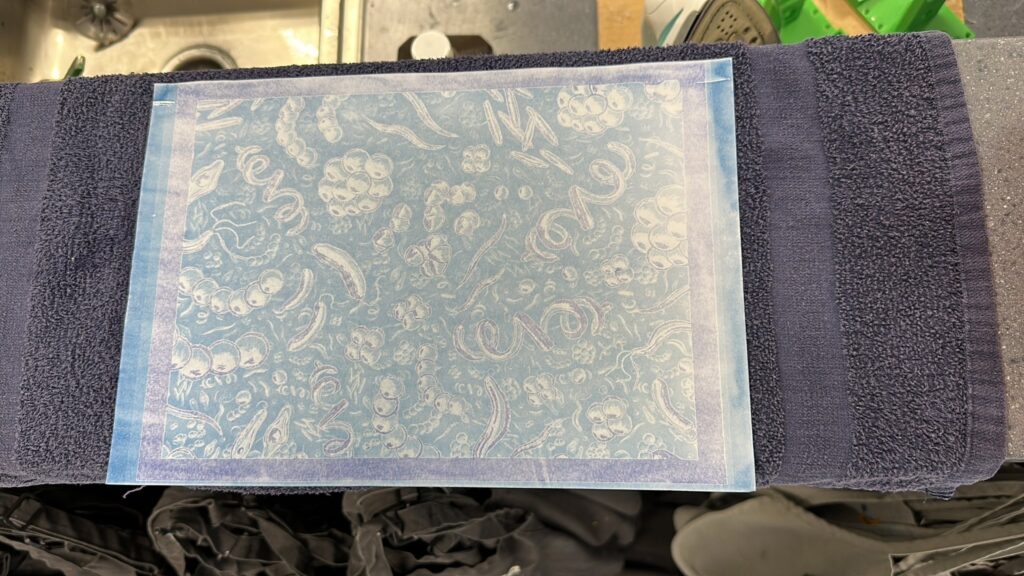
Follow the instructions I discussed in the “Exposure Methods” section based on which method you are using. Once your print is ready, quickly move the print and soak the paper in your water. Gently wash it in the water trying not to rub the design. If you’re rinsing your paper in a bath, you will want to clean out the water frequently. Continue washing your print until the water is running clear. If you still see any yellow, keep rinsing as this is the light-sensitive material that will continue to develop as long as it is on the paper.
OPTIONAL: If you would like speed up the process of your blue colors developing, you can add a few drops of hydrogen peroxide to your water towards the end of the washing process.
Wrapping Up
Once your print is washed, set it out somewhere to dry. The colors of your print may continue to adjust over the next couple of days. In the photo below, the areas that are a little more purple slowly turned white.
Just like other printmaking processes, some prints will come out better than others. There is a bit of experimenting involved in figuring out what works best for your situation. If you try out this process, and are struggling a bit like I did, just keep trying different things and hopefully you’ll end up with some successful prints!
If you would like to explore preparing your own paper for your prints, be sure to check out our previous blog. (Making Cyanotype Prints at Ignite) Happy making!
