

by Jared Hart
If you’ve ever tried sublimating onto plywood, you probably noticed that the colors turn out a bit faded. In some cases, that may be a desirable effect. However, if you’re wanting the colors of your print to be more vibrant, there’s a fairly simple process to follow prior to sublimating. Read on to learn how to sublimation print on plywood.
What You’ll Need
Here are all of the supplies need to sublimation print on plywood.
- Your plywood surface.
- If you’re certified to use our laser engraver, you can use it to cut a piece of plywood at whatever size you’d like. If you’d like to learn more about how to get certified, click HERE.
- A sheet of lamination film (large enough to cover your plywood surface)
Available FREE in Ignite:
- Iron & Ironing Board
- X-Acto Knife & Cutting Mat
- Sublimation Printer (for printing your design)
- Heat press (for transferring your design)
Preparing your Plywood Surface
Before sublimating onto the plywood, coat the side you’re printing on with lamination film. Since plywood is too thick to go through a laminator, adhere it to the surface using an iron.
To begin, open up your lamination pouch and tear the two sheets to separate them. If necessary, cut the lamination film into smaller pieces so it’s only a little larger than your plywood. Place the lamination film (textured, less reflective side down) onto your plywood. If you notice any dust or debris between the film and your plywood, lift the film and remove it before proceeding.
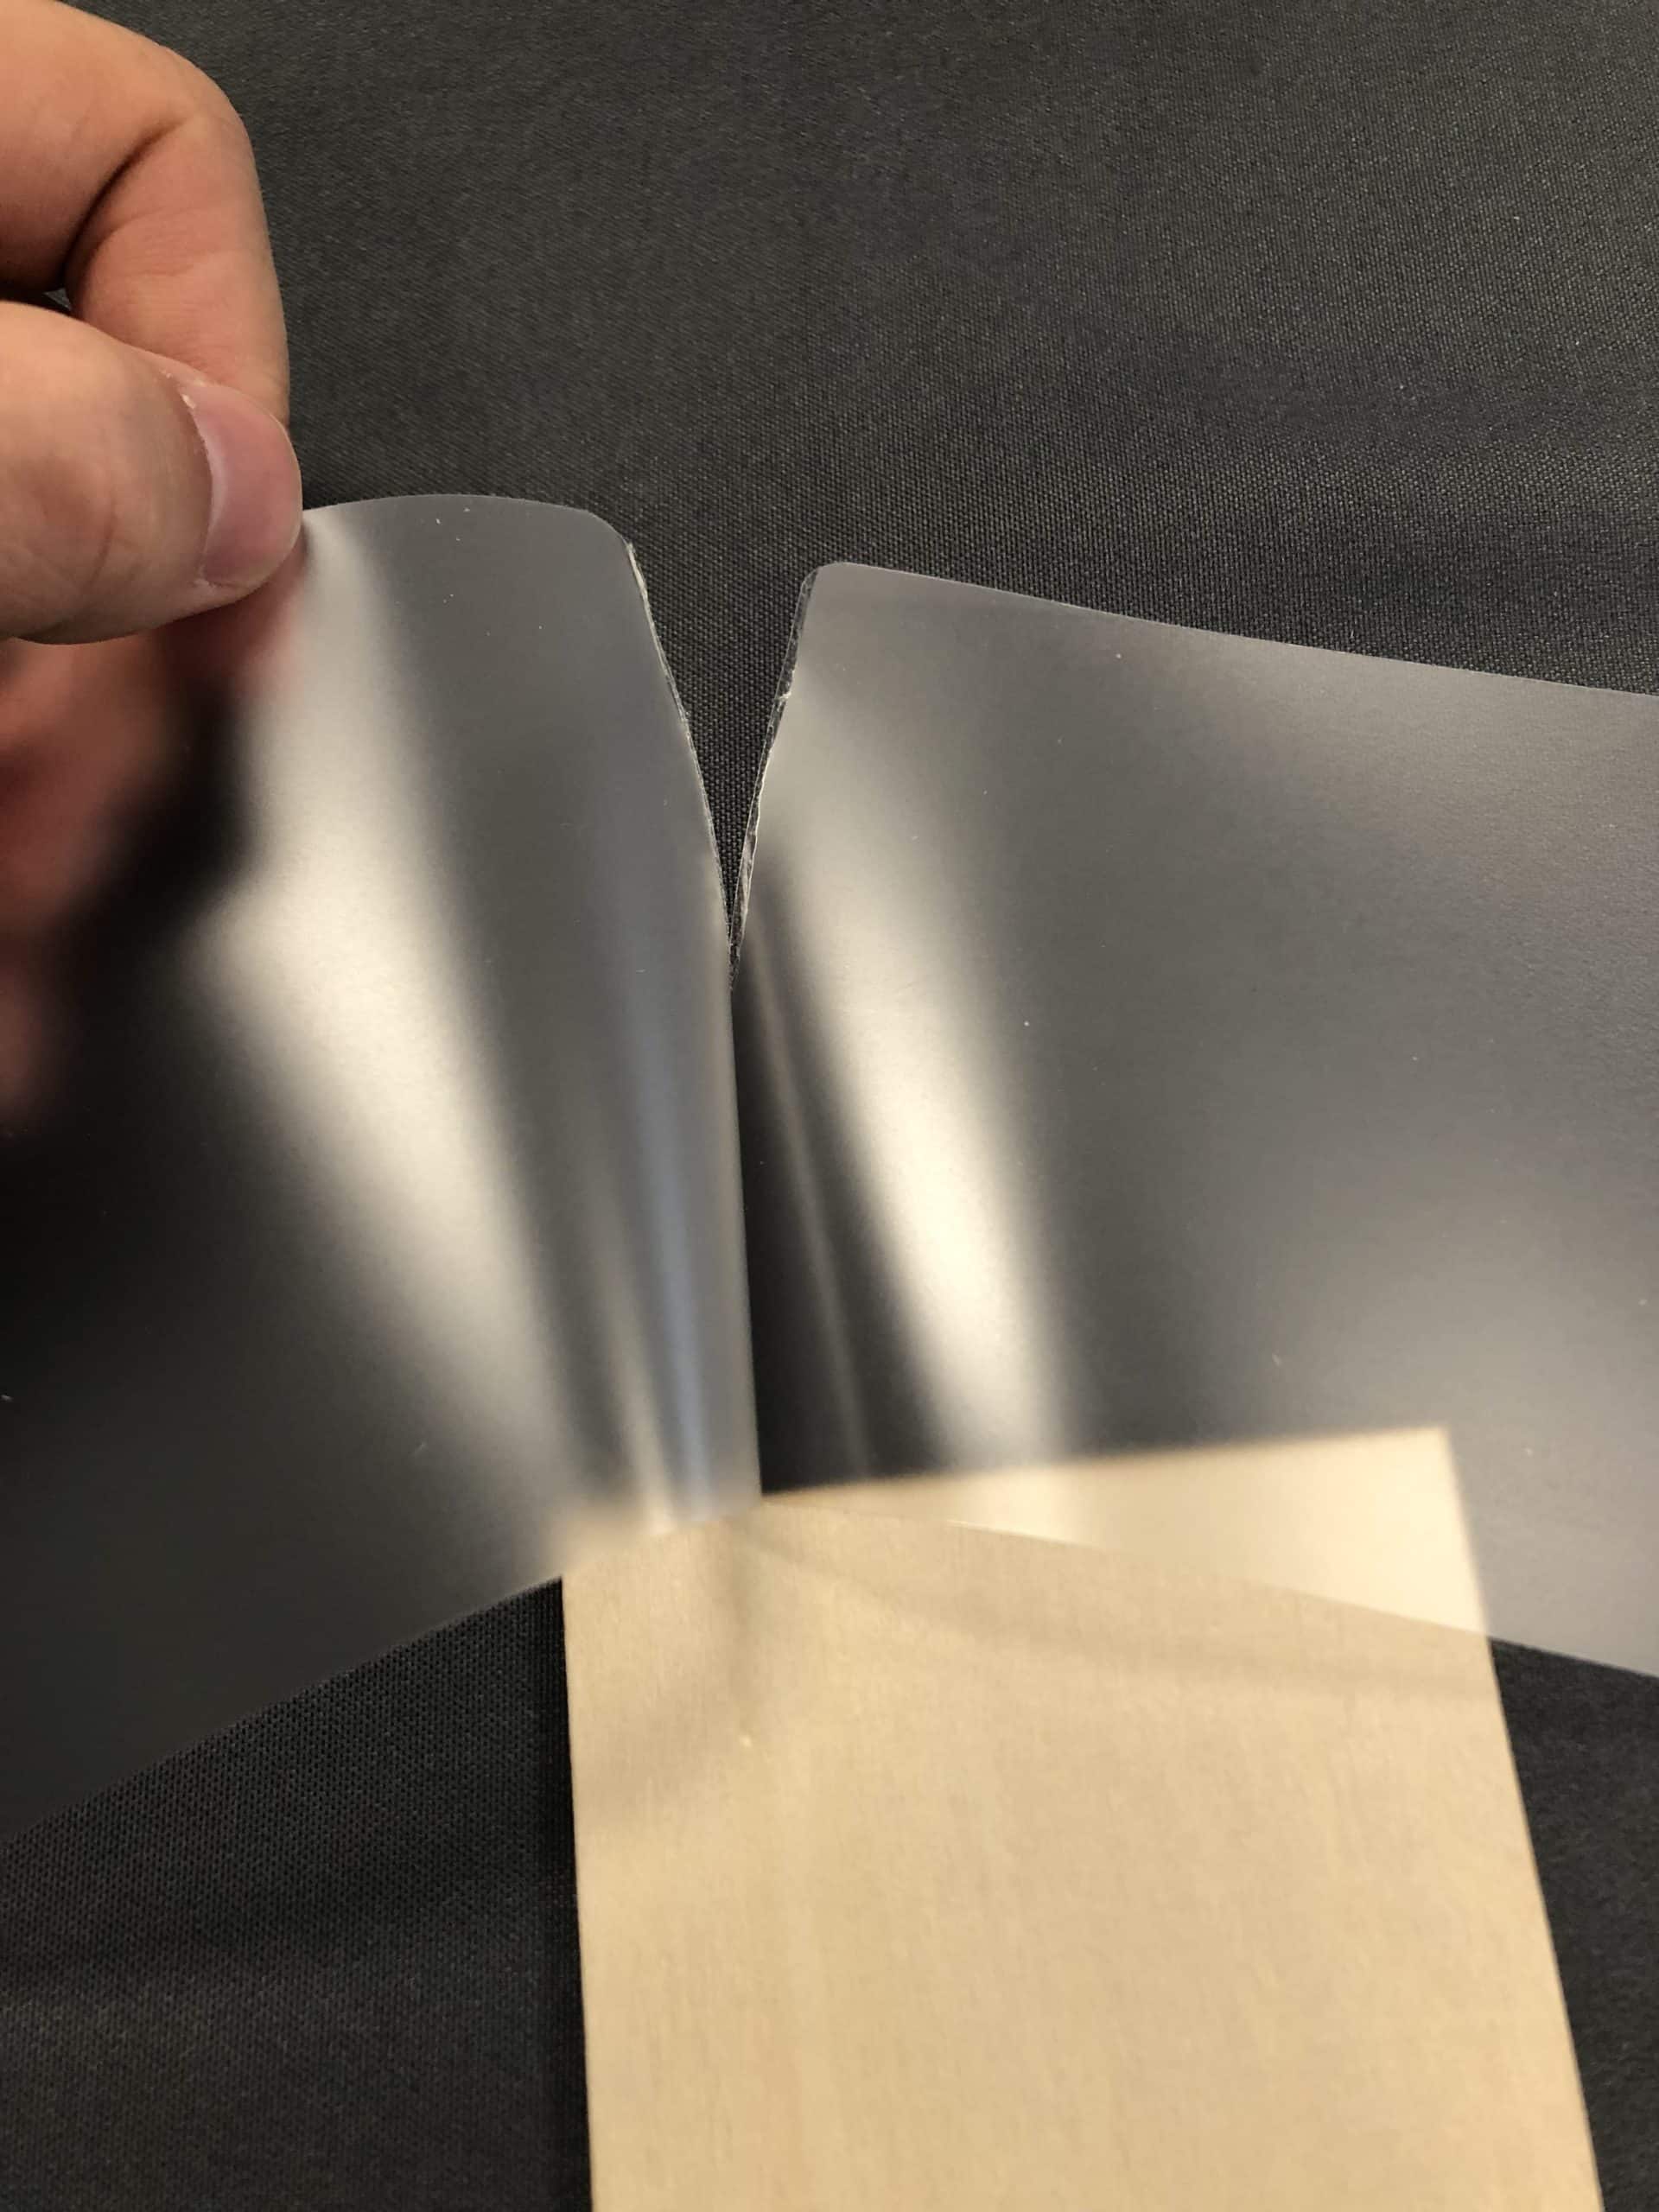
This is the most challenging part of the process, so just take your time. It may take a little practice. Preheat your iron to a high heat. Before ironing the film onto the surface, it’s important to know that the film will shrink a little when it heats up. Because of this, you’ll want to slowly iron the film onto the wood. Work from one side to the other. Otherwise, you may get some unwanted wrinkles and bubbles on your surface. As you slowly iron, you should notice that the lamination film is sticking to the surface. If it’s not adhering to the surface, you may need to increase the heat, or iron more slowly. If you are noticing some air bubbles, try to use the edge of the iron to slowly push them out towards the edges.

If your attempt does not go well and begins to seem unsalvageable, you may be able to peel off the lamination film and try again. Just make sure to use some sandpaper to remove any of the sticky residue from the lamination film.
Now that the lamination film is adhered to your surface, flip your plywood over. Using an X-Acto knife and a cutting mat, trim the excess film from the edges of your surface.


Print Your Design
If you haven’t done so, print your design using the sublimation printer. Don’t forget to mirror your design before printing! If you’ve never used our sublimation printer before, watch the following tutorials we’ve made.
Transferring Your Design
Turn on the heat press and adjust the settings to 400 degrees Fahrenheit for 60 seconds. If you’re unsure how to adjust the settings, an Ignite staff member will be happy to assist, or you can watch this short 40 second segment of this video: Using the Cricut with a Heat Press
Using the heat tape, adhere your print (ink side-down) on top of your plywood surface. Make sure it’s taped down well and there aren’t any air bubbles.

Once the heat press is done pre-heating, place your plywood (print-side-up) into the press. Place two layers of butcher paper on top of your plywood and clamp the press down.


Once the 60 second timer goes off, unclamp the press. Using the heat safe gloves available in the Fab Lab, carefully pull your print out to cool setting it on the gray heat-resistant mat. Once it is cooled enough to touch, peel off your paper and see your final product.
In my two samples below, the non-laminated surface print actually works really well, and I might even prefer it in this case. However, you can still see the difference in how the colors appear to be richer when sublimating on a laminated surface.

Non-Laminated Surface (Left), Laminated Surface (right)
I hope this encourages you to come to Ignite and try making some of your own wood panel prints. Happy Making!
