

By Tyler Elks
It’s winter, and it’s cold, and we’ve been huddled up inside for the past few months. I’ve started to miss the beauty of flowers! So when I came across the idea of using a laminator to preserve flowers I had to try it. Ignite recently added a laminator to our collection of equipment, so I wanted to experiment with it a bit. Here is an easy guide for how to make laminated flower art using the tools and equipment available in Ignite Studio.
Supplies for Laminated Flower Art
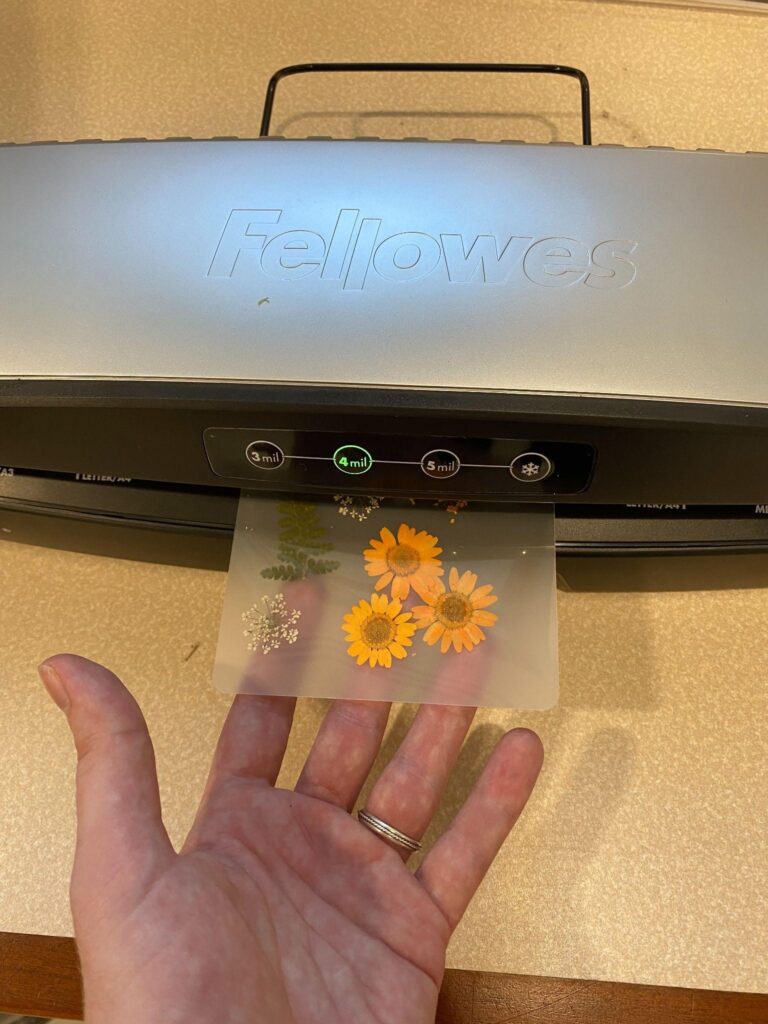
- A Laminator (found at Ignite Studio)
- Pressed Flowers
- Scissors (optional, available in Ignite)
- Wax paper (available in Ignite)
- Iron/Ironing Board (available in Ignite)
How to Dry and Press Your Flowers
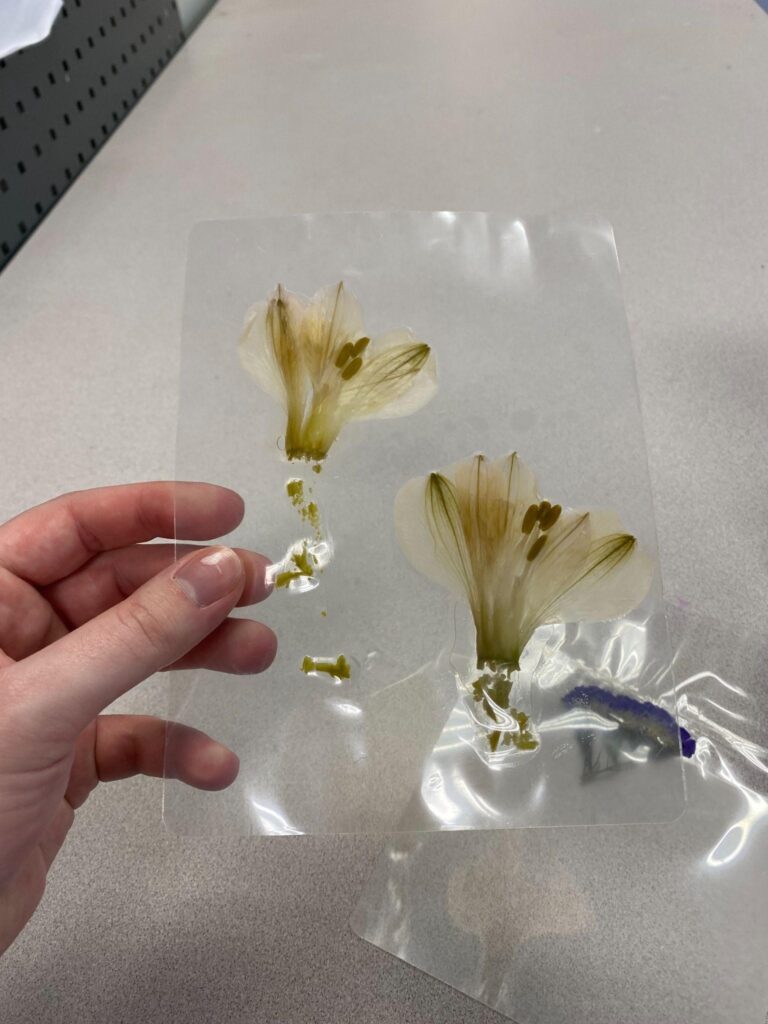
Make sure to dry and press your wild picked flowers prior to making this craft. I did try fresh ones and as you can see below, it didn’t turn out well. You can pick them (responsibly) in the wild, purchase fresh flowers from your grocer (and dry them yourself), or purchase dried flowers online or at your local craft store.
You may have a flower press already, but you certainly don’t need one! You can use wax paper, your flowers, a couple of heavy books and something to secure the book (like rubber bands). Here are a few ways to prepare your flowers.
If you have time to wait:
- Cut out some wax paper into two sheets.
- Open your heavy book.
- Lay one sheet down inside the open books and start arranging your flowers so that they aren’t too close to each other.
- Lay the other piece of wax paper down on top of the flowers and close the book
- I like to put large rubber bands, velcro straps, or something else around the book to keep it closed as tight as I can, but this step is optional.
- Place the flower-press book under something heavy, like other books or a cement block, so it can keep even pressure on the flowers.
- In 5-10 days your flowers should be well pressed enough (depending on the water content of the flower) and you can remove them from the wax paper.
If you need flowers pressed quickly:
For this method you’ll need an iron and wax paper, both of which can be found at Ignite.
- Turn the iron on low
- As the iron heats up, place the flowers on the first sheet of wax paper, leaving space in between so that they don’t get mashed together.
- Lay a second piece of wax paper on top of the flowers
- Use a book to evenly press the flowers so that they are a little more flat. This will make it easier to iron over them.
- Once the flowers have been flattened and the iron is ready, take a new sheet of wax paper and lay it on top of the flowers, discarding the old top piece.
- Gently press the iron onto the flowers for about 15 seconds. Remove the Iron until the paper has cooled. Repeat this until the flowers are dried and flattened to your liking. This may take some time but it’s faster than waiting two weeks for flowers to press.
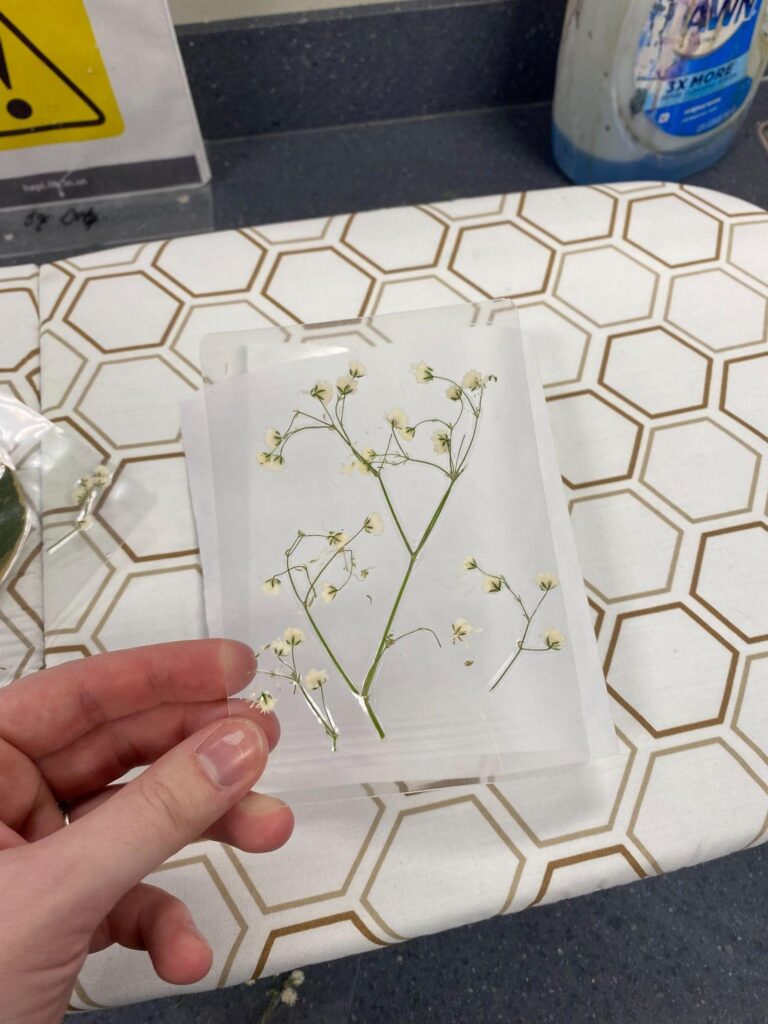
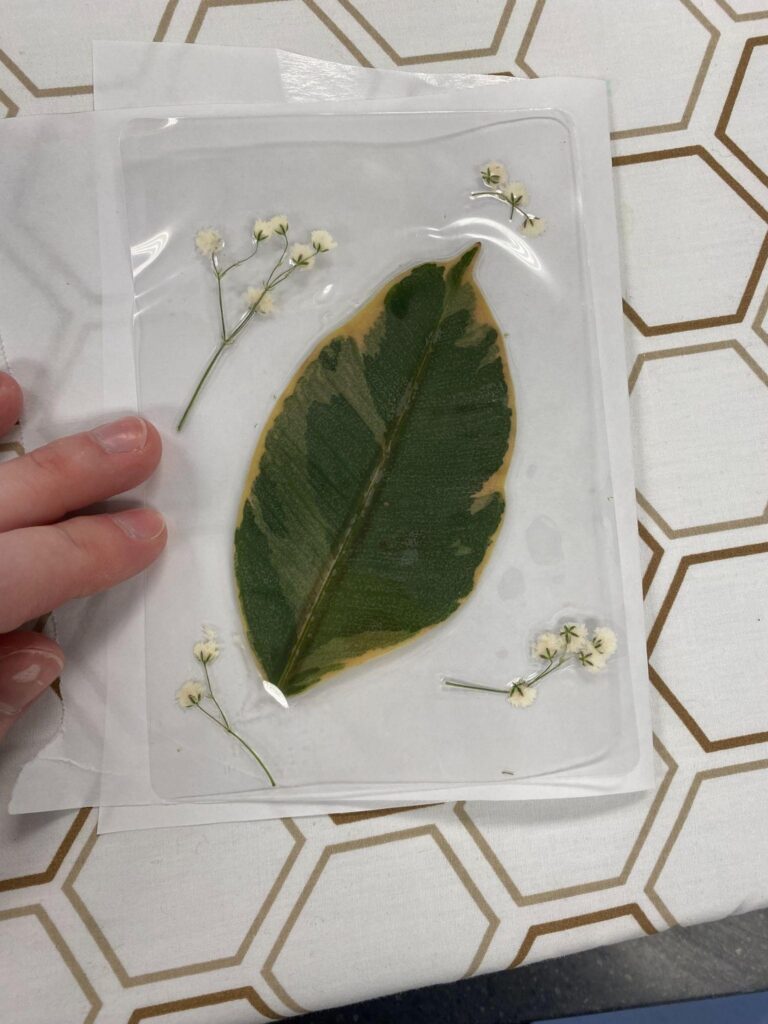
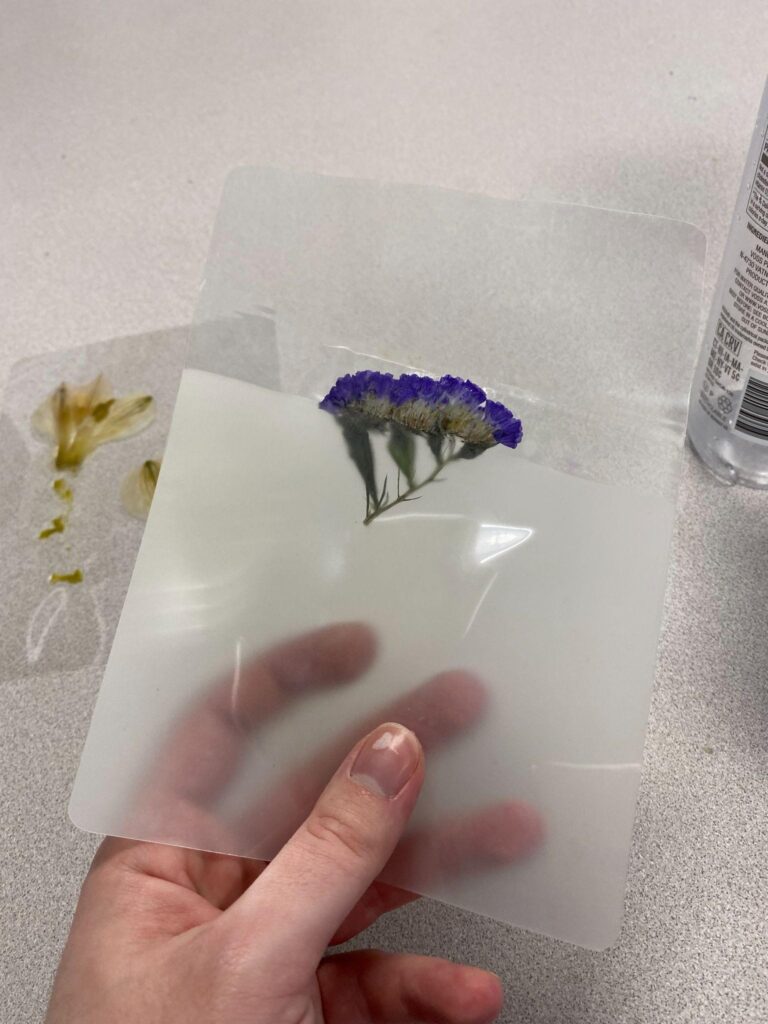
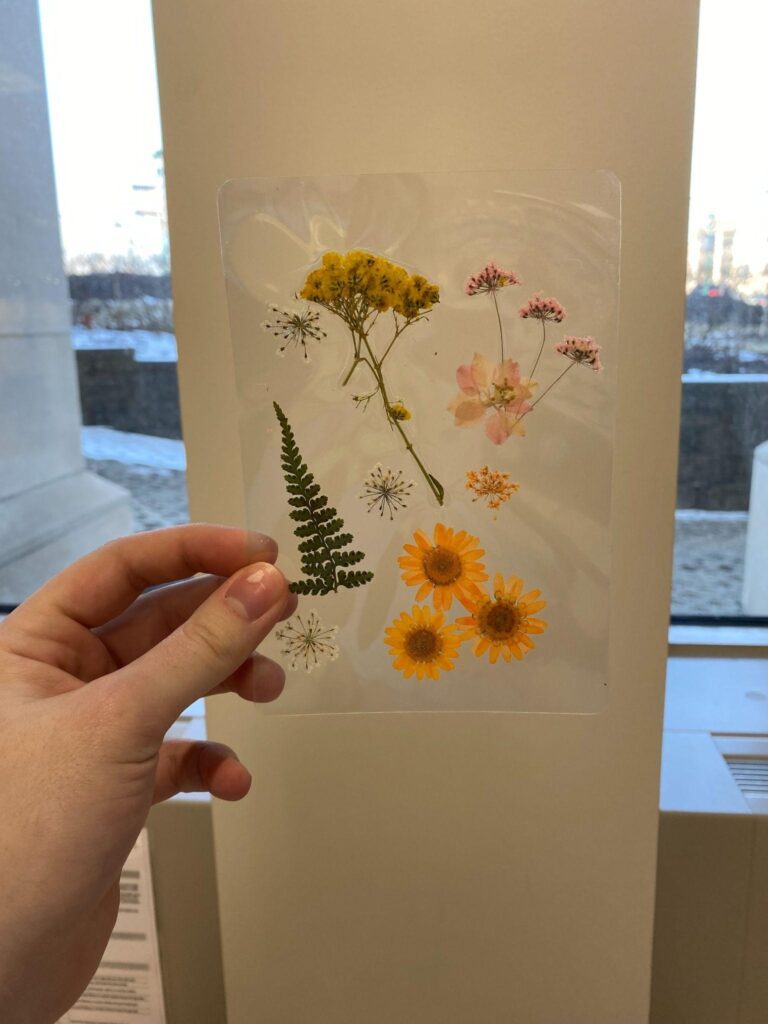
How to Make Laminated Flower Art
To preserve these gorgeous flowers forever we are going to laminate them!
- First open a laminator pouch/sleeve and arrange the flowers however you’d like
- Close the sleeve.
- Put the sleeve through the laminator, making sure to hold it while it goes in so that it stays flat, this will help the pouch press more evenly.
There are so many fun things you can do with your freshly-laminated flowers such as bookmarks, placing them in picture frames, hanging them in your window, and so much more! Show us what you’re making on our Ignite Community Discussion Board on Facebook. Happy Making!
