

By Sydney Brink
A monoprint is a type of print that can only be made once, hence the prefix mono-, meaning “only” or “one”. With the monoprint kit at Ignite Studio, you can use a gelatin plate to make your own unique prints. Typically, the gelatin plates (also called “gelli” plates) are used for abstract work – you can paint directly onto the gelatin to make prints, or layer print after print to make a unique product. However, I’ve been loving using editorial ads from magazines to make some really interesting looking prints – here’s instructions on how make gelli prints using any laser printed or Xeroxed image!
I should start by saying that this is an imperfect process. You might end up with some not ideal prints, and that’s okay! You’ve still made a unique monoprint whether or not you get a successful image transfer. This process uses images (or text) made from laser printers NOT inkjet printers. That’s because the ink from these types of prints (i.e. some newspapers, magazines, copies or printouts of documents made on most copy machines) resists overlays of other inks or paint. The dark areas with lots of ink on the magazine page resists picking up the paint from the gelatin plate. This leaves behind the ghost of the original image in the paint after you’ve removed the page. Getting the extremely specific amount of paint that will make this process work is the most important part. That’s just something you might have to practice with a handful of times to understand how the paint behaves.
Supplies to Make Gelli Prints
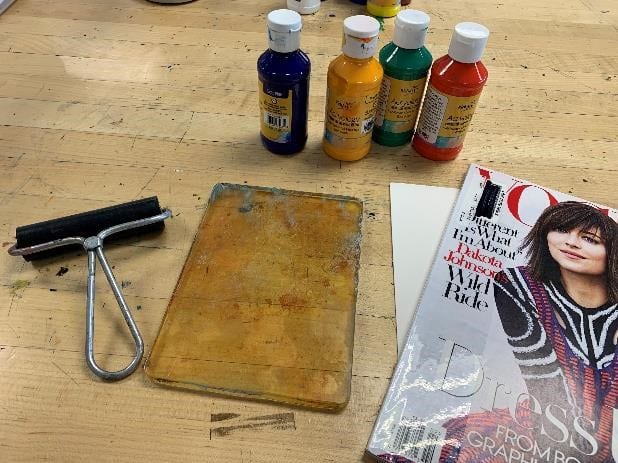
You’ll need (*: already in the monoprint kit, ready for checkout!)
- Gelatin plate*
- Acrylic paint or ink*
- Brayer*
- Barren *
- Paper to print on*
- Scrap paper to clean your brayer off with (available in Ignite’s Clean Up Area)
- Magazines (Check out Ignite’s collage cart to choose your zines!)
There are two ways to make gelli prints.
How to Make Gelli Prints: The First Way
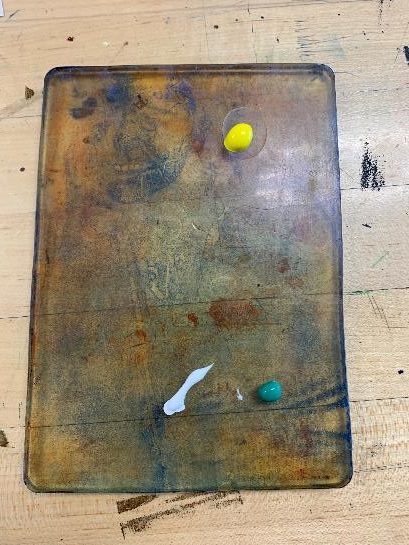
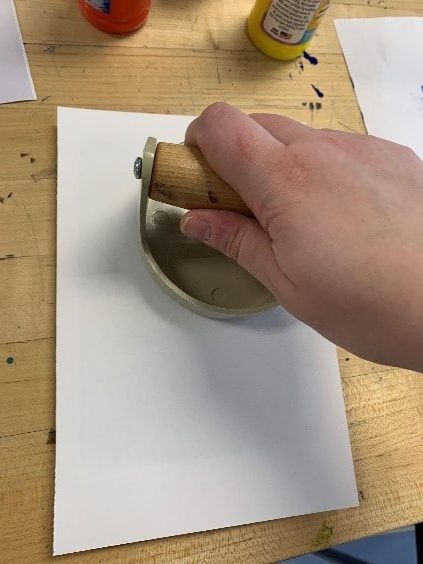
- Start by making some light-colored backgrounds to put your transferred image onto. Put some dots of paint onto the gelatin plate, then using the brayer roll the paint out over the gelatin block.
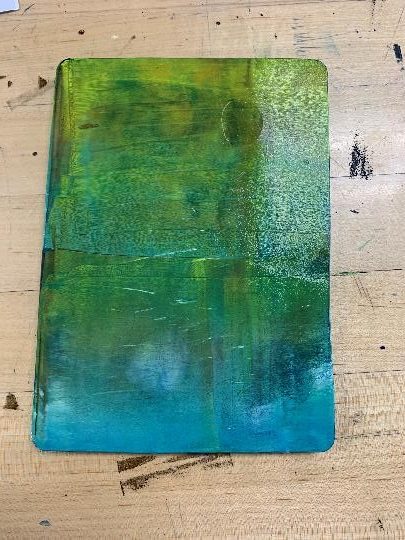
- Put a piece of paper onto the gelatin block and apply some pressure to the back of the paper with your fingertips or a barren. Then lift your paper up – you’ve made a print!
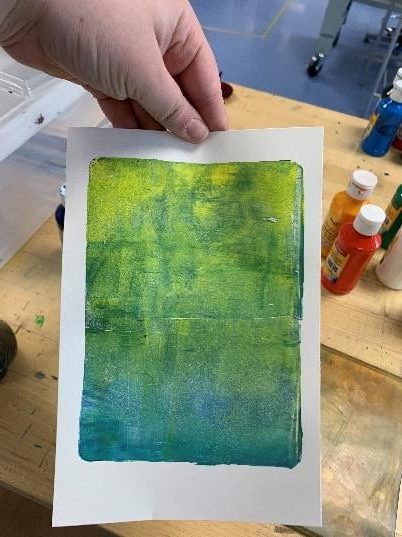
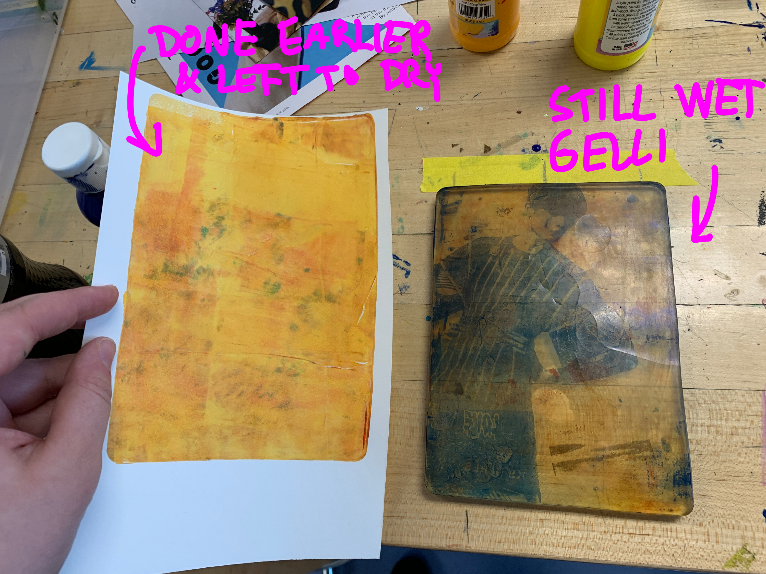
- Set aside to dry completely for five to ten minutes, depending on how much paint you’ve used.
- Lightly dot some paint onto the gelatin plate. (Darker colors perform better!) Use a clean brayer to roll the paint out evenly over the block. You should use just enough paint to cover the block, but not enough to obscure your view through it. The gelatin plate is transparent, and you should still be able to see some of that transparency through the paint to the table below.
Tip: If you initially put down too much paint, use the brayer to roll up excess and leave it on the scrap paper.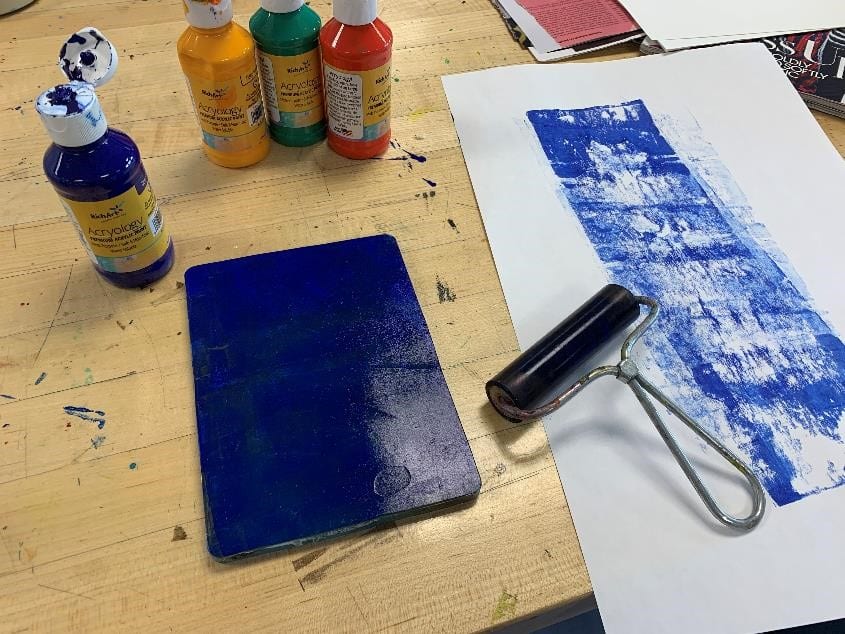
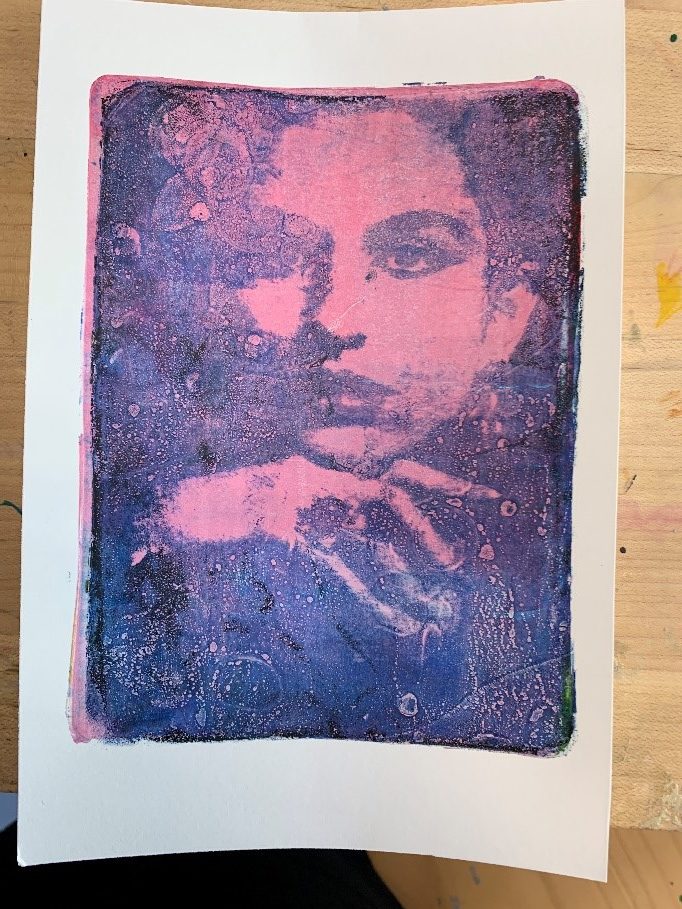
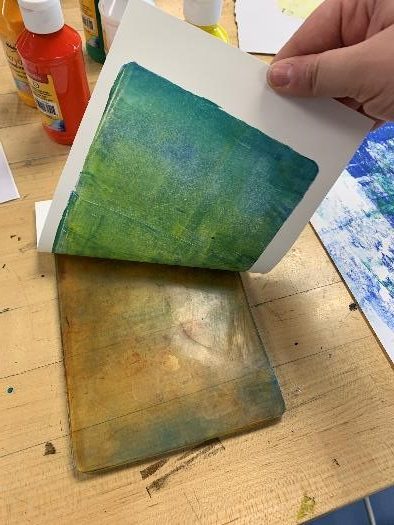
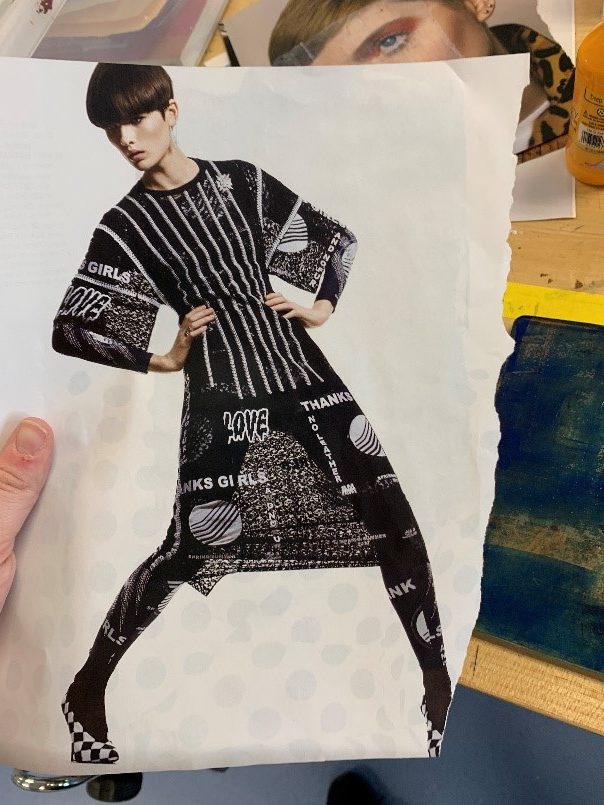
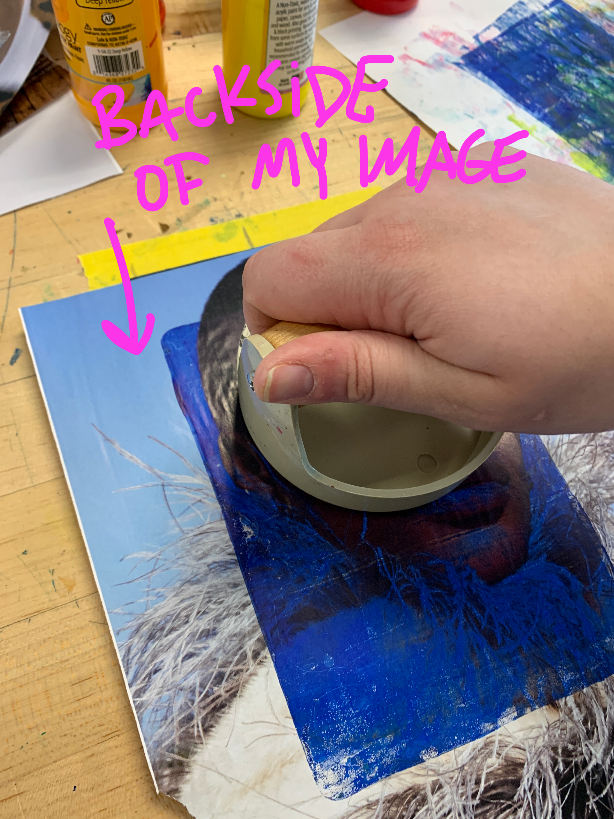
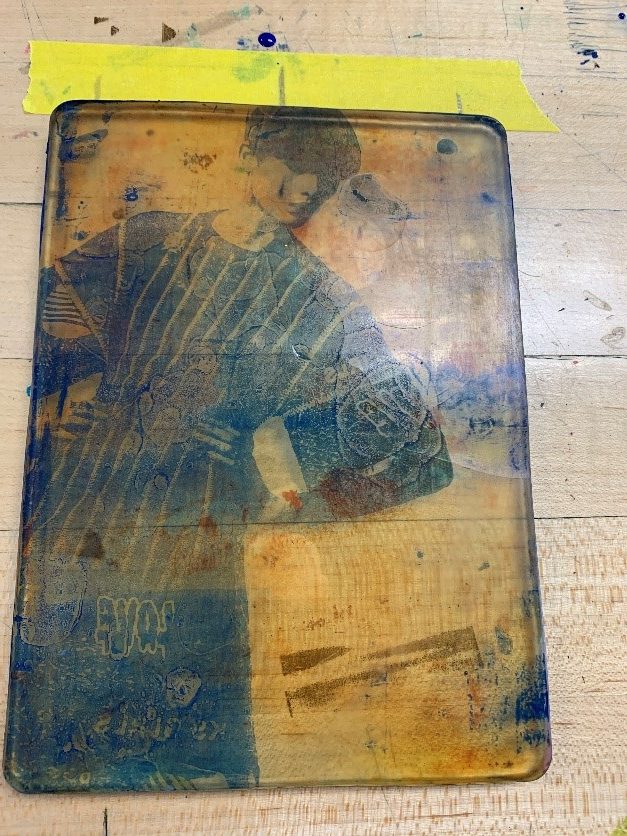
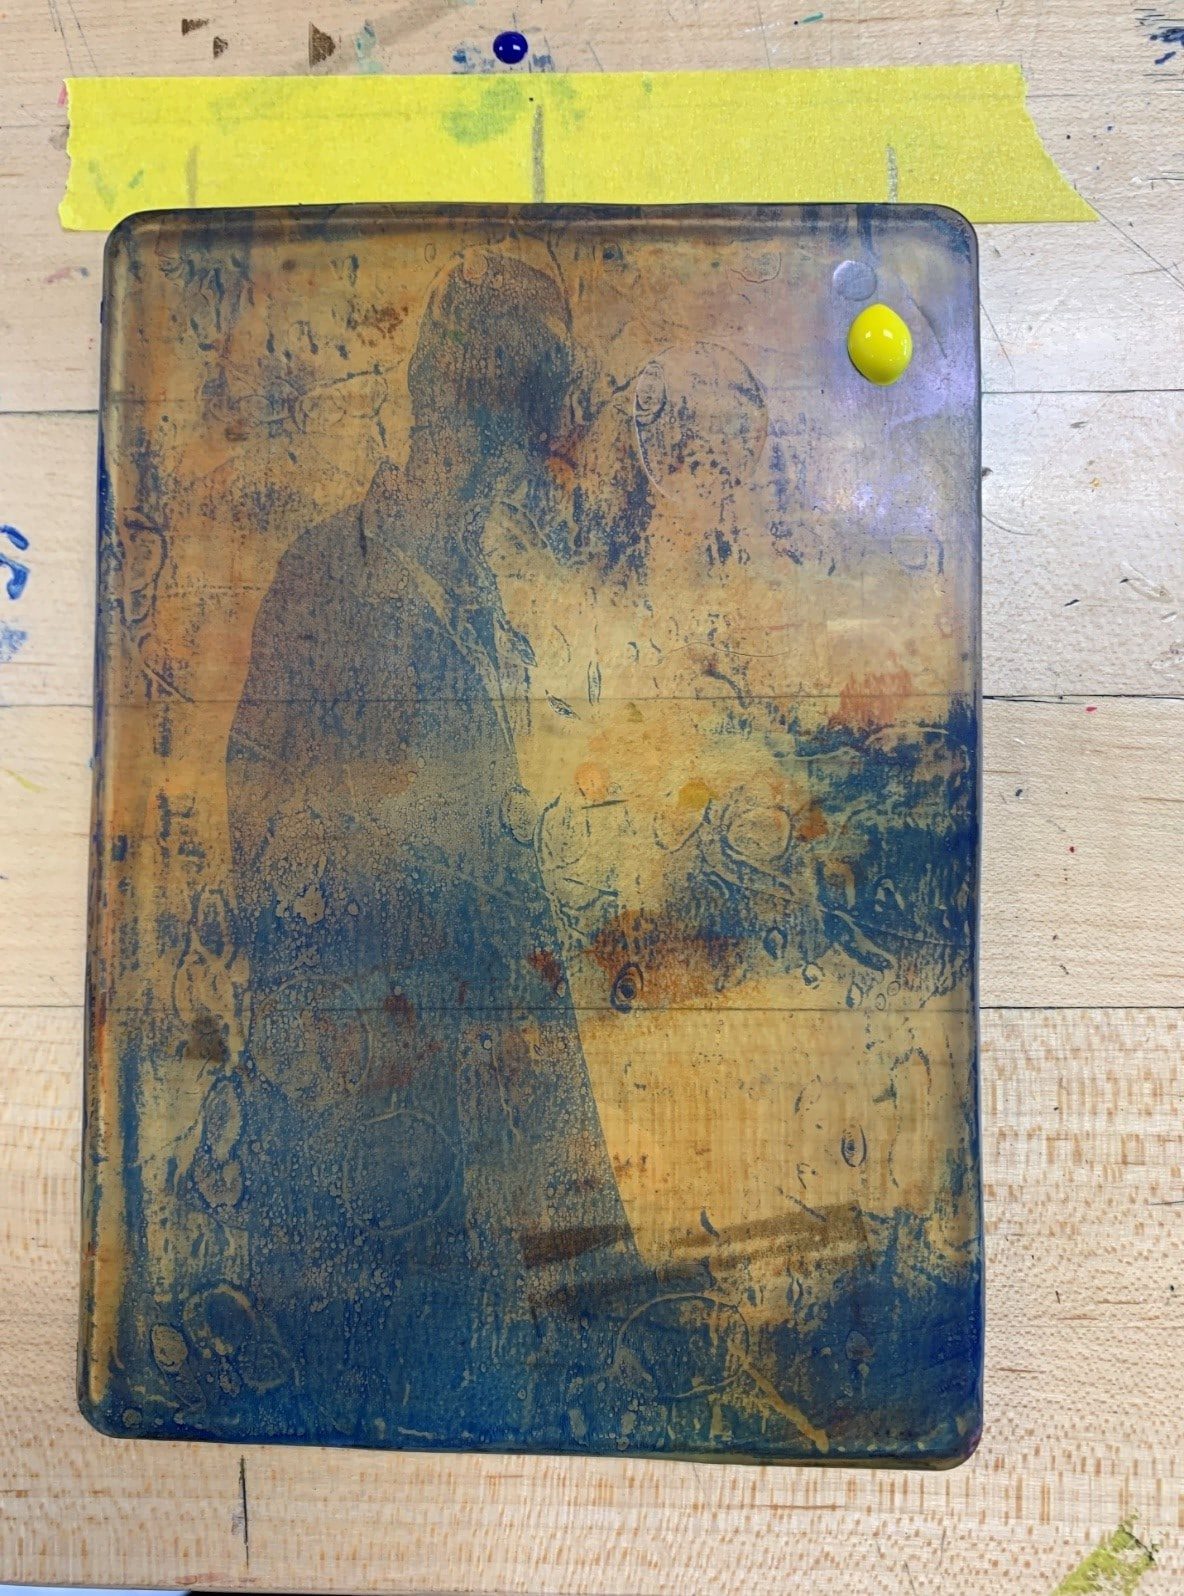
- Put a high-contrast image from a magazine face down onto the gelatin. Use the barren or your fingertips to lightly press the magazine page down onto the block, and then peel off the magazine page to reveal your transfer on the gelatin plate.
 Tip: If the magazine paper gets wrinkly from being wet, you’ve used too much paint!
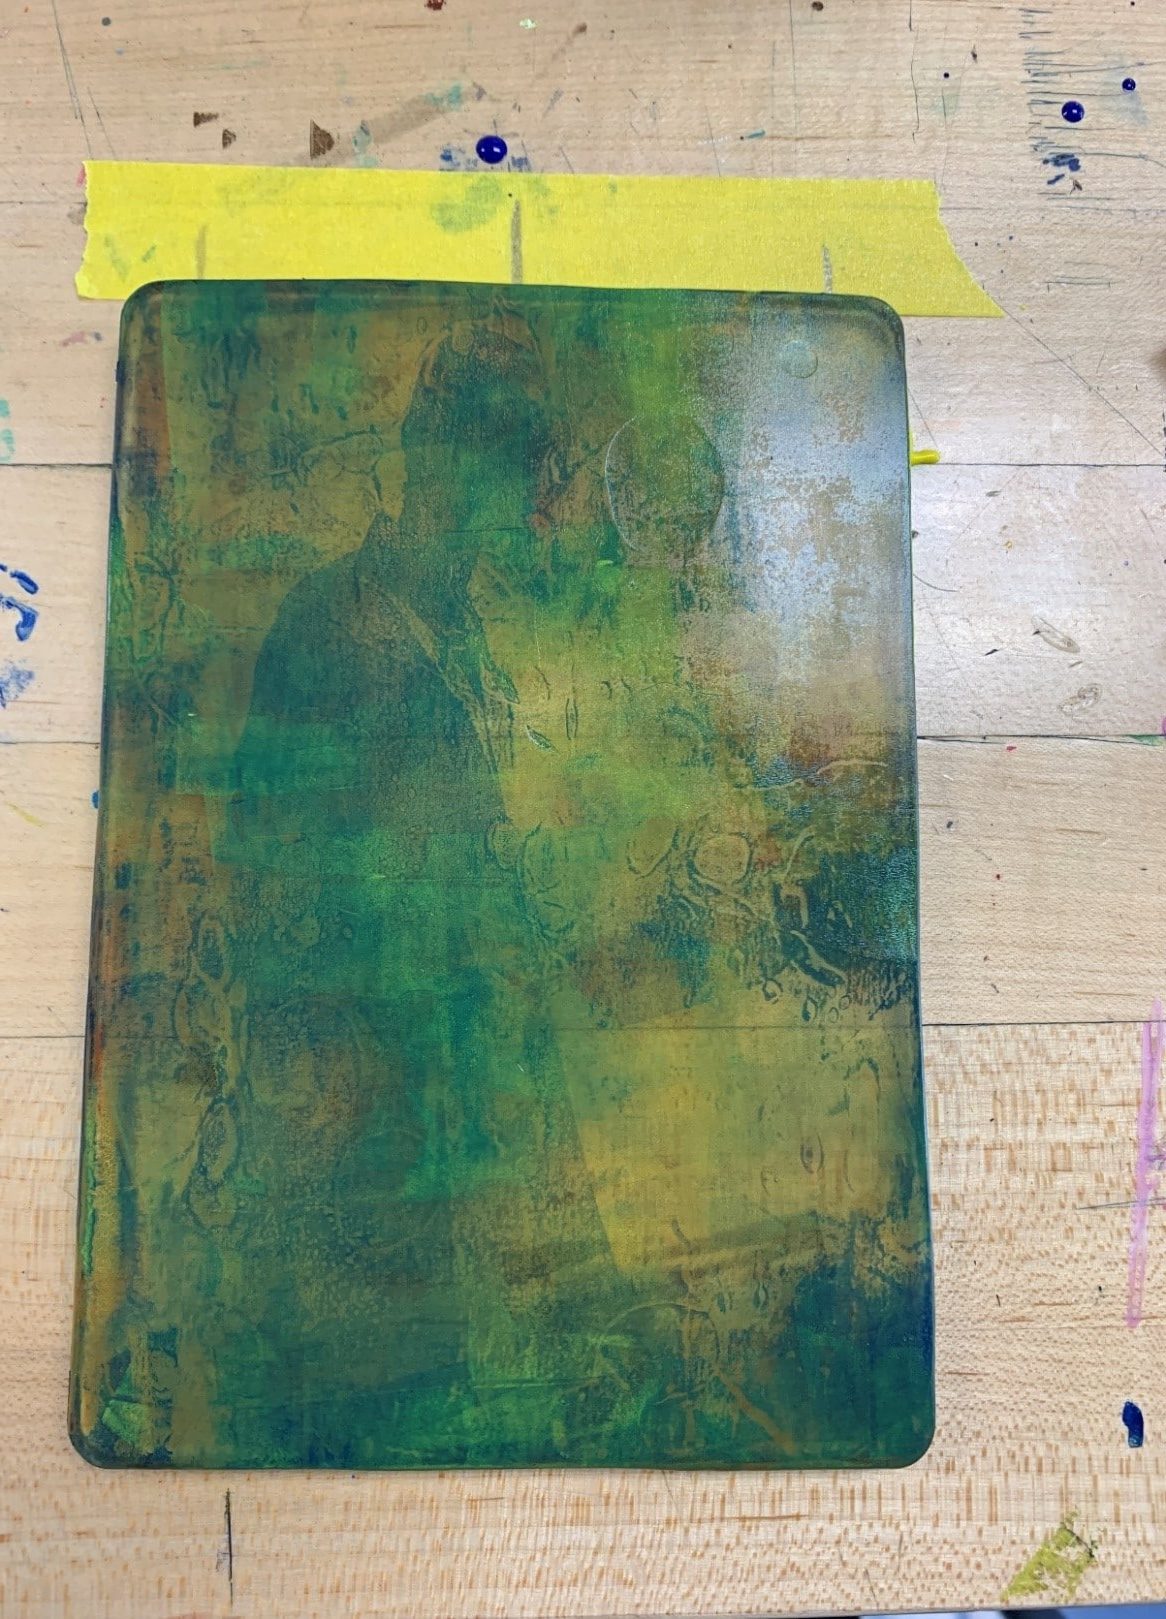
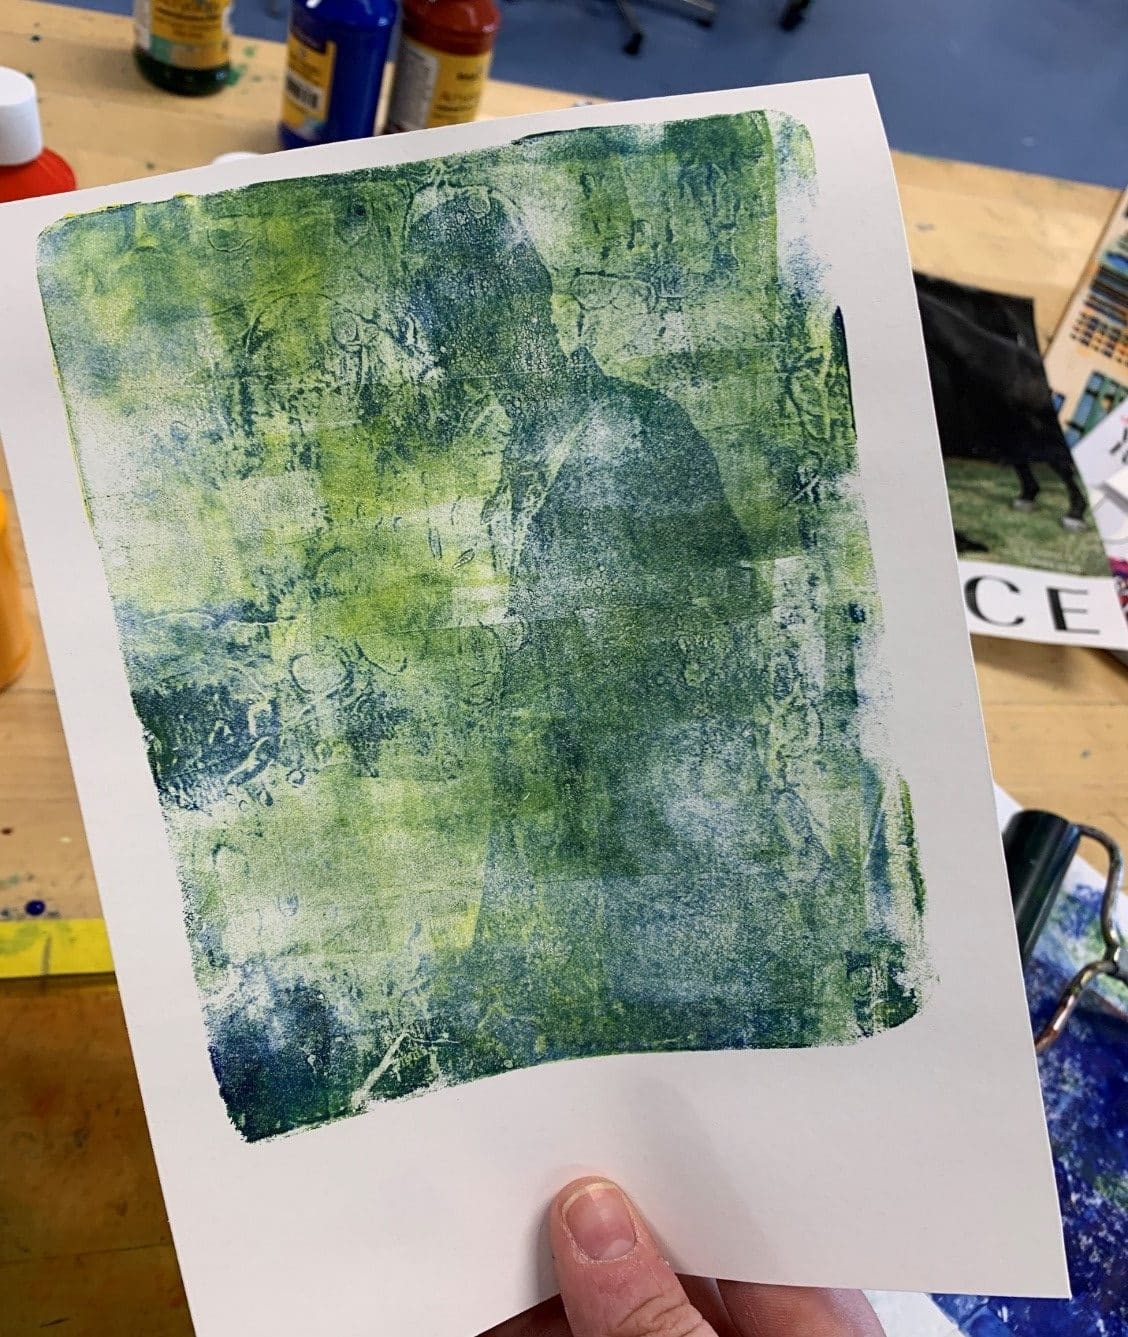
 - While the paint of your transfer is still wet on the plate, take one of your color blocked backgrounds and line it up. Use the barren or your hand to firmly rub over the back of the paper, then peel the paper off to reveal your print!
Tip: Here’s an easy way to get your prints layered neatly on top of each other – put a piece of tape on the table along the top edge of your gelatin plate. Mark the edges of the block and a line in the center in pencil on the tape. When you turn your paper over onto the plate to make a print, use the pencil to mark the lines on the top onto the back of the paper. When you go to print again, simply line up the pencil marks to get everything lined up. This is called “registration” in printmaking!
How to Make Gelli Prints: The Second Way
- Lightly dot some dark colored paint onto the gelatin plate. Use the brayer to roll the paint out evenly over the block. Use just enough to see the transparent gelatin underneath the paint.
- Put a high-contrast image from a magazine face down onto the gelatin plate. Use a barren or your fingertips to press the magazine page into the ink, then peel off the page to reveal your transfer on the gelatin plate.
- Wait until the paint on the plate is COMPLETELY dry. You might need to wait up to five minutes. Roll the extra ink off your brayer onto the scrap paper to clean it while you wait!
- With a clean brayer, put a dot of a light colored paint onto the gelatin plate in a clean area on your plate (anywhere left “empty” after your transfer image). Use the brayer to roll the ink out over the transferred image. You want an extremely light coat of paint, enough so that you should still see the transfer image below!
- Put a piece of paper on the gelatin plate and firmly rub your hand or a barren over the back of the paper to pick up both layers of your print. Then peel off the paper and reveal your print!
Gelatin plates lend themselves to all kinds of beautiful resist-type prints. Play with stencils, found objects or the back of a paintbrush to doodle in the paint before making a color block background to put your transfer onto. Use ombres, gradients, or any other paint combination to make them more interesting. Or collage your magazine pictures before printing to make something truly unique!
Check out this class on the arts database, Creativebug, that goes much more in-depth about using the gelatin plates. And join us in-person to use the mono printing kits anytime! Happy making!
