
By Amanda Sabo
Hello Friends! How I have missed you! I’ve been working behind the scenes since the COVID-19 closure, so we haven’t seen a lot of each other. I hope you’ve been taking advantage of our virtual offerings, like today’s DIY cereal box postcard drop-in activity. I love sending postcards to friends and family. It’s a great way to let someone know that you are thinking of them when you can’t be together. If you’ve ever seen a kid get a card in the mail, you know how special receiving a piece of mail can be.
The beauty of making your own postcard is threefold:
- It’s your design.
- Household items are upcycled.
- You definitely have something in your house that can be turned into a postcard.
You can get away with treating almost anything as a postcard. Of course, the USPS has specific regulations regarding postcard size, shape, and thickness. Don’t let that discourage you from making something incredible! My absolute favorite postcard is a mailable slice of cake! Today’s cereal box postcard is bigger and thicker than the USPS regulations, so we’ll have to use a letter stamp instead of the usual postcard stamp. For just a few more pennies, we get a lot more freedom.
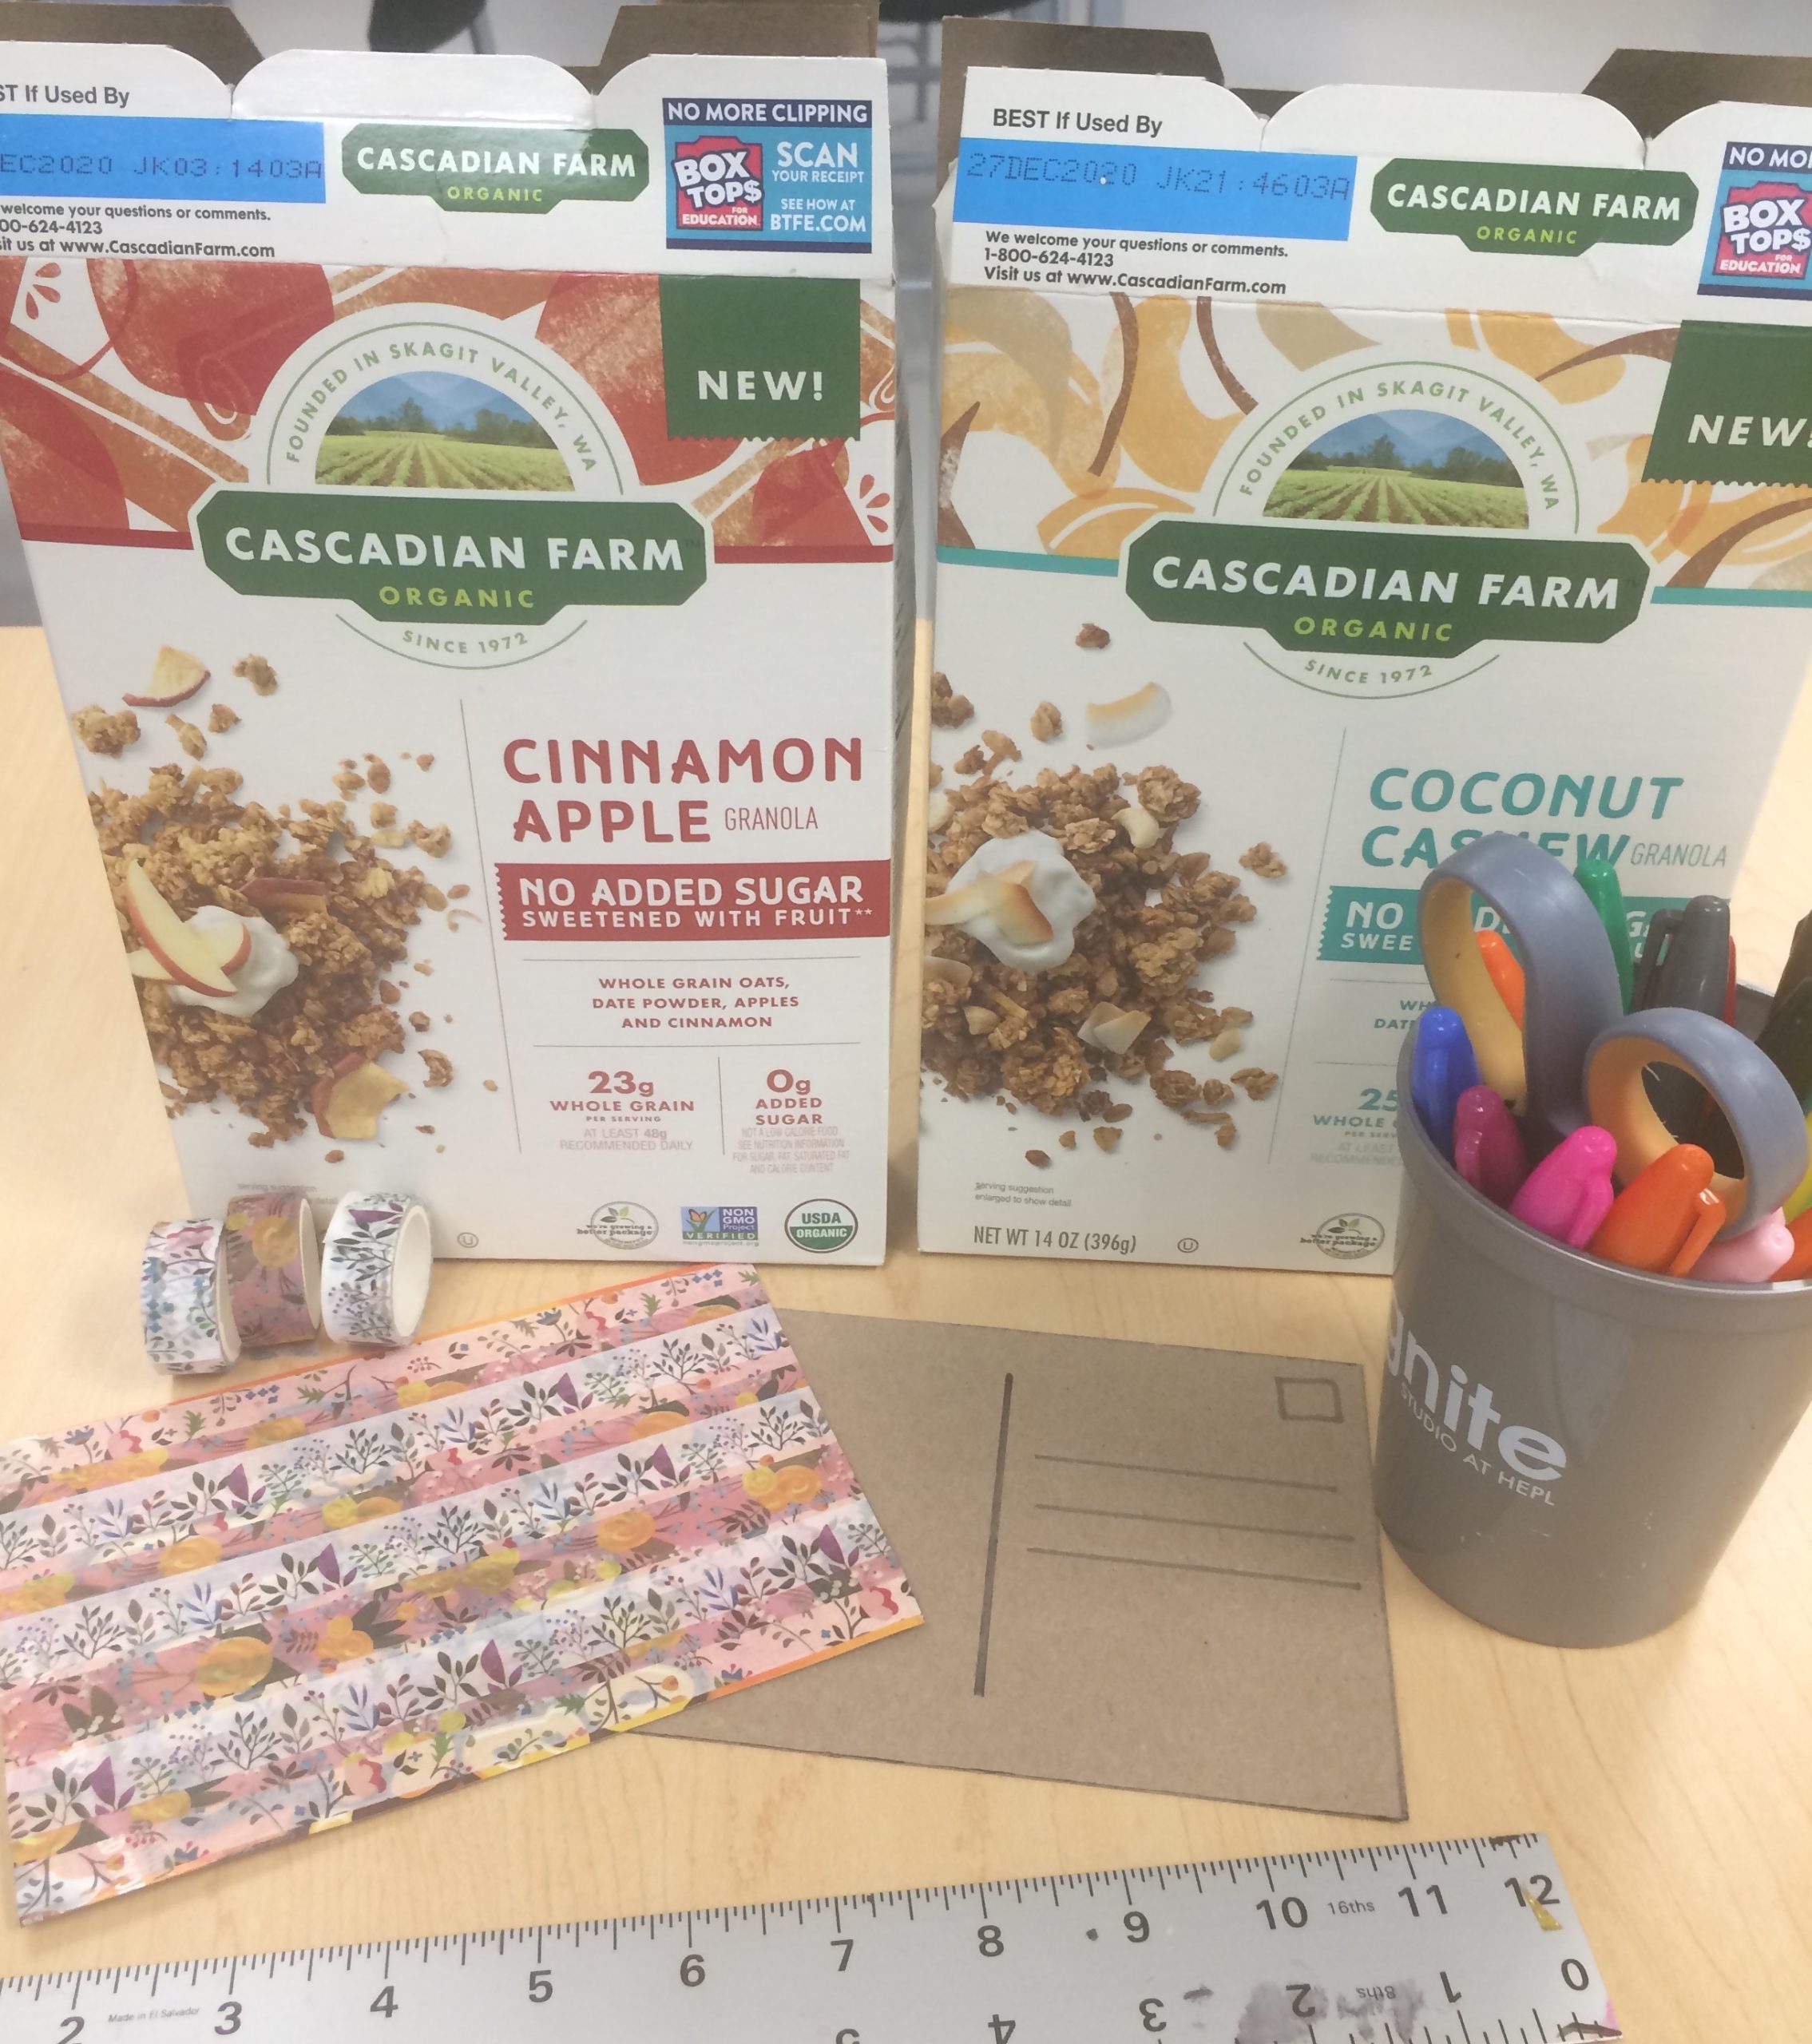 Materials
- Cereal box
- Scissors
- Pen
- Ruler/Measuring tape (optional)
- Stickers, stamps, washi tape, markers, whatever you have on hand!
 Step One: Break down your cereal box. Use a ruler to draw a 5×7 inch rectangle on the inside of your cereal box. If you don’t have a ruler, use an old envelope as a guide. Cut out your rectangle.
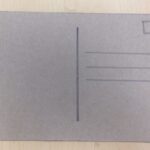
Step Two: Lay the rectangle horizontally so that the longest side is going from left to right and the shortest side is going from top to bottom. Draw a vertical line down the middle of the rectangle.
Step Three: On the right side draw three horizontal lines. This is where the recipient’s address will go. Draw a square in the top right corner where you will place your stamp.
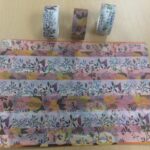 Step Four: Decorate! Use your stickers, stamps, washi tape, markers, and whatever else you can find to decorate the back of your postcard. If you don’t have any stickers or washi tape, cut out some small designs from a magazine and use scotch tape to adhere it. You want your design to be reasonably flat against the postcard, so I would avoid foam letters or anything 3D. You also don’t want your decorations to sit outside the edges of your rectangle. I alternated washi tape with flower designs as my decoration. If you want your postcard to be a little funkier, skip the decoration and let the cereal box speak for itself.
Step Five: Write a lovely note on the left side. “I miss you!” is always nice to hear, and probably very accurate right now!
Now, all you need is a stamp, and you’re ready to brighten someone’s day.
Check back next Monday at 9am for our newest virtual drop in!
