

by Sydney Brink
Did you know that you can use the cricut to make paper sculptures? It is so much fun to see how three dimensional paper sculptures come together from flat templates. However, the process can be pretty labor intensive. If working with templates full of small pieces and scoring tons of lines by hand is holding you back, never fear! You can use free programs and equipment available at Ignite to cut out and score your pieces for easy assembly.
How to Use the Cricut to Make Paper Sculptures
Step 1
Create your 2D template in Pepakura. You can follow this guide. Important update from the guide for this method: make sure to select “vector lines” in page setup instead of “bitmap,” which is the default in “page setup”.
Step 2
Use CorelDraw on the Ignite laptops to open your PDF. Do this one template page at a time. Choose the page number you wish to work with. I’ve already done pages 1 and 2, so I chose page 3. Your dialogue box for importing PDFs should look similar to this:

Note: It will ask you here to change the font of the numbers in the PDF to one of the preprogrammed fonts that Corel can recognize.
Step 3
Your imported PDF page will look like this:

Select both the text at the bottom of the page and the excess lines the program has read from the rest of the PDF pages. Delete these so you’re only left with the pieces.
Step 4
Go to File -> Save as -> SVG (scalable vector graphic).

Step 5
Now we need to save a second file. Go to File -> Export -> Save as a PNG. Your dialogue box should look similar to this:
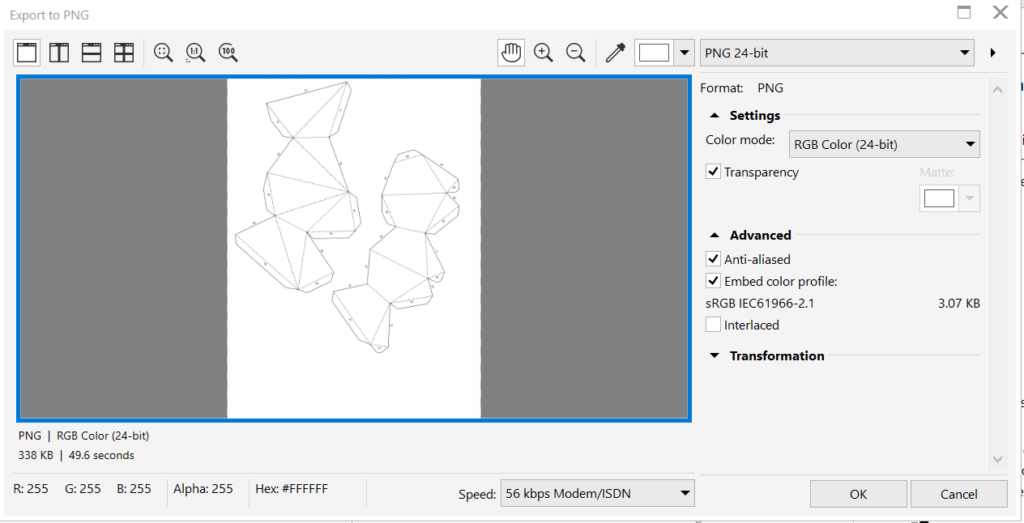
If it isn’t already, select “PNG 24-bit” in the drop-down menu from the top right corner, and check that the Color Mode drop-down menu is selected as “Black and White.” Make sure the box that says “Transparency” is selected. Then save your template page as a PNG.
Step 6
Now we are moving on to Cricut Design Space. You should already have a familiarity with the program before doing a project like this, but if you need a refresher, watch Ignite’s video playlist on how to get started here. In Cricut Design Space, create a new canvas. On the toolbar on the left, select “upload.” Choose your SVG file. Then choose “cut image” (which should be the only option anyway for SVG file formats). Save this.
Step 7
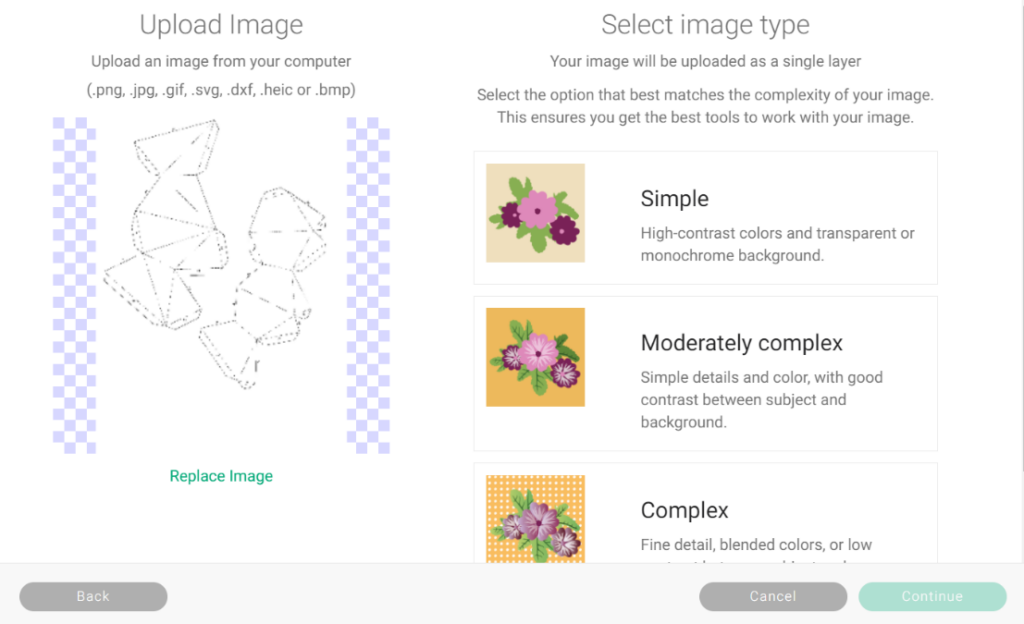
Go back to the “upload” tab from the toolbar. Now we will upload the PNG image you created of your template page. Click “complex image”.
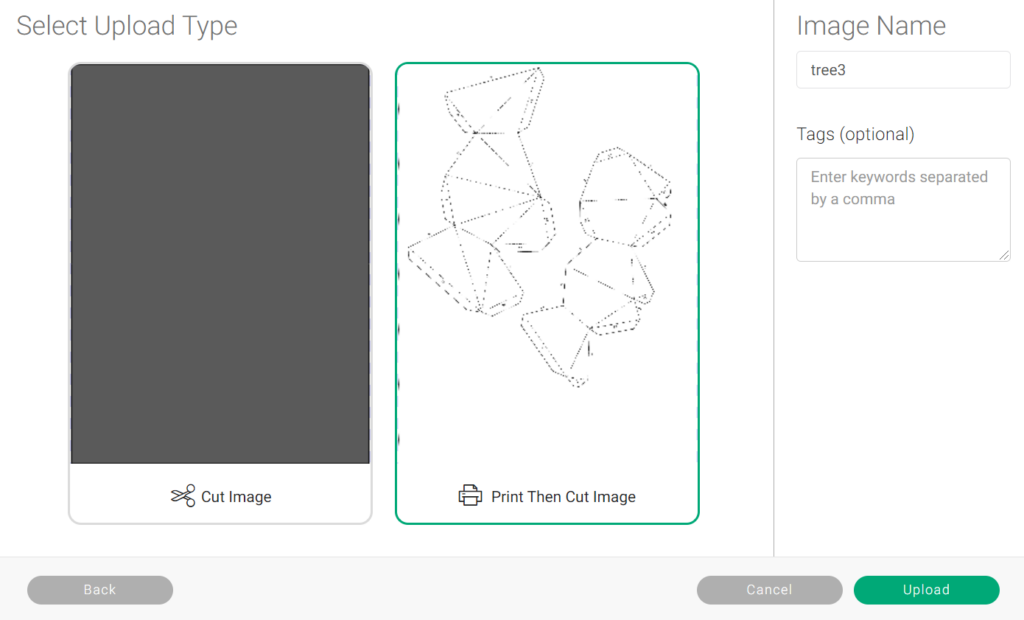
Click through and save your upload as a “print then cut” file.
Step 8
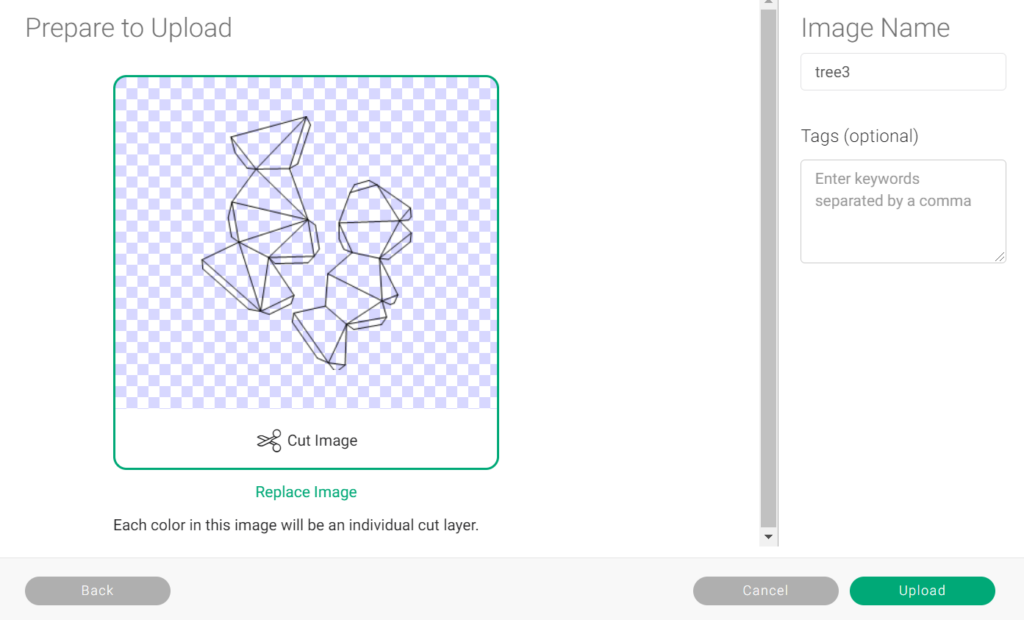
Upload your PNG again. After proceeding, click “complex image.” This time, use the editing tool to erase the background to create a transparency. You will also want to erase the Edge ID numbers that lie outside of the template. This is what the screen looks like after removing the background and numbers:
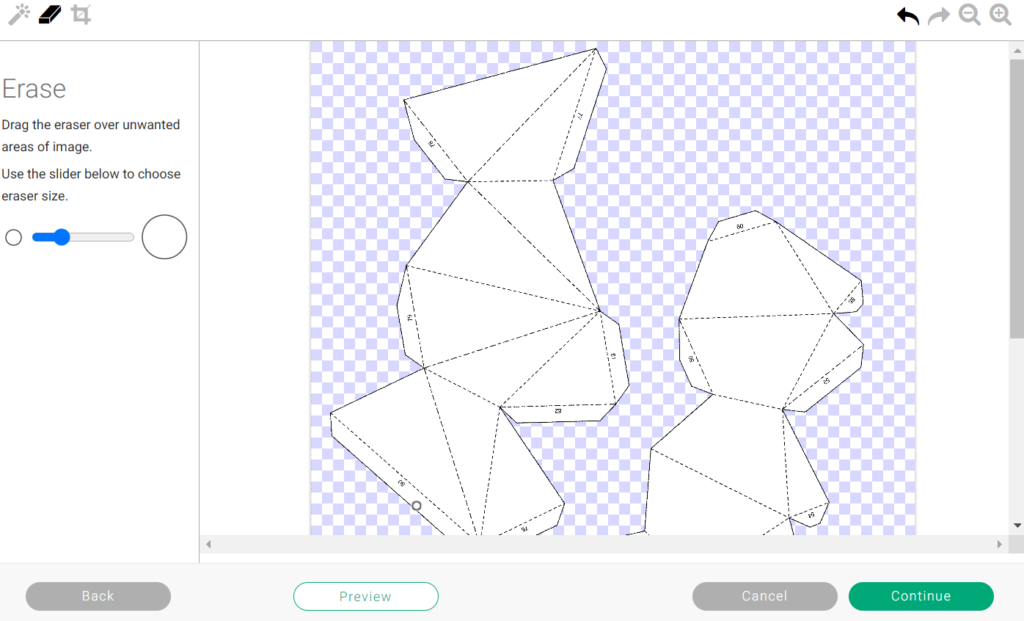
Then save as a print then cut file.
Step 9
Insert all three files you’ve uploaded onto your new canvas.
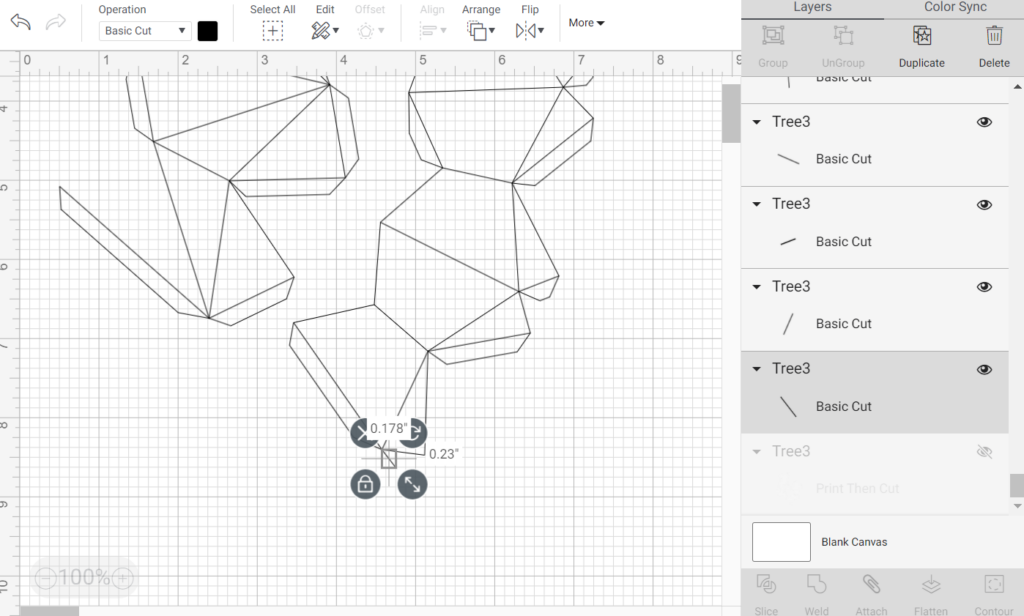
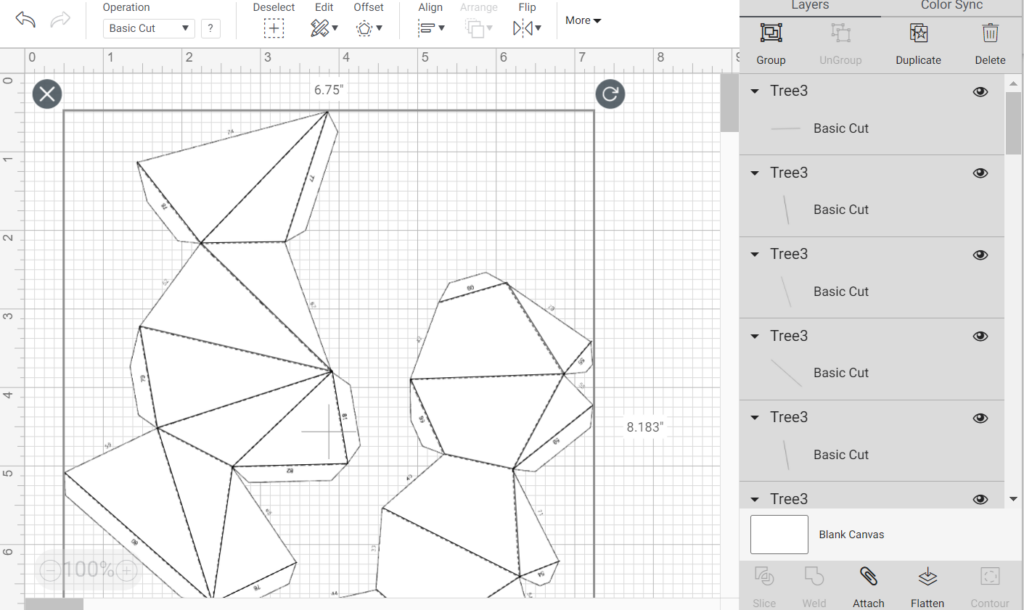
IMPORTANT: The Cricut Maker can only do print then cut on images that are less than 6.75 in x 9 in, so resize ALL of the pages of your templates to the exact same dimensions. Do this on multi-page templates so your pieces will all be scaled to the same size.
Here you should hit Ctrl+A on your keyboard to select everything on the canvas and change the size of all three layers to match. Line up your template pieces on top of each other, using the “arrange” button on the top tool bar. You should have your SVG/lines layer on top, your transparent print then cut layer in the middle, and the full page print then cut layer on the bottom.
Step 10
The SVG/lines layer that you’ve moved to the top will become your scoring lines. Select all of the SVG/lines layer, and click the button on the top of the layers menu on the right that says “Ungroup.” This makes it so you can delete excess lines from this layer. Delete all of the lines on the outside of the template that don’t need to be scored. Otherwise Cricut won’t be able to load the project due to too many commands. After, hit the “group” button to group everything back together.
Step 11
Click the paperclip at the bottom of the layers menu on the right to attach all the layers together.
Step 12
Hit the green button that says “make it.” After proceeding, you’ll be prompted to print your design:
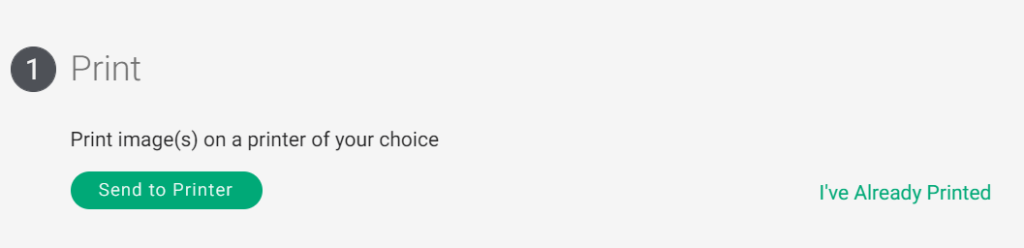
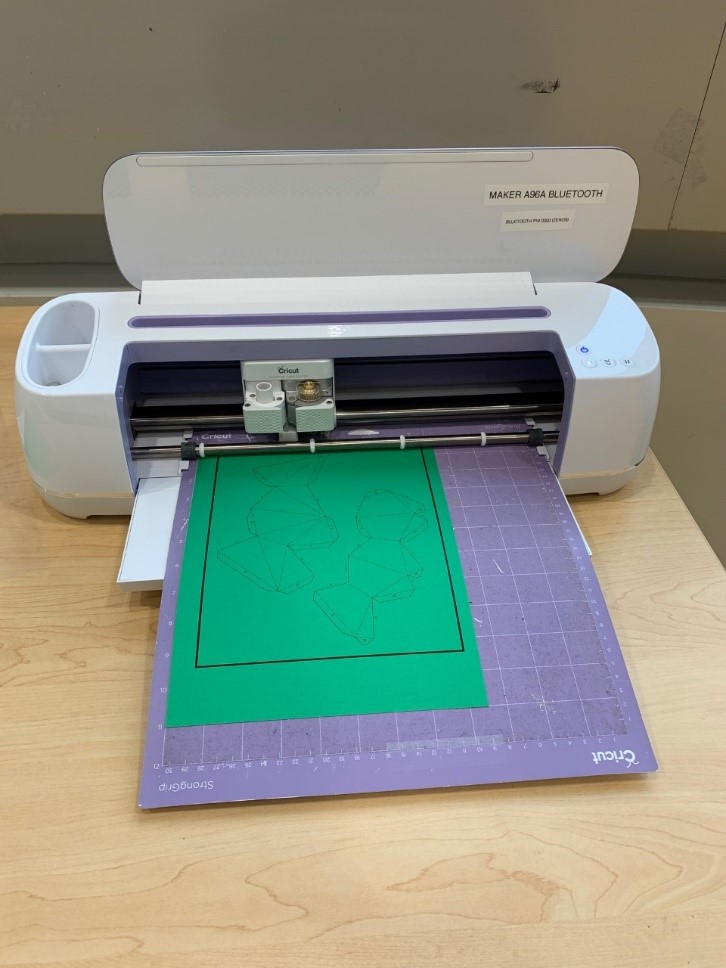
Step 13
Now simply follow the prompts from Cricut to score and cut. Attach your printed template to a mat and send it through the cutter. Change your cutting head from the scoring tool to the fine point blade when prompted.
Step 14
Rinse and repeat for all pages of your template.
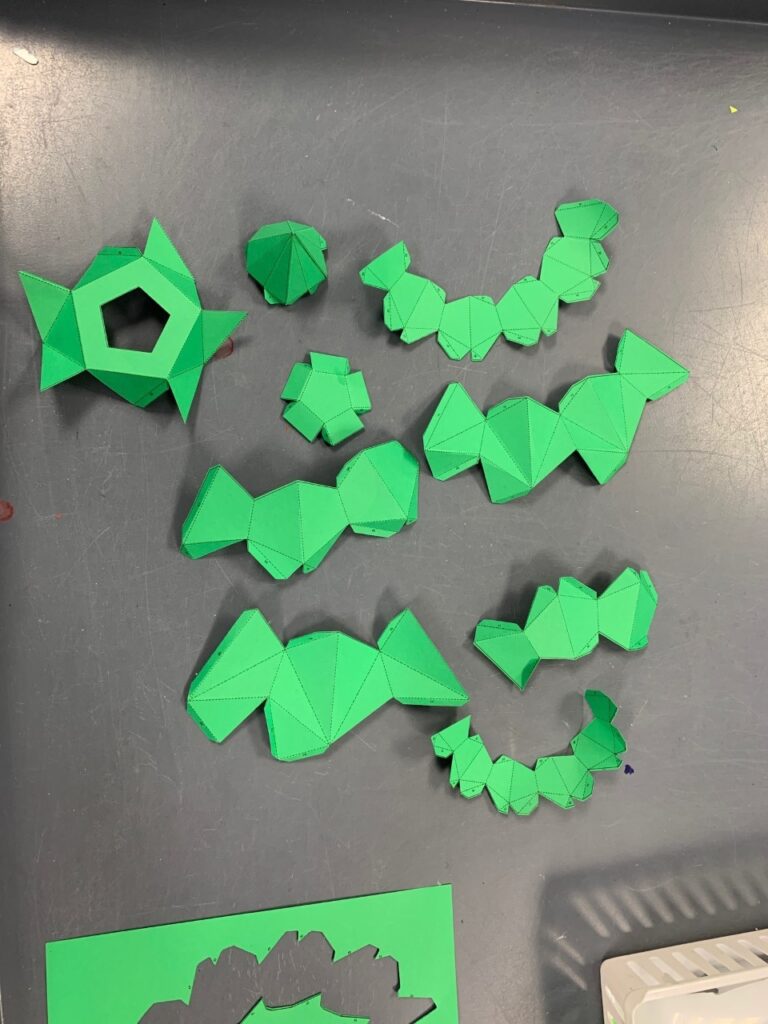
Step 15
Assemble!
It’s important to note that you can’t do the “print then cut” feature using full 8.5 in x 11 in templates on the Cricut Maker. You might want to change the paper size in Pepakura to Cricut scanning dimensions when you are first making your template. Or keep in mind that everything will be resized to be smaller in Design Space.
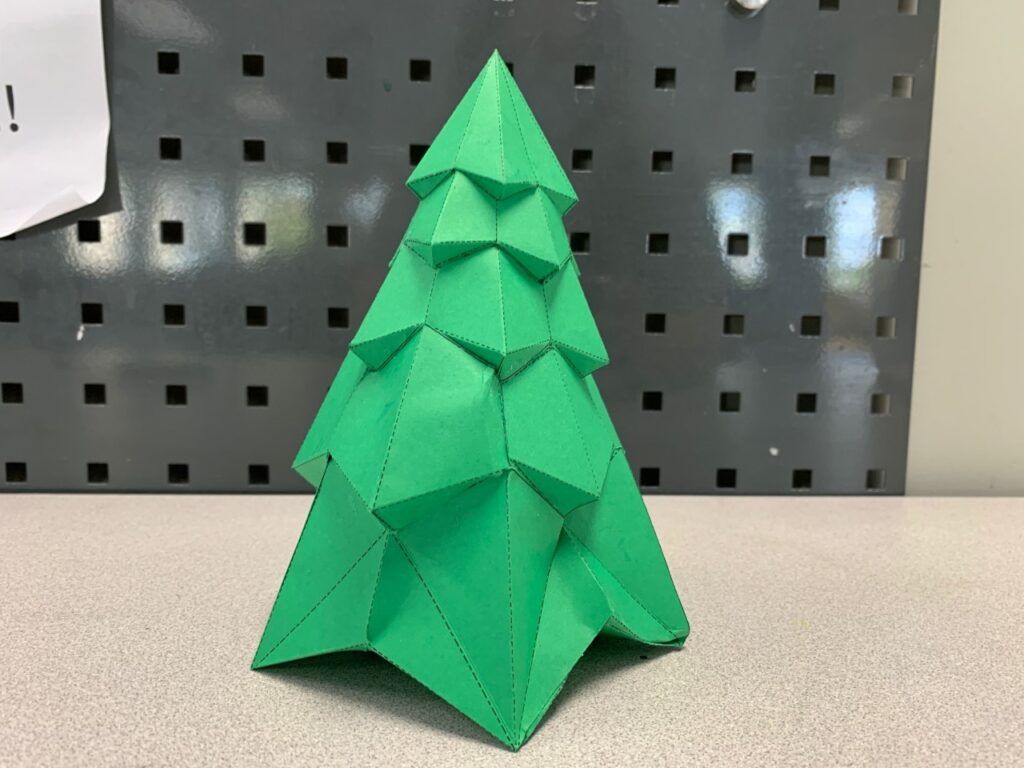
Now you can cut out pop-up templates, paper engineering pieces, or parts for a paper sculpture using the Cricut! This method is a great way to mass-produce sets of pieces, or if holding scissors or a craft knife for long periods of time is difficult for you.
Share what you’re making on our Ignite discussion board. Happy making!
