

by Sydney Brink
Ignite Studio has a new kit available for check out: alcohol markers! The kit has 96 unique colored markers excellent for coloring any illustration. These tools create a beautiful watercolor type finish.
The chisel-tipped markers are used by illustrators and graphic designers of all skill levels because the colors are so bold. The vibrant colors of alcohol-based inks are also water-resistant and dry quickly, so you don’t have to wait for layers to dry in between application. This also allows the ink on the paper to blend smoothly. Alcohol markers are great for on-the-go. Use these simple materials for a plein-air or urban sketching session.
Here are some resources about alcohol markers to help you get started:
- Art is Fun: Markers
- The Complete Beginners Guide to Art Markers
- How-to Use Chisel Tip Alcohol Markers
I start with a pencil sketch, keeping in mind that any under drawing will probably show through the markers – especially lighter colored inks. I use the color of the paper to my advantage and try to make outlines around areas where I would like the paper to remain its true color for the sake of highlights.
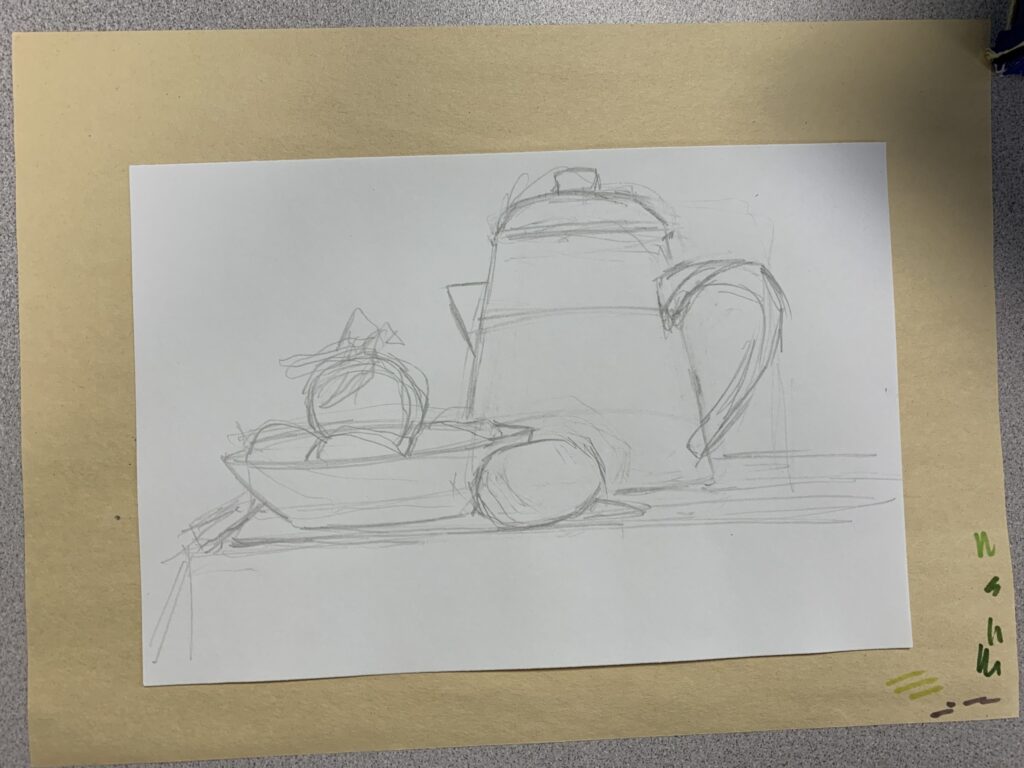
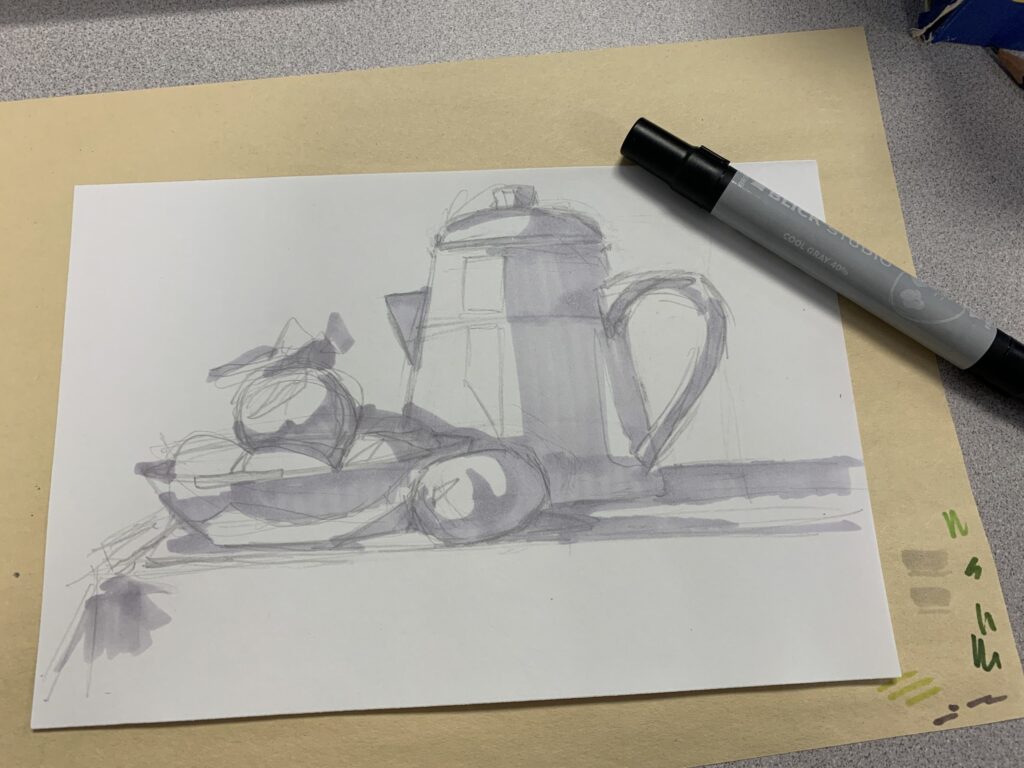
I tend to work object-by-object when using markers – the exception is usually in the very beginning. I will use one of the sets of desaturated grays in the kit to block out the general shapes of shadows across the whole subject area. Then I work from lightest color to darkest color across one specific object at a time. I lay down my flat colors and then use progressively darker colors to define light and shadow.
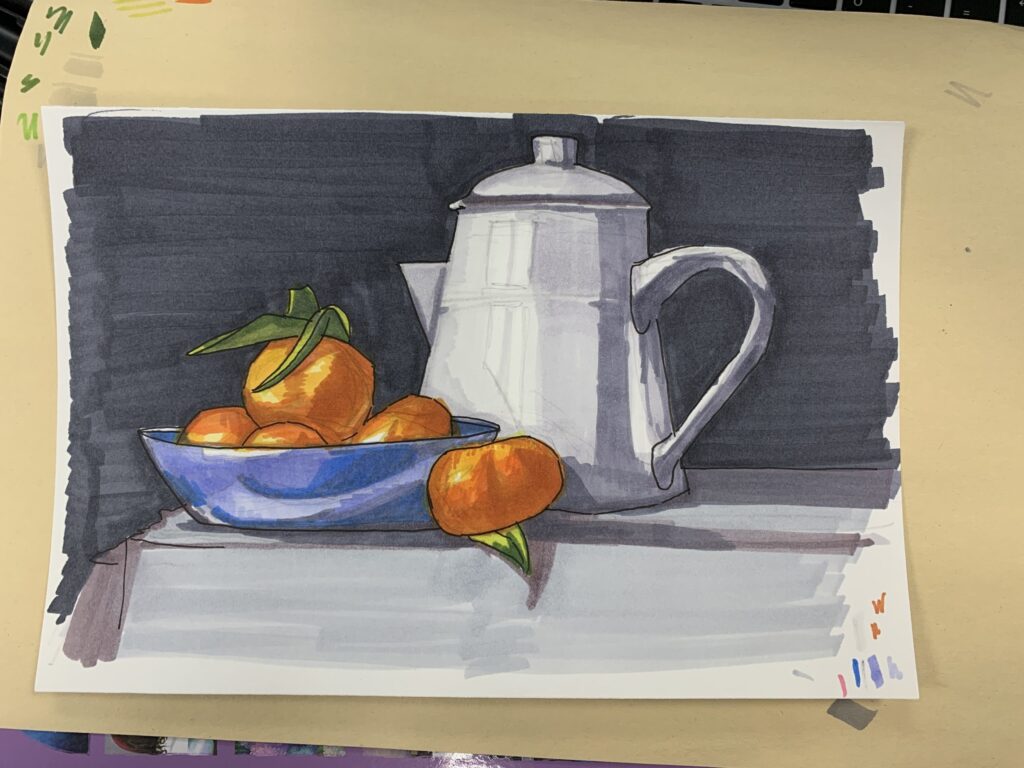
For this bowl, I got a general idea of the light and dark values by using a 40% Cool Gray.
I then found the color I thought represented the bowl well – Light Periwinkle. I colored the whole bowl using the large chisel tip. I used even strokes that back up to one another. This technique helps the ink blend into itself.
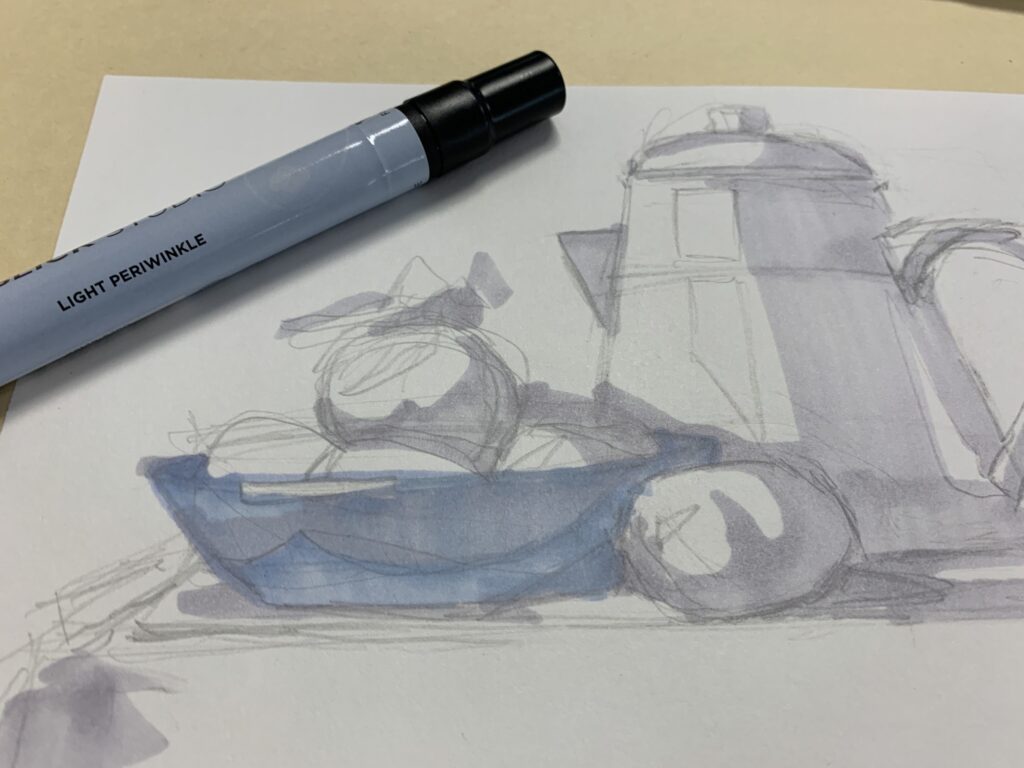
I darkened the bowl in some areas where shadows are cast with Periwinkle.

And added in more details where light is reflecting off the glazed surface. For this I used Cerulean Blue and 70% Cool Gray. I used the desaturated gray as a layering technique in order to tone down the saturation of the Cerulean Blue in some areas.

I decided to move on from here to finish the rest of the drawing.


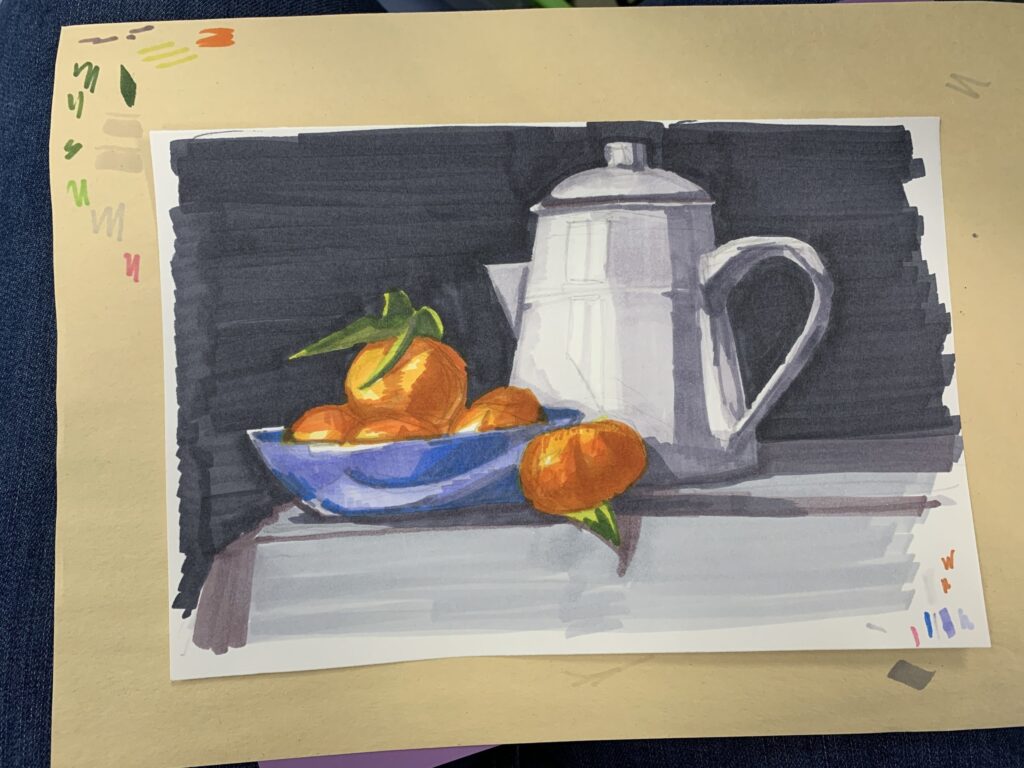
Finishing steps are optional, but you can use a thin-tipped archival marker to add outlines to your drawing and or white acrylic paint in small doses to re-establish your highlights.
Stop into Ignite to try out this or any of our kits. Show us what you’re making on our Ignite Community Discussion Board on Facebook. Happy making!
