
by Kris Hurst
One of our most popular offerings in Ignite Studio, the Kids Clay Kits, are back!
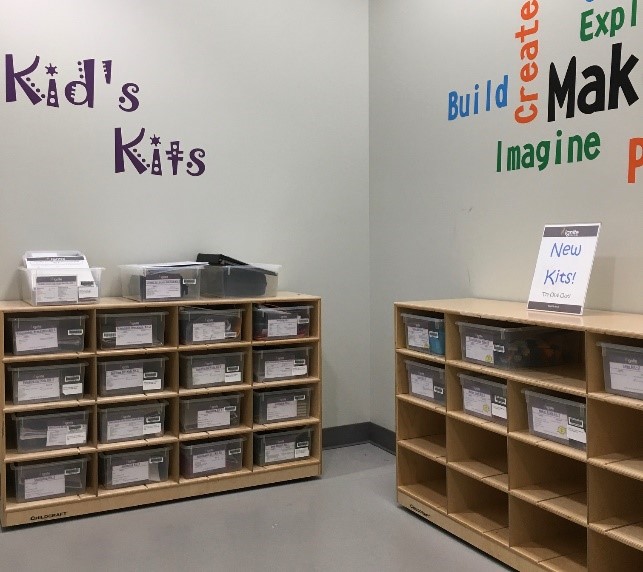
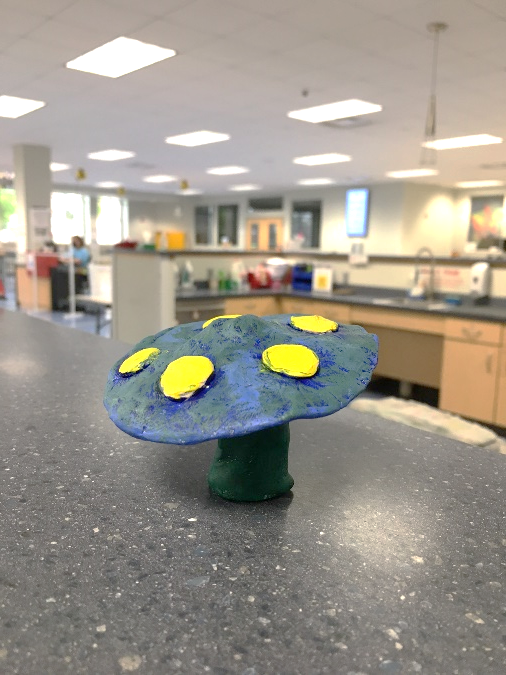
We are happy to announce that our kids clay kits have returned to the Ignite Studio shelves. Clay kits can be found in the Kid’s Kits section in Ignite. The kits include a small ball of clay, clay tools and a book. The newest feature of the clay kits is that your child can take home what they made! The kits now contain a self-hardening clay that, once dried completely, can be painted and put on display. Though not waterproof, this is ‘real’ clay that can be shaped into small pots, creatures, or even mushrooms!
Kids Clay Kits are back!
Clay is such a fun and tactile medium. Before beginning a project, let your child explore how the clay feels. Encourage them to form it into shapes, roll it into coils, and use tools to ‘cut’ out pieces or add designs to the surface. There are so many possibilities with clay. And if you mess up, you can scrunch it in a ball and start all over again! Here is a basic clay technique that can be employed by the littlest of tykes, but is still used by seasoned ceramicists.
How to Make Pinch pot
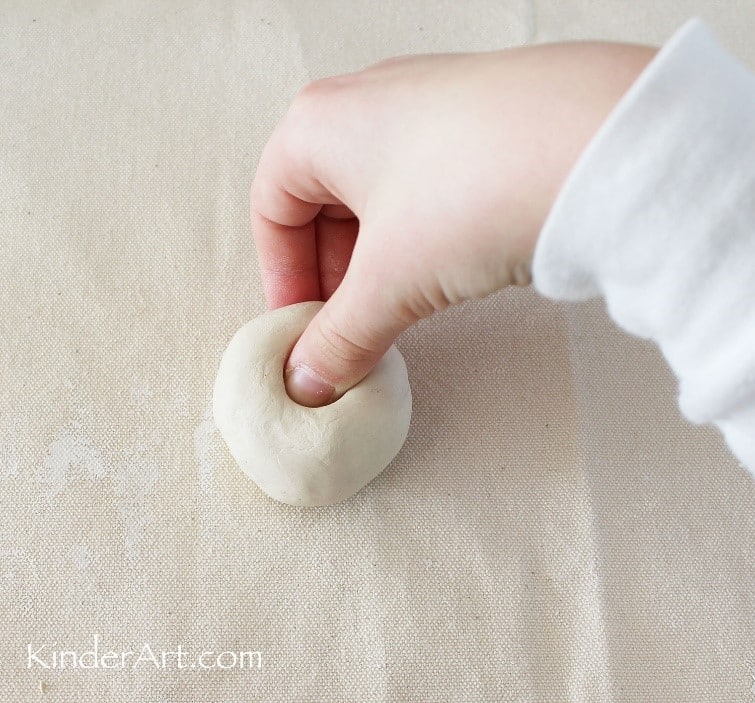
Make a ball.
Roll the clay between your hands or against your work surface to form a ball. Keep the surface of the ball as smooth as possible by using your palms.
Form an opening.
Cup the ball in one hand or place on a table. Gently press your thumb into the center of the ball to create an opening. Leave enough clay at the bottom to form the base of the pot.
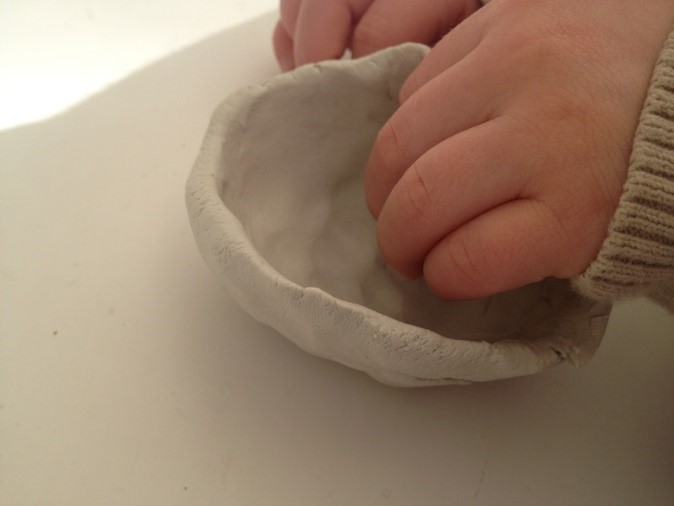
‘Pinch’ the pot.
Use firm, but gentle pinching motions to thin out the walls of the pot. Rotate your pot around to thin out the sides at the same rate.
- Pay attention to the shape. Do you want a round pot? A square-bottomed pot? A tall or short pot?
- The walls can be as thick as you’d like them. However, don’t make them any thinner than 3/8 of an inch (a little bit more than the width of a pencil). Remember the thinner the walls, the more fragile the pot.
Smooth out any cracks in the clay with your fingers after you’ve finished forming the pot.
Allow it dry at a steady temperature for two to three days. Your pot will go from feeling moist to the touch and a dark gray color, to feeling “chalky” and becoming a very light gray color.
If you want to paint your pot, use only acrylic or latex paints. Feel free to check out Ignite’s Acrylic Paint Kit to finish your creation. Water based paints such as tempera will remoisten the clay and possibly cause it to lose its shape.
Share what you’re making in our Ignite Community Discussion Board on Facebook. Happy pinching!
