

by Daniel Wiseman
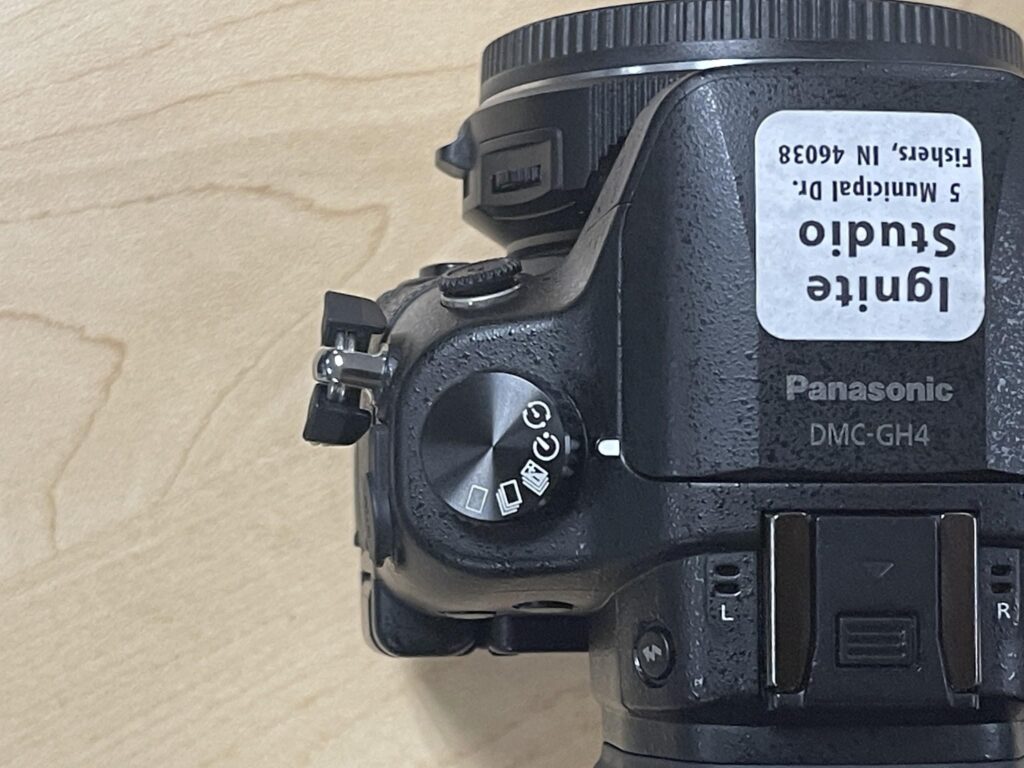
Ever wanted to take your own headshots or portraits? With the Panasonic Lumix GH4 camera (available in Ignite’s A/V Studio), not only can you capture professional quality photos, but it’s surprisingly simple. Read on to learn how to take photos remotely with the Panasonic Lumix.
The GH4 comes with a lot of built-in features. One of these features allows you to take photos remotely using your iOS and Android devices! If remote capture sounds interesting to you, we’ve created a quick start guide to help. Pretty soon you’ll be shooting photos like a pro!

Headshot taken with the Canon EF 85mm f/1.8 lens
Getting Started
Make sure your device is updated to Android 5.0 or later, or iOS 9.3 or later. Take a moment to download the Panasonic Image App from your device’s app store. After you’ve finished installing the app, you can view our quick walkthrough guide here on how to link your device with the camera. We’ve also included a physical version of this guide in the studio when you visit.
How to Take Photos Remotely with the Panasonic Lumix
Now that you’re all set to begin shooting, here’s some quick tips and recommendations on getting the best out of your pictures!
Add Lighting to Your Shot
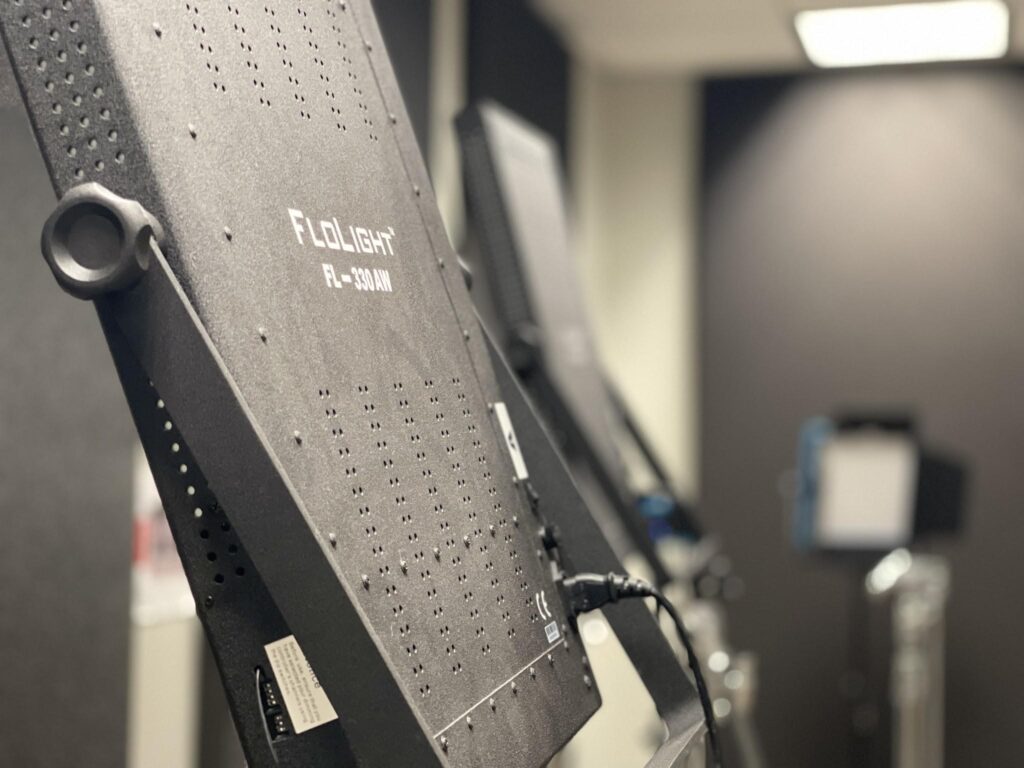
Perhaps this is a little more than a recommendation, but lighting goes a long way to make your photos look professional. Adobe has an excellent article on the fundamentals of photography lighting and general photography tips as well. We also include a quick start guide on setting up our lighting and other equipment in the A/V studio.
Use the Timer Function
If you’re by yourself, the timer function can be helpful when doing your own photoshoots. To enable the feature, rotate the dial on the left hand side to the stop timer. You can then change how long it takes to capture by pressing the same button in the drop down menu within the app or the options menu on the camera.
Use Intelligent Auto Mode
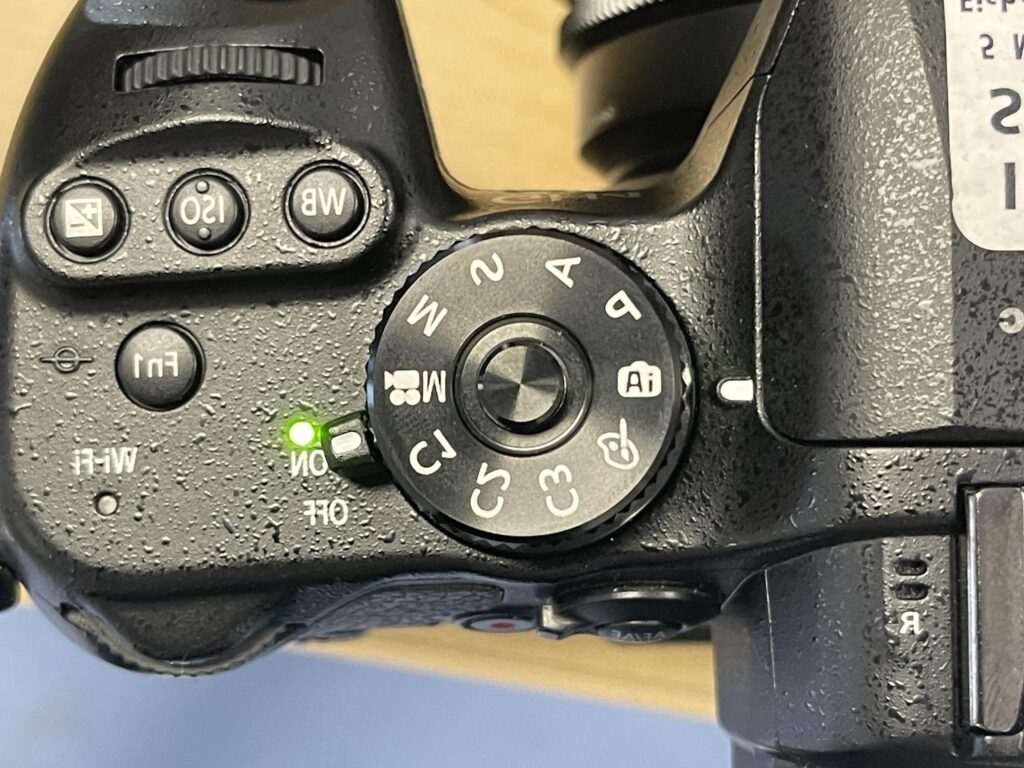
Intelligent Auto Mode is an extension of Normal Auto Mode. In addition to auto focus, it adjusts exposure using scene and face recognition, and stabilizes the image for a sharper shot. Basically, it takes care of the technical work so you can just focus on shooting! To use it, rotate the mode dial to the (iA) icon like the picture above!
Touch Up Your Photos with Adobe Lightroom and Photoshop
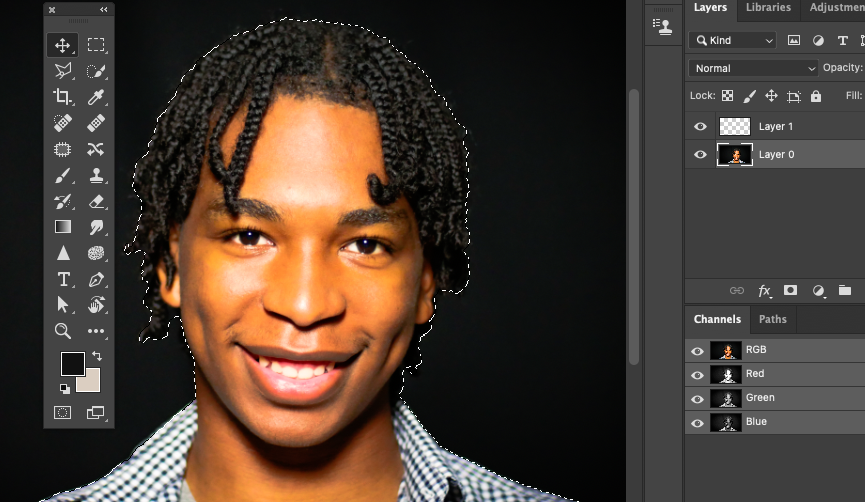
Finish up the final look of your shots with Adobe Lightroom Classic and Photoshop, available in the Digital Media Labs! Lightroom is best used for adjusting the look of your shot, while photoshop is used to remove blemishes or flaws, add text, change colors on backgrounds, etc. Adobe has a great walkthrough guide showing you how to use Lightroom and Photoshop.
Book a reservation for the A.V. studio today and try out the Lumix GH4. We hope you have fun taking some awesome photos! Happy making!
