

by Jared Hart
As I have gotten more into using Ignite Studio’s laser engraver for my artworks, I’ve discovered that using acrylic paint to stain the wood can really help to give life and interest to my finished pieces. In this blog, I will discuss the steps of how to stain your laser engravings with acrylic paint to achieve your artistic vision.
How to Stain your Laser Engravings with Acrylic Paint
For this project, I was creating a honeycomb pattern and wanted to give the hive a golden yellow stain. I started by mixing a little bit of paint in the cups with a craft stick.
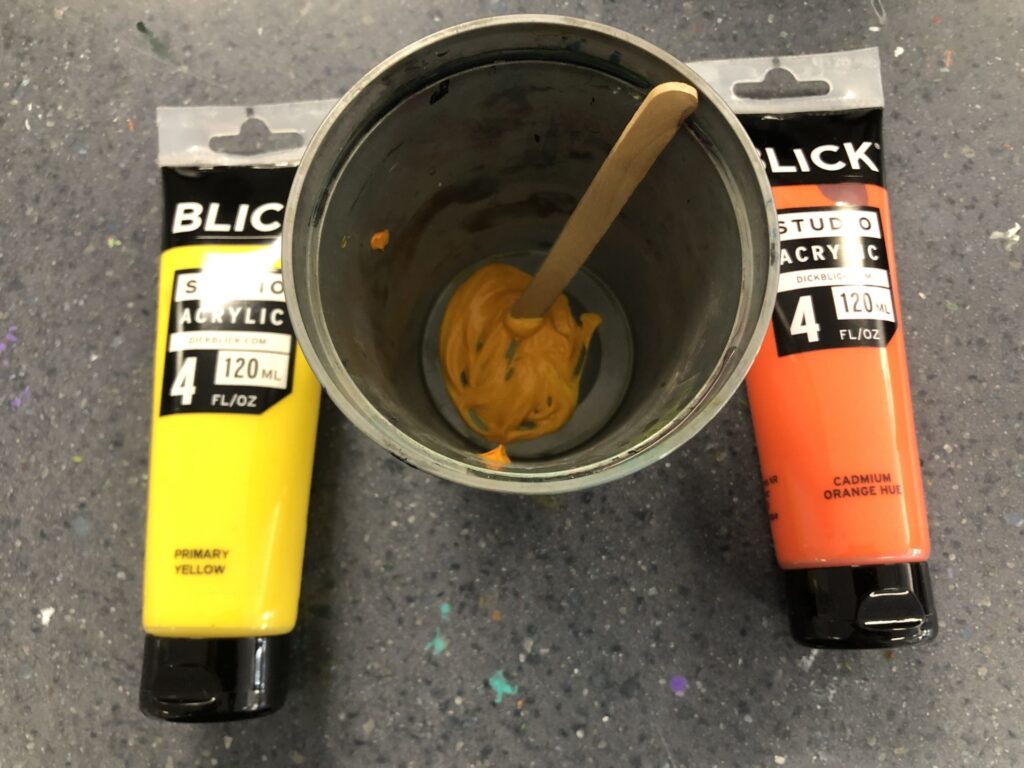
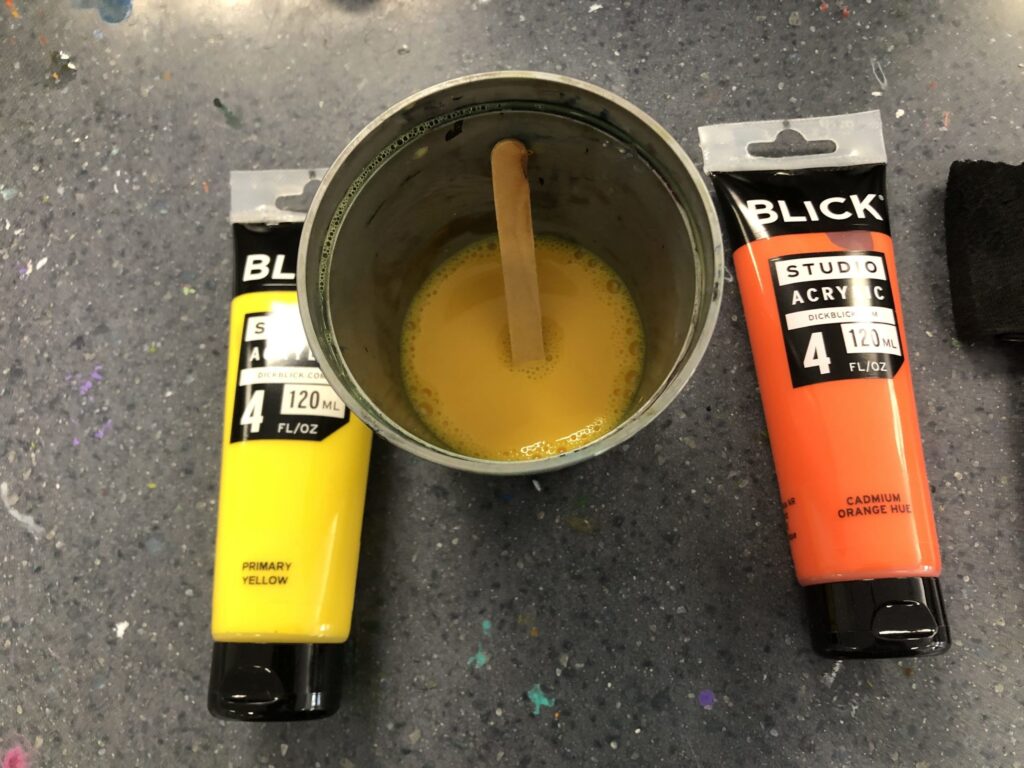
Once I had the paint mixed to the color I wanted I added some water. Make sure not to add too much water or your paint will get too thin and you won’t notice a difference when staining. My stain was more on the thin side because I wanted to slowly build up the color over several layers. If you would like richer colors, add just a small amount of water. Mix the paint with the water using your craft stick until it’s mixed together well.

After mixing the paint and water really well, you are ready to apply it to the wood. Use a foam brush to apply the paint evenly. If you are staining a large piece of plywood, you may want to stain the back as well. Keeping the wood wet on both sides will help to reduce the amount of warping that will occur. Let the stain sit for a few minutes to allow the color to soak into the wood. If you notice the stain pooling in areas you may want to dab it with an old cloth. Once it has had some time to dry, you can repeat this step to make your color a little more rich.

Once I had this piece to the color I wanted it, I followed the same process with a second sheet of plywood but instead using a dark brown stain.

Hopefully this process will help you to bring some extra color into your artwork. Happy making!
