

By Jared Hart
I recently received my certification to use the laser engraver at Ignite Studio. It is a really cool way to turn digital illustrations into tangible objects. Making laser engraved magnets on Ignite Studio’s laser engraver machine is a fun and rewarding project to try. Follow these steps to learn how to make laser engraved magnets of your own!
Using the laser engraver at Ignite Studio requires patrons to take a certification course to learn how to use the equipment. If you are not yet certified and would like to be, you can follow this link to begin the online portion of the certification.
How to Make Laser Engraved Magnets
1. Open your design in RDWorks
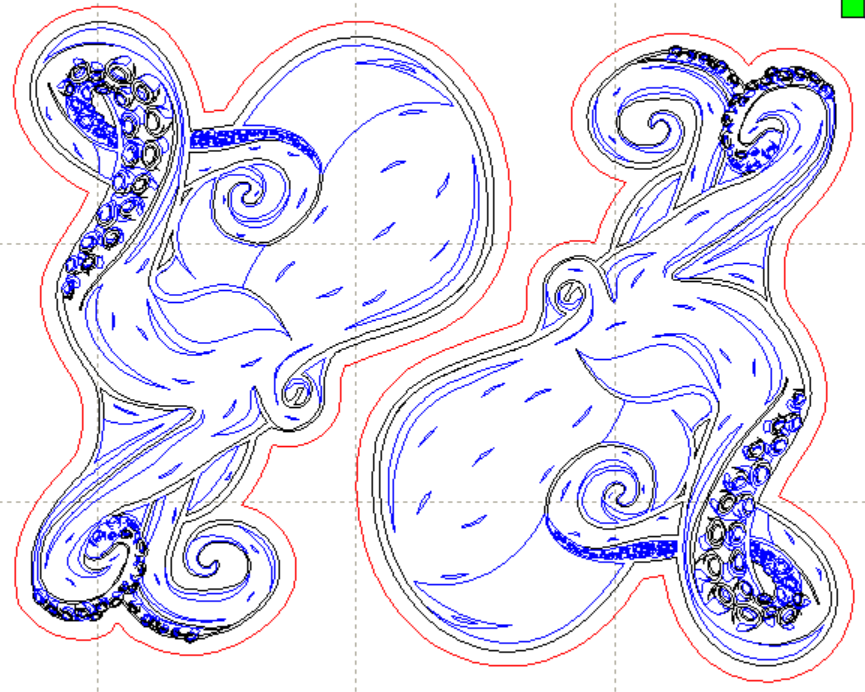
For my magnets, I have separated my design into 3 layers.
- Layer 1 (Black) – Areas I want to have a dark/deep engraving.
- Layer 2 (Blue) – Areas I want to have a light/shallow engraving.
- Layer 3 (Red) – The shape I would like my magnet to be cut out in.
2. Set Laser Parameters
Once my design is separated into layers, I need to set the parameters. This tells the laser engraver exactly how I want it to cut and engrave. For my engraving layers, I set the mode to “scan.” That tells the machine to engrave between the lines rather than cutting along the lines. For the layer I’d like to cut, I set the mode to “cut.”
Using the Power & Speed test sheet that is provided at Ignite, I have determined that I would like my first scan layer to have Speed 200, Power 70, and my second scan layer to have Speed 200, Power 30.


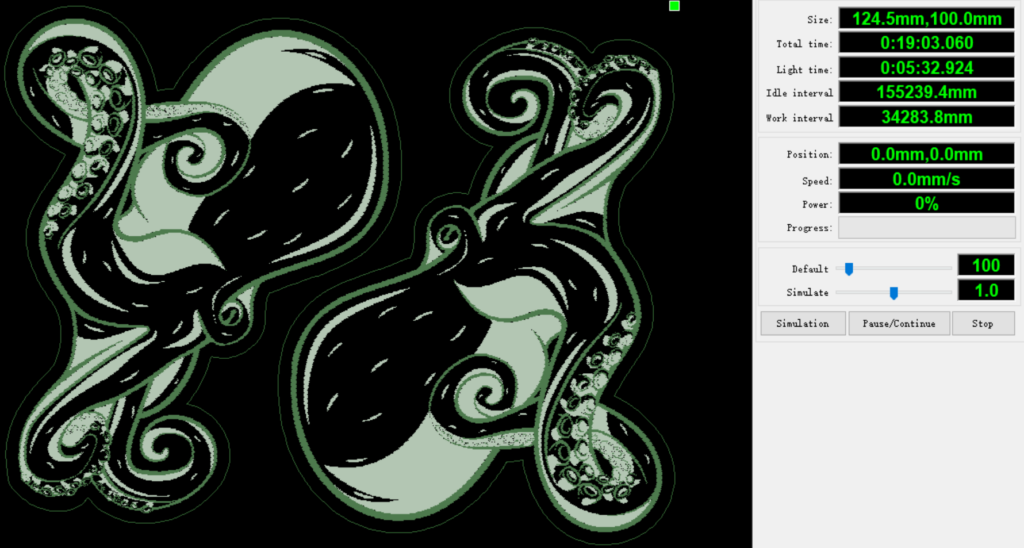
Note: Adding multiple engraving layers like this can drastically increase the amount of time required to make it, but I really like the look it gives the final product. You can click the “preview” button (![]() ) in the top menu to see an estimate on how long your design will take to cut. As you can see in the photo below, my two magnets will take approximately 19 minutes to cut.
) in the top menu to see an estimate on how long your design will take to cut. As you can see in the photo below, my two magnets will take approximately 19 minutes to cut.
3. Tape the board (if desired)
In order to reduce the amount of burn on the unengraved areas, I could cover the plywood in masking tape before starting. However, since I plan to sand and paint the wood afterwards, I am going to skip this step.
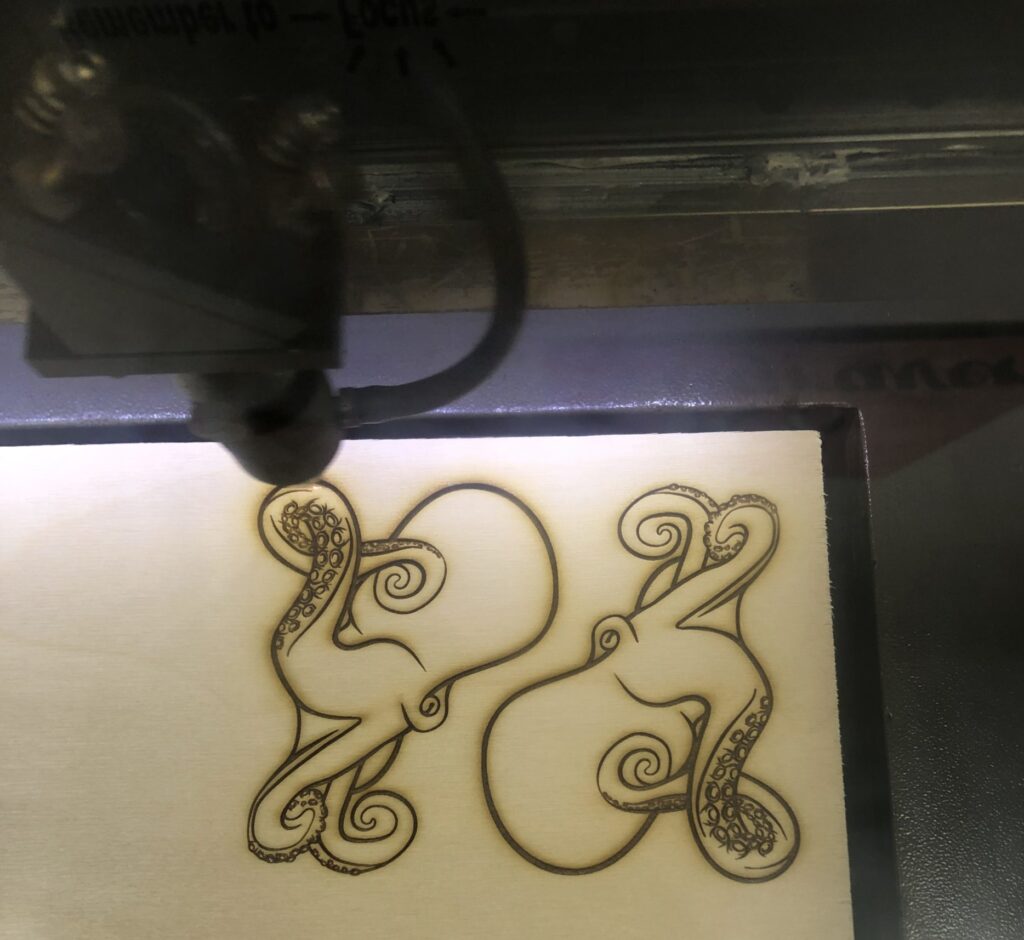
4. Download to Laser Engraver
Now that the parameters are set and my material is ready, I follow the procedures taught in the laser engraver certification course to send my file to the engraver, place my material in the engraver, focus the laser, and get my project started.
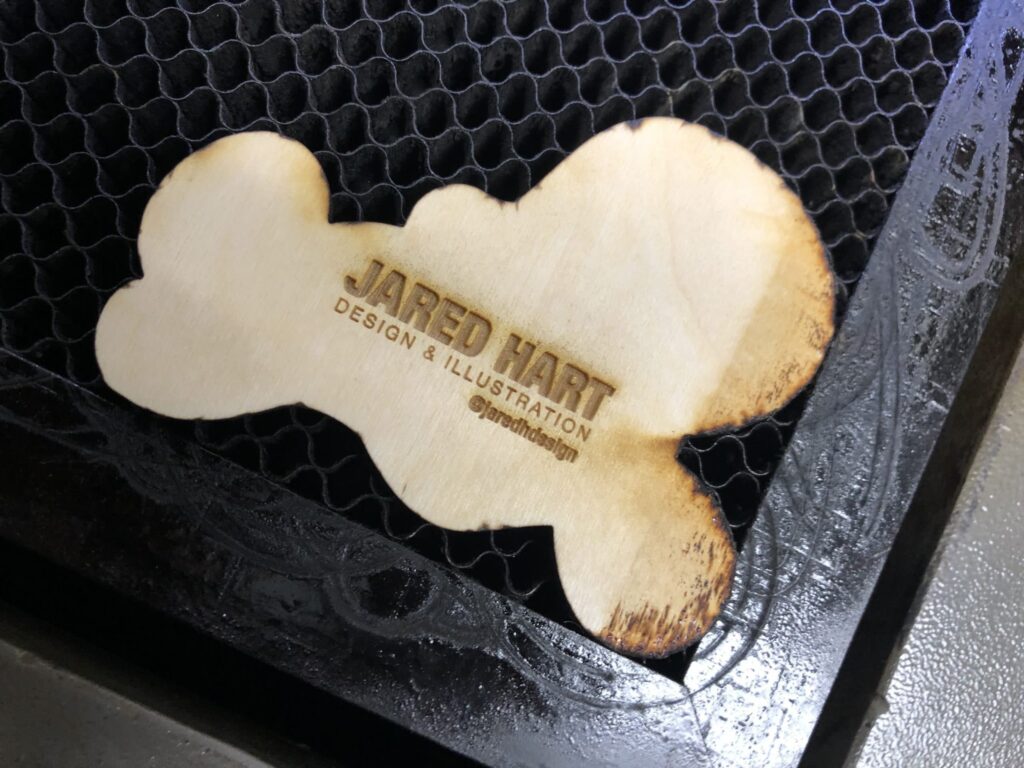
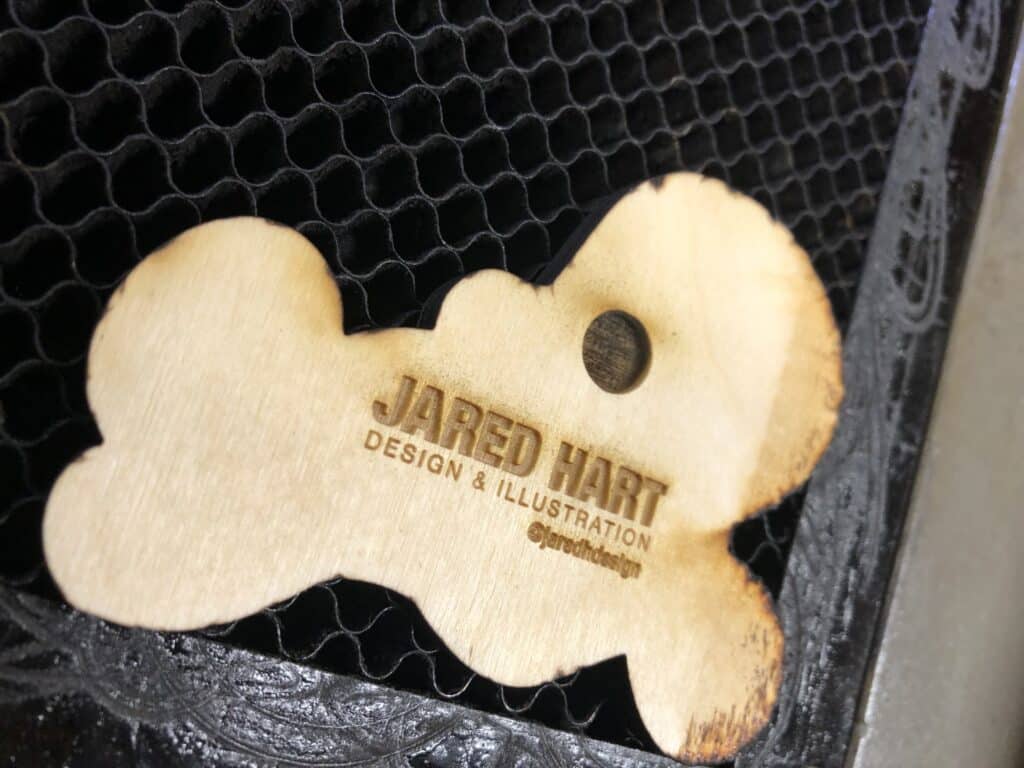
5. Engrave your name / Logo
For my magnets, I like to add my logo to the back so that anytime someone picks it up they can easily see who created it. Repeat steps 1-4 with your name or logo. Make sure to size it appropriately to fit nicely on the back, keeping in mind where you want to place the magnet.
6. Engrave the hole for the magnet
For my magnets, I use 10×3 mm circular magnets. You can buy them here.
After running a few tests, I found that engraving a 10.1 mm circle at Speed 100, Power 80 creates a nicely sized hole that leaves the magnet sticking out of the back just enough to make good contact with a metal surface.
7. Sand and wash to clean off the soot
After cutting the wood, there will be some soot that can be cleaned off. I typically use sandpaper along the edges and lightly scrub with a toothbrush while running it under some water. I try not to scrub the front too much because it will lighten the burnt areas. Let it sit to dry before moving on to the next step.
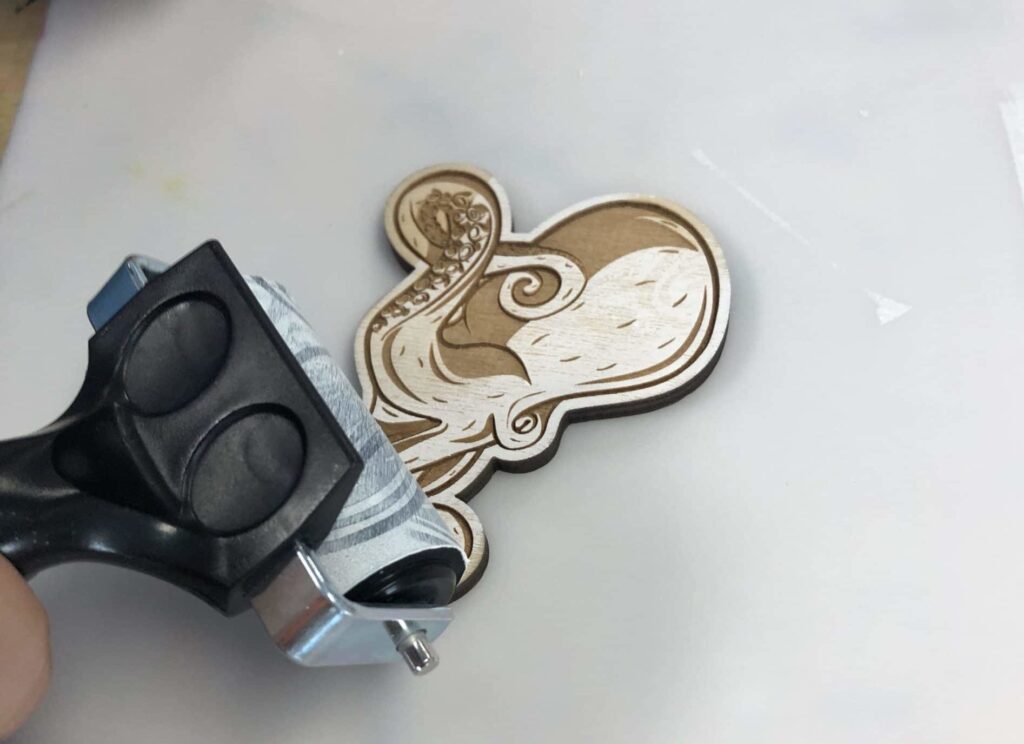
8. Paint (if desired)
For my magnets, I decided I just want to paint the unengraved areas white. Since I only want to have one color, instead of using a paint brush, I decided to use a brayer from Ignite’s Relief Cut Printmaking Kit to roll white ink across the surface. This tool helped ensure that the ink was applied evenly. Let the paint dry before moving on to the next step.
9. Glue the magnet on the back
The final step is to glue your magnets on the back. I have found that hot glue works pretty well. Fill the magnet with enough glue to cover all of the edges and then press the magnet into the engraved hole.

Once the glue has dried my magnet is finished!
If this tutorial on how to make laser engraved magnets inspires you to make your project, be sure to share your creation with us on the Ignite Community Discussion Board. Happy making!
