

by Alyssa Dyar
The steps for how to make a pinhole camera aren’t as obscure as you may think. Follow along to make your own pinhole camera or projector.
“A pinhole camera is a simple camera without a lens, but with a tiny aperture (the so-called pinhole)–effectively a light proof box with a small hole in one side. Light from a scene passes through the aperture and projects an inverted image on the opposite side of the box, which is known as the camera obscura effect.” — Wikipedia
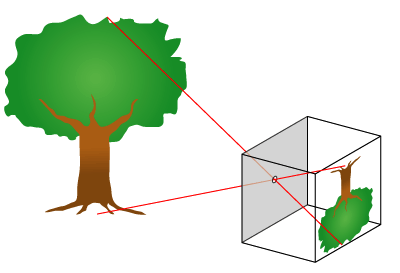
Light passes through the tiny hole and projects an upside down image inside the box.
The discovery of the natural phenomenon of the pinhole image dates to at least 500 BC in China and Greece. Since then many scientist and artists have explored the phenomenon to make further discoveries and observations about the properties of sight and light. You may have already observed the pinhole effect in action during solar eclipses! Tree leaves demonstrate the pinhole effect. Or you might have poked a small hole in a piece of paper and held it over the ground to safely watch the eclipse occur,
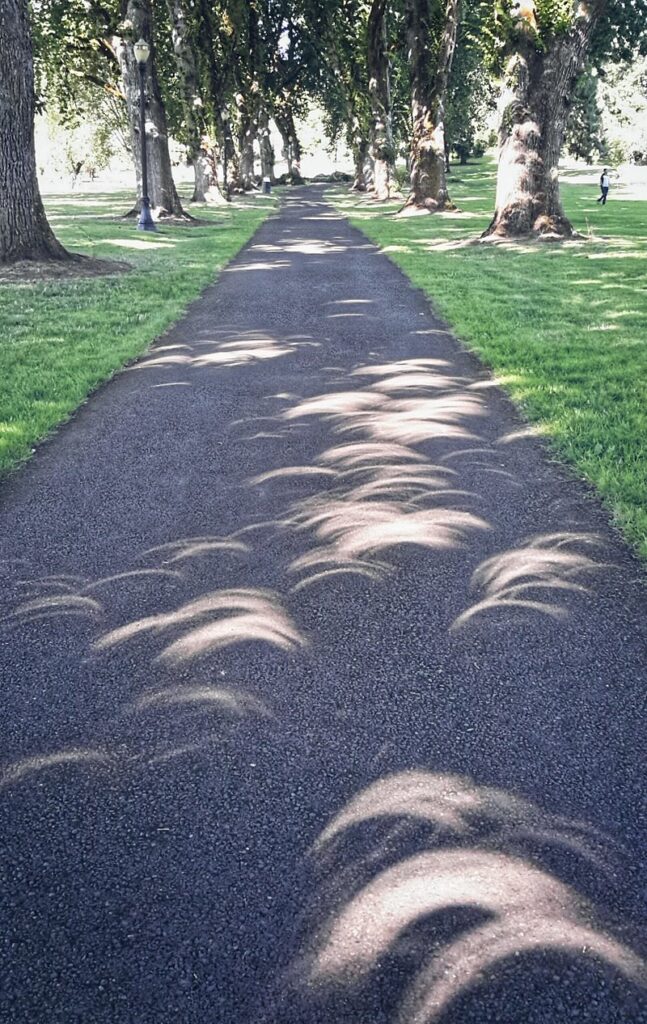
Leaves of a tree demonstrate pinhole effect during a solar eclipse.
Fortunately, we don’t have to wait for a solar eclipse to observe this optic wonder. We can make our own pinhole camera or camera obscura, as it was first named.
How To Make a Pinhole Camera
To make your own pinhole camera you will need:
- Cardboard box or shoebox
- Duct tape
- Black Paint (optional)
- Wax Paper
- Photography paper or photography film (if you’re feeling very curious)
Make sure the box you have can close all the way without letting in any light. Use tape to cover any holes. Your goal is keep ALL light from getting into the box from anywhere but your pinhole. You may also paint the inside and outside of the box black. This will keep light from reflecting against other parts of the box from the pinhole.

A box taped up to keep all of the light out. The shell of a pinhole camera in the making.
Once you’ve made sure there is no way to let light into the box, cut a square out of one end of the box. Then, tape wax paper to cover the square. This will be where you view the pinhole effect.
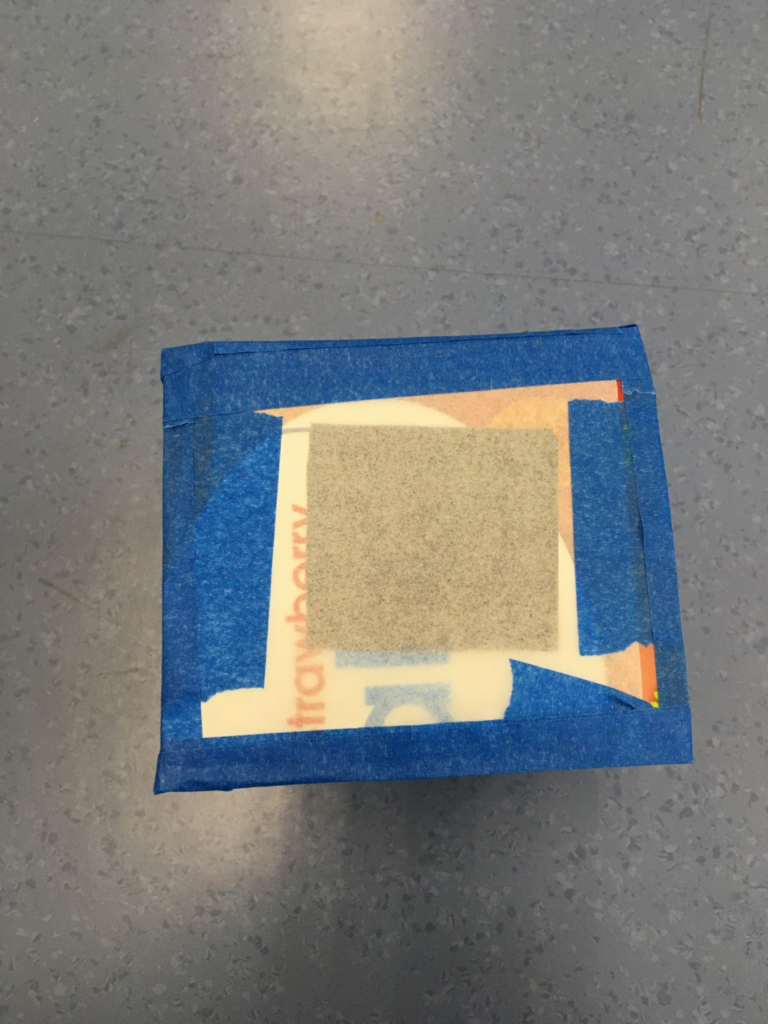
Wax paper covering square hole.
On the opposite side of the box, make a very small hole using a needle or pin in the center. This is your pinhole.
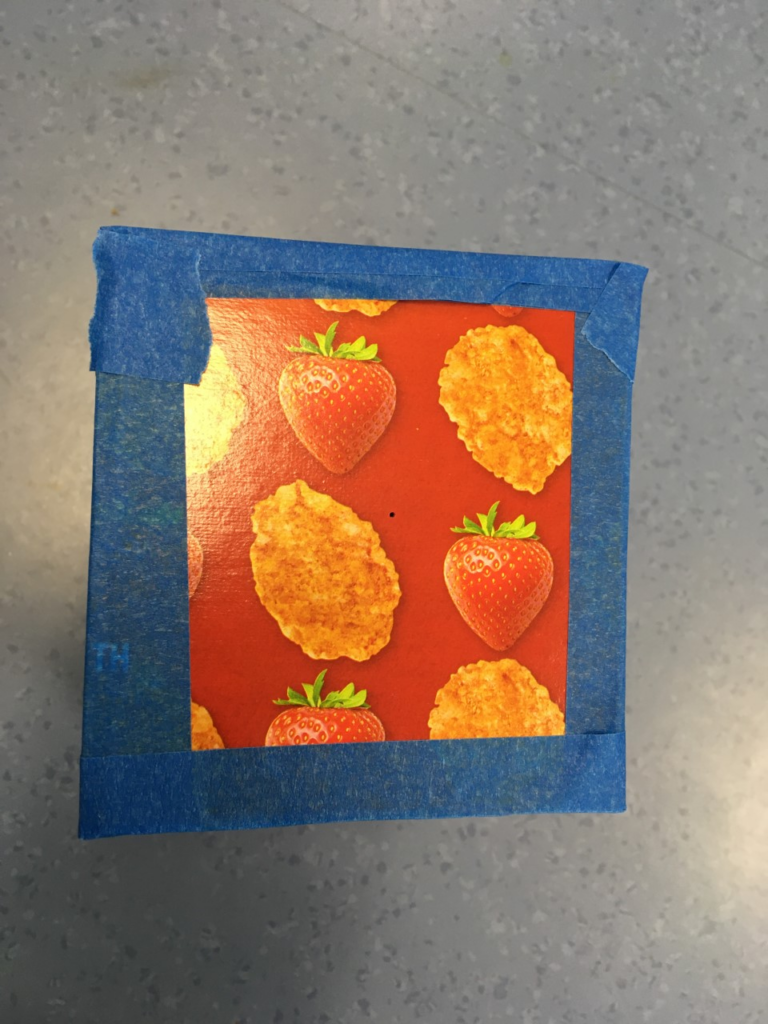
Pinhole in center of one end of the box
Now you’ve created a pinhole projector. To see the effects, put a blanket over your head and the pinhole projector. The wax paper side should face toward you, and the pinhole side should face away from you toward a bright scene. You will look something like this:
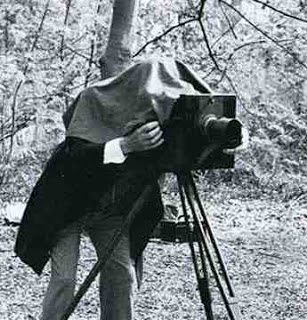
An upside-down image of what the pinhole is facing will be displayed on the wax paper. You can also achieve this by going into a dark room, turning on one lamp, and pointing the pinhole towards it. (This works well with a lava lamp, because you can easily see the reverse effect due to the shape of the lamp.) Once you have an image projected on the wax paper that interests you, take a picture of it with a phone to have a permanent image.
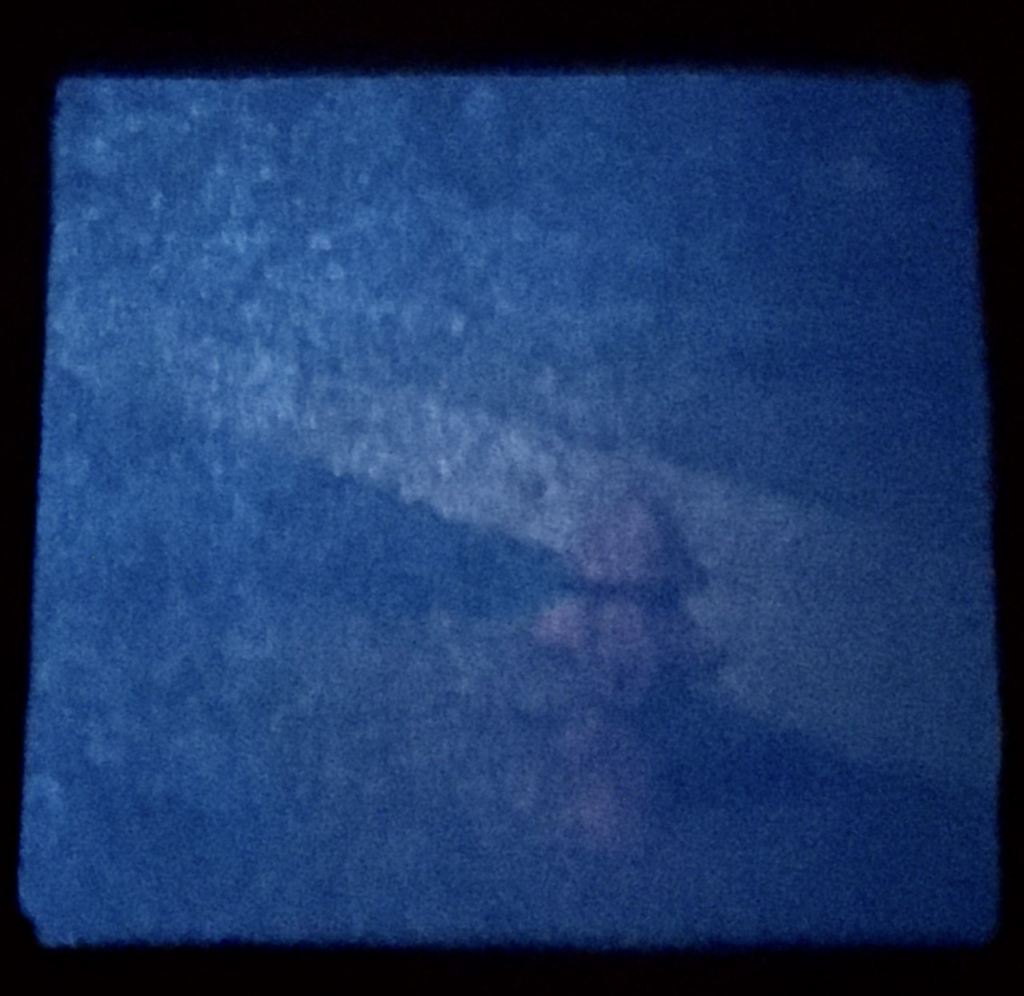
Photo of a fire hydrant taken with the pinhole projector.
If you want to have a non-digital image with your pinhole camera, use photosensitive paper. Put it inside your pinhole camera where the wax paper would go (without a square hole cut out). When you remove the paper, quickly take a picture of it with your phone or scan it to preserve the image, as the paper will still be sensitive to light. You can also develop the image using a homemade developing solution. This video gives more instruction on that.
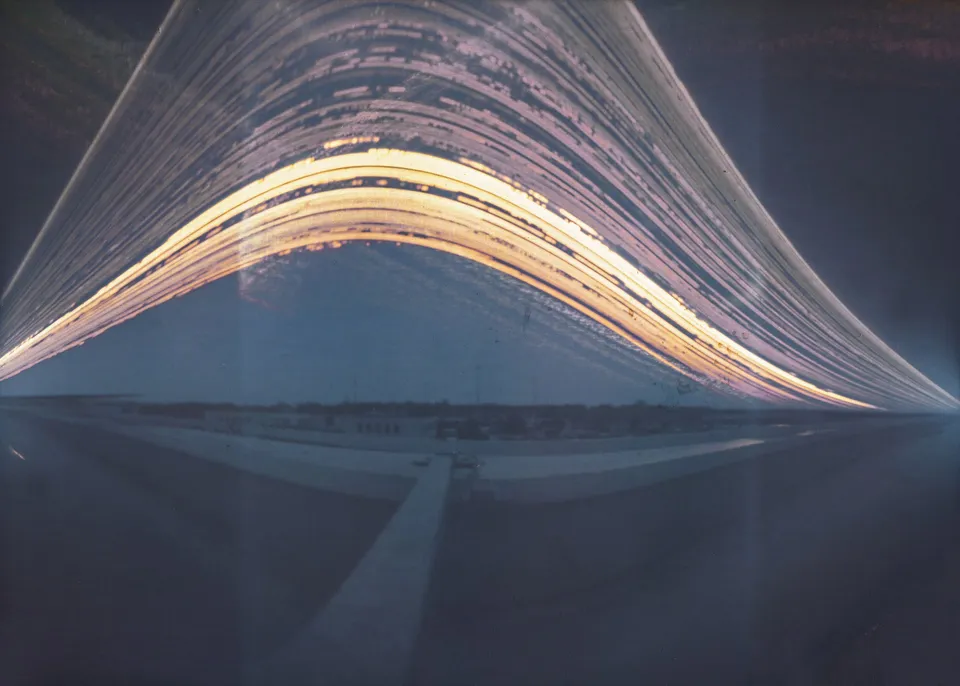
The above image is the result of Artist, Karin Majoka, taking a photograph over the course of a year with their homemade pinhole camera.
Show us the pictures you take with your pinhole cameras! Share them on social media using #IgniteAtHEPL, and don’t forget to connect with Ignite Studio on Facebook. Happy Making!
