

by Sydney Brink
Ignite Studio offers a lot of fun felt sewing projects for school-age kids in our Hand Sewing kits in the Kit Library. But that also means we end up with a lot of felt scraps lying around! In an effort to keep some of the unusable-for-sewing scraps out of the trash, I looked for a craft online and found this blog online about how to make a felt coaster. I decided to give it a try.
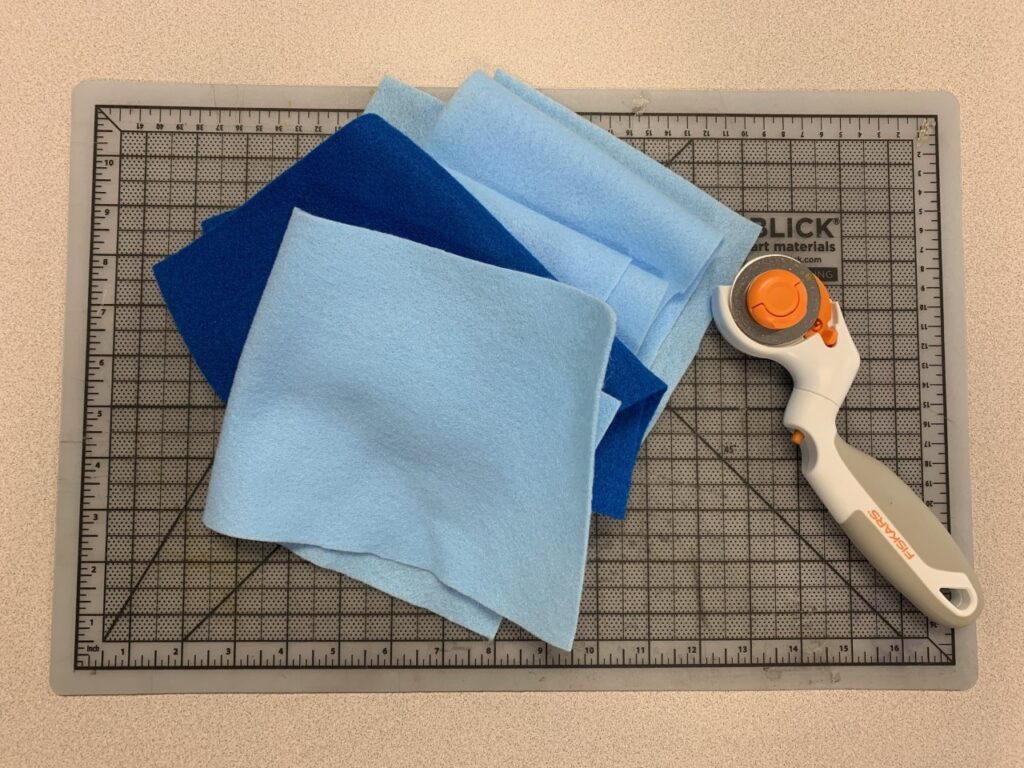
Supplies to Make a Felt Coaster
- Rotary cutter (or sharp scissors, we recommend fabric shears)
- Self-healing cutting mat
- Hot glue or tacky glue (be very careful if using hot glue for this!)
- Felt scraps
How To Make a Felt Coaster
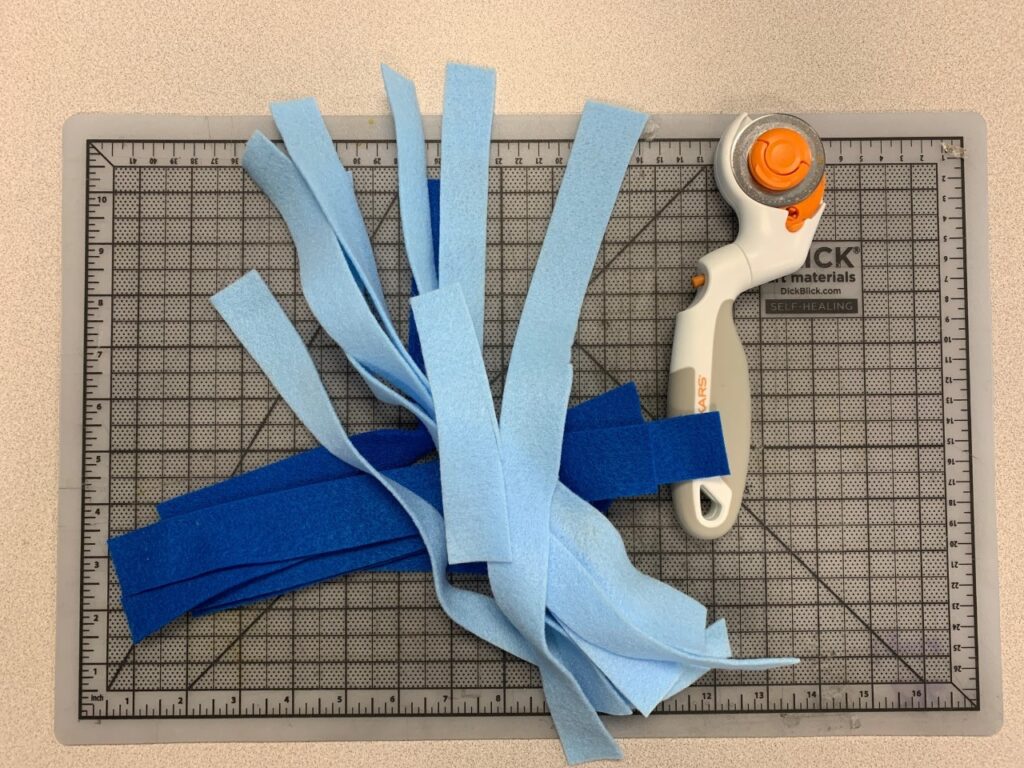
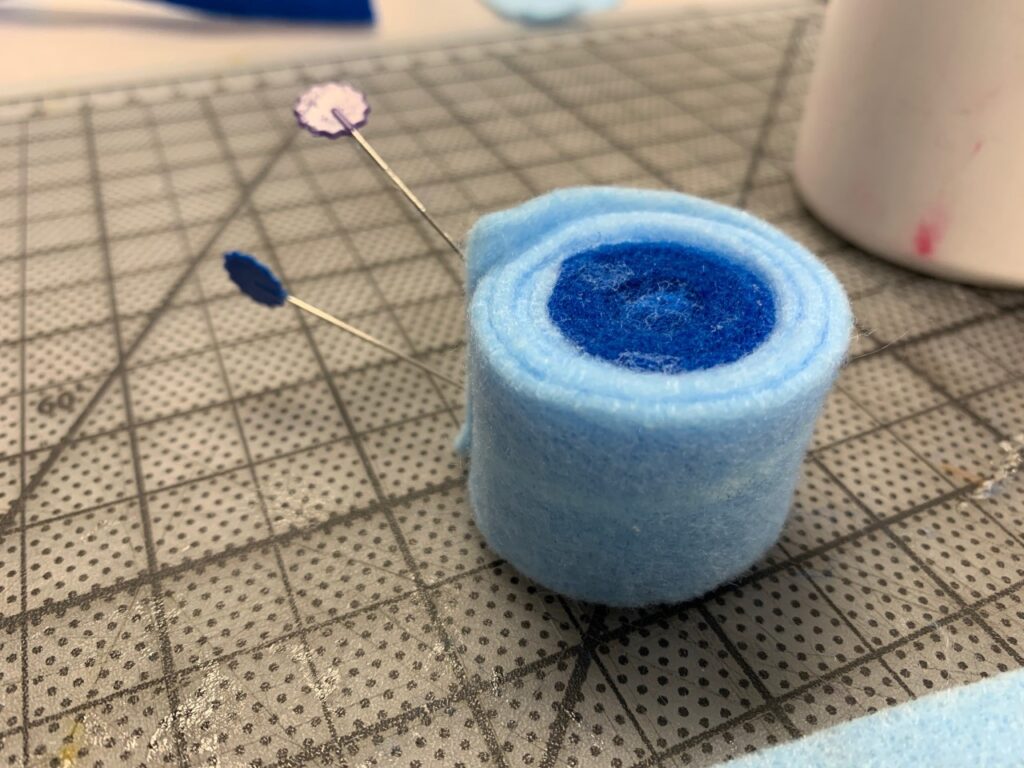
Using a rotary cutter and self-healing mat, cut your felt into strips of even thickness – if the strips aren’t a relatively even size the finished project won’t sit flat! You can use the measuring guidelines on the cutting mat keep an eye on it. I used inch thick pieces of felt and the coaster was very tall – ½ inch or smaller would do nicely.
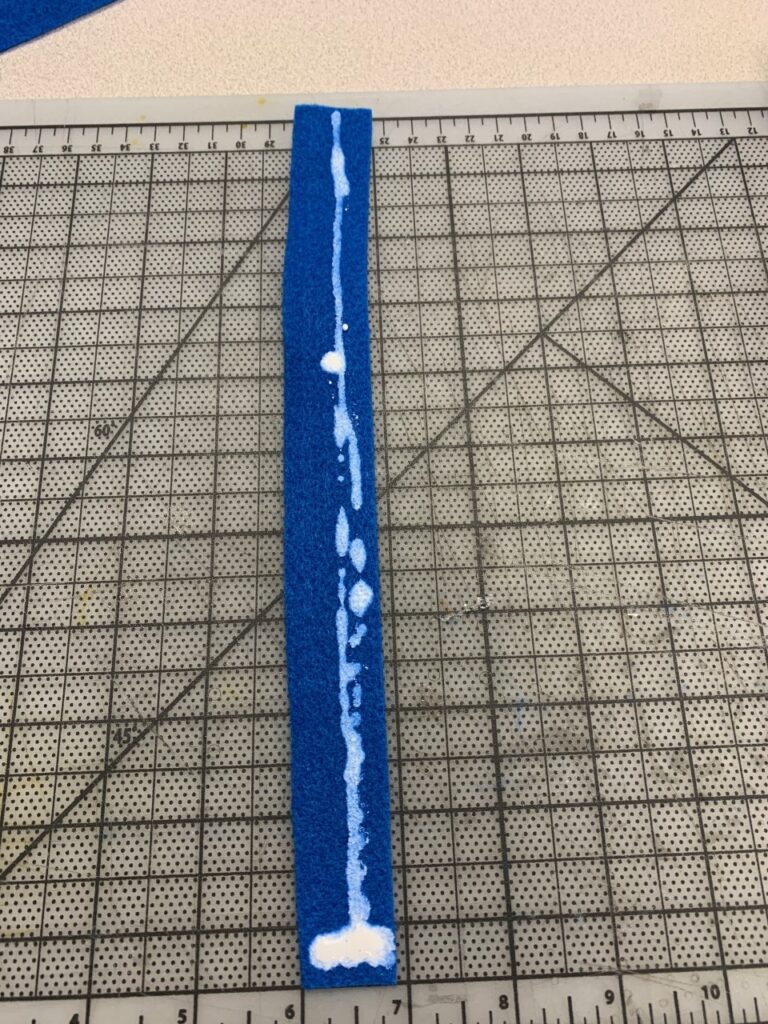
Use either small dots of hot glue or tacky glue on one side of the strip you want to be in the middle and starting rolling from the short end up. Use another dab of glue on the end of the felt piece to hold the roll in place.
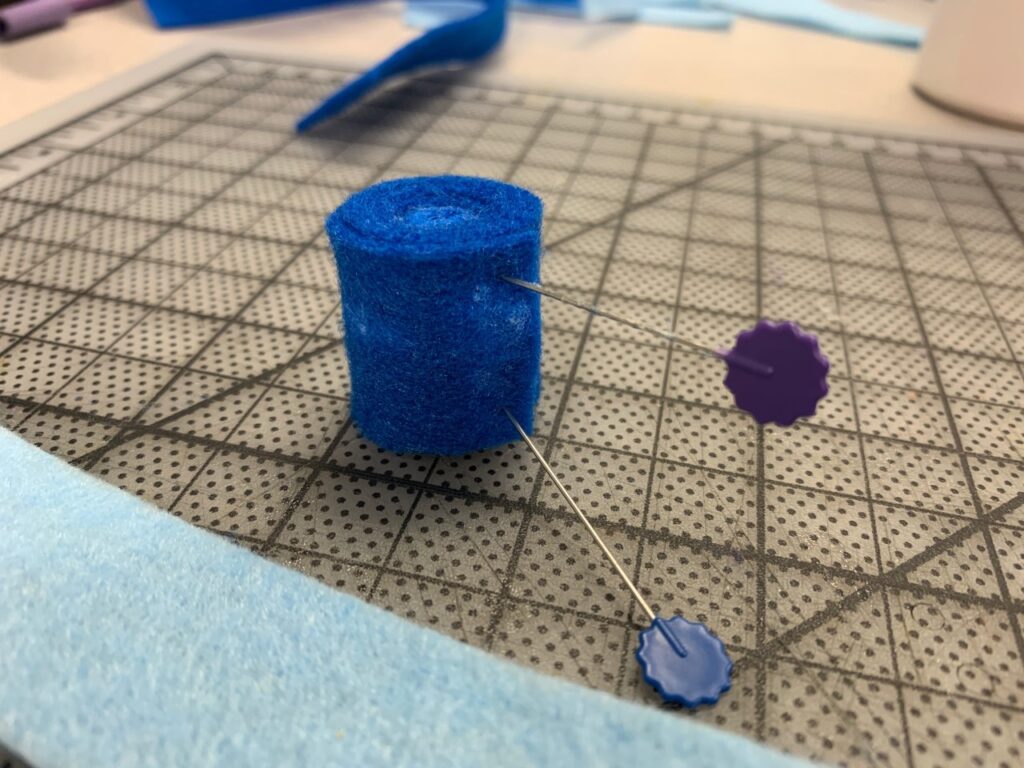
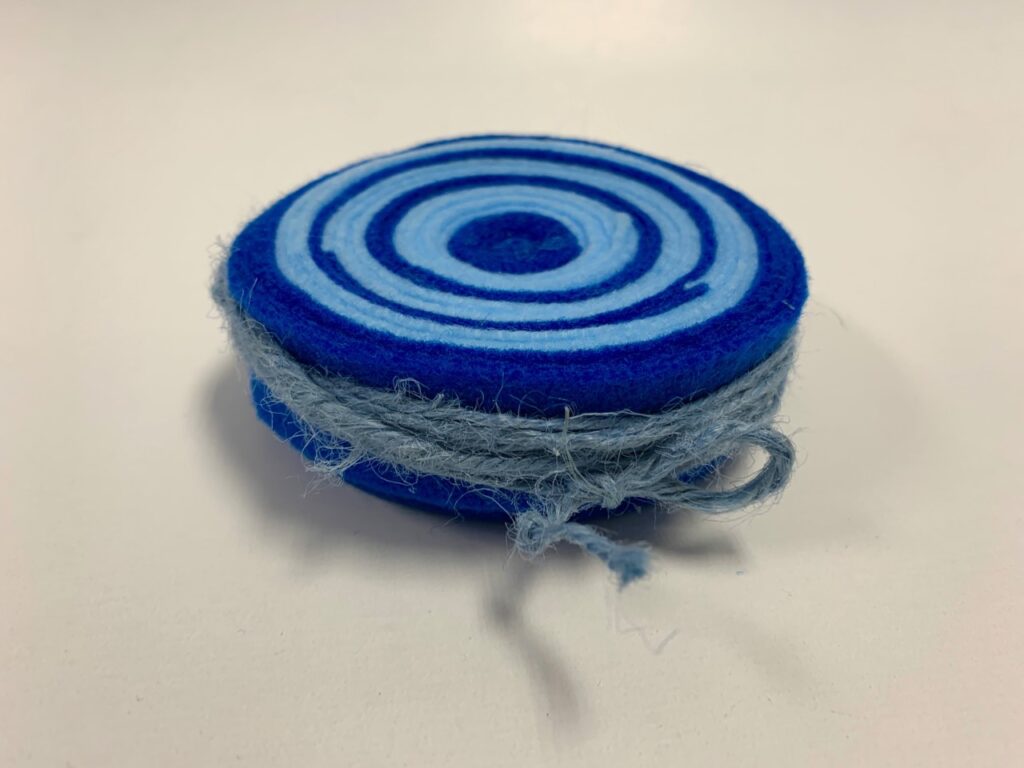
Keep using glue to secure new strips felt as you wind them along the outside of the center coil until the coaster reaches a diameter you’re happy with! Mine ended up about 4 inches in diameter. Use a pin through the outer most layer to secure the felt strips while the glue dries!
I used some scrap twine to tie around the outside to give the coaster a more rustic finish.
There’s always lots of fun options for your scrap materials, so come to Ignite to explore. Don’t forget to show us what you’re making on our Ignite Community Discussion Board. Happy making!
