
by Sydney Brink
Ever wondered how to make 3D paper molds using Ignite’s Papermaking Kit? Follow this easy tutorial to learn!
How to Make 3D Paper Molds
When I was browsing Thingiverse, the website we use at Ignite to find free, open-source models for 3D printing, I found this “thing” by user flowalistik. I thought that this sounded like something fun to do in conjunction with our papermaking kit from the kit library, and loaded up the files to print! Here’s how I proceeded, and some tips I found along the way.
What You’ll Need:
- A 3D printed mold
- At least 10 in x 24 in of cardboard
- Immersion blender
- PVA glue
- Large tub of water
- Cloth for draining the pulp
- Clamp
*All of these items are available to use in Ignite. Pro-tip: Check out the Paper Making Kit to get started!
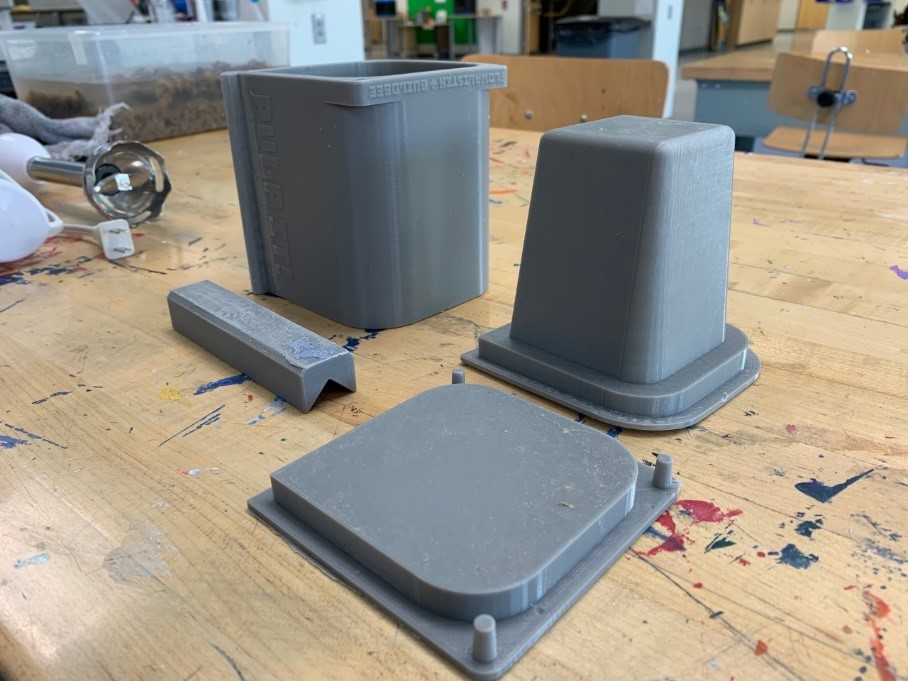
After many hours printing according to the instructions I had a mold to make a pencil holder. (You can use this one too when you come!)
This print is an extremely tight fit for the clip and lid – I had a lot of sanding to do before everything fit together smoothly. The “walls” of the mold were modeled with a seam on one of the corners for demolding during the drying process (this is what the wall clip is for!). However, mine printed too close together and fused, but I found this didn’t really matter to my process.
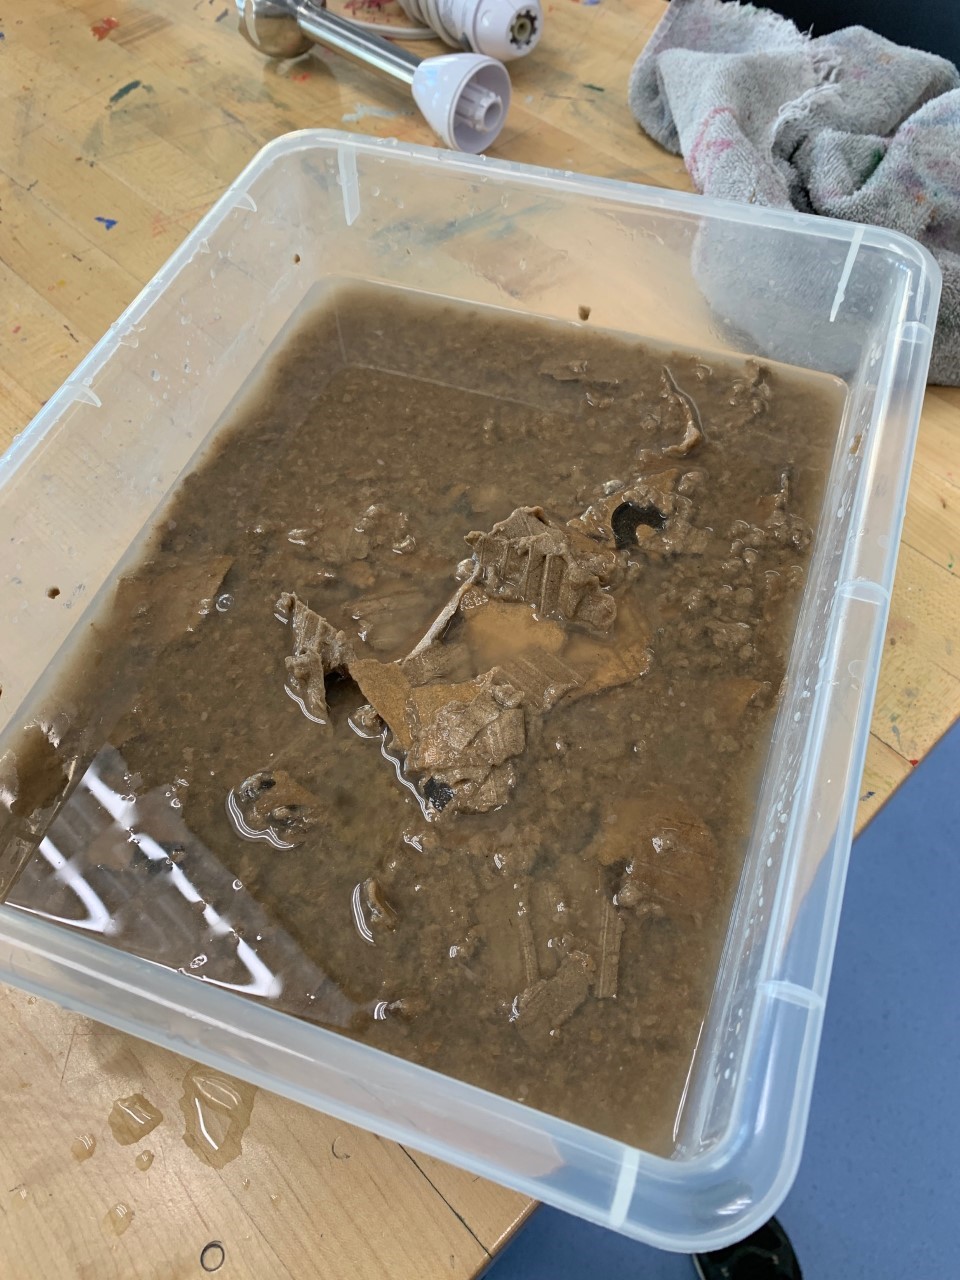
With my mold ready, I grabbed a large cardboard piece from recycling (about 10 in x 24 in) and soaked it in water for about 20 minutes. After that, the cardboard layers separated easily. You’ll have an easy time tearing the wet cardboard layers into chunks that are around 1 inch by 1 inch. I put the torn cardboard right back into the tub of water for them to get extra mushy – it makes the next step easier!
I grabbed the immersion blender that’s in the papermaking kit in Ignite’s kit library to mix the cardboard bits into a pulp. This handheld blender worked well turning the cardboard into a pulp, but it takes patience and a watchful eye to make sure the blender doesn’t get clogged or overheat. You’ll want to add PVA glue at this point and mix it in as well. The cardboard needs a sizing agent in order for the pulp to stay together securely. I added about an ounce.
Mixing cardboard pulp is a lot harder on the blender than paper pulp, so I would recommend adding lots of water for the pulp to have an easier time moving around while blending. If you’re doing this at home, find a cheap and expendable stand blender. You’re looking for oatmeal texture!
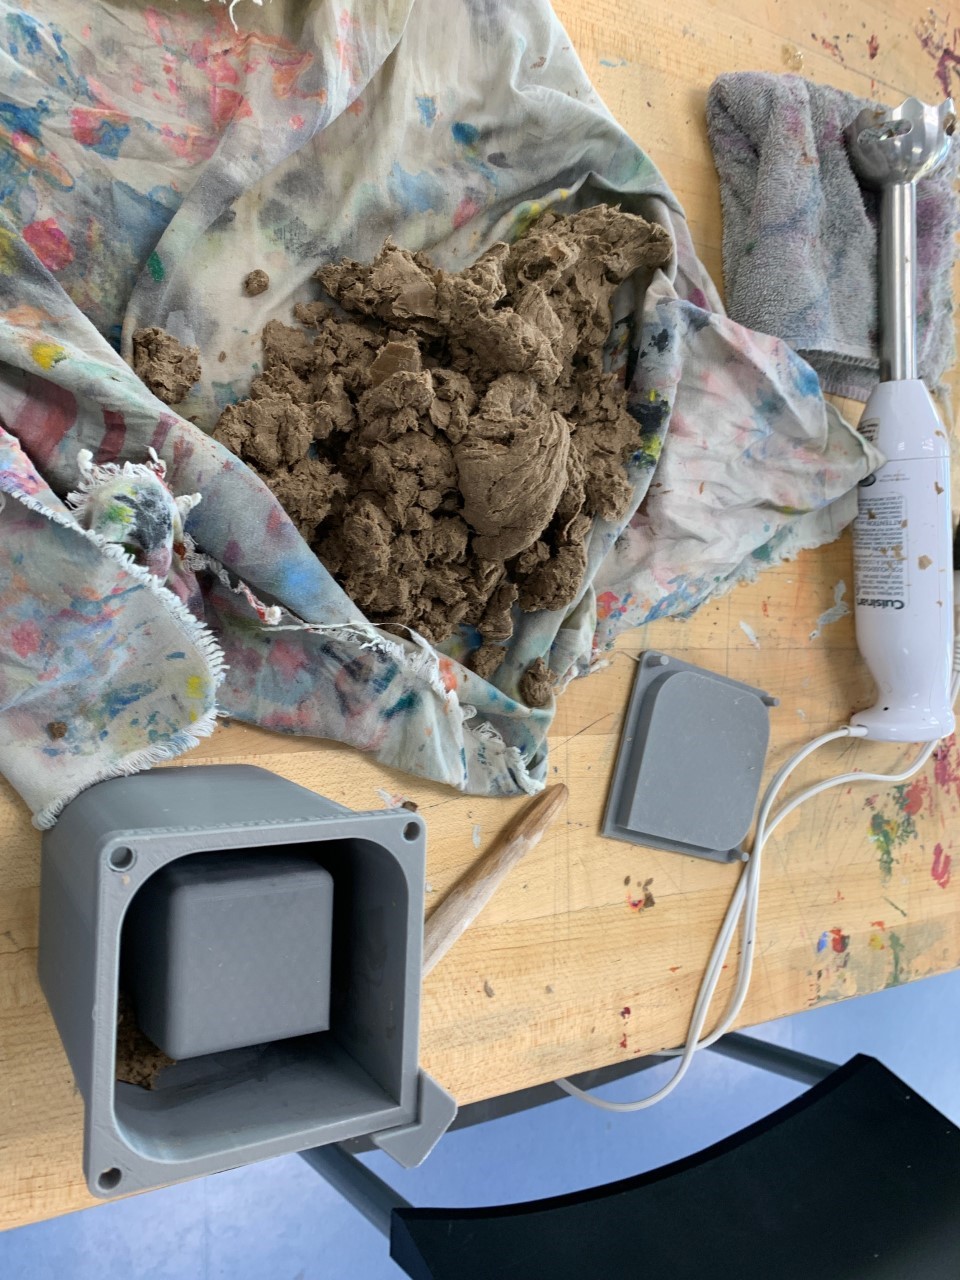
Next, drain the pulp. I poured my pulpy water directly onto a cloth laid in the sink to be drained. Then used the cloth to squeeze out as much excess moisture as possible!
Mash the pulp into the mold. Use as much force as you can to evenly distribute the pulp in the mold. You’ll need to tamp down the cardboard pulp more than you think it needs because you’ll lose a lot of volume as you squeeze out water. Just keep adding pulp and draining it until it is very tightly packed.
Since the lid has some depth to it, you’ll want to leave a couple centimeters of room at the top when you’ve finished filling the mold.
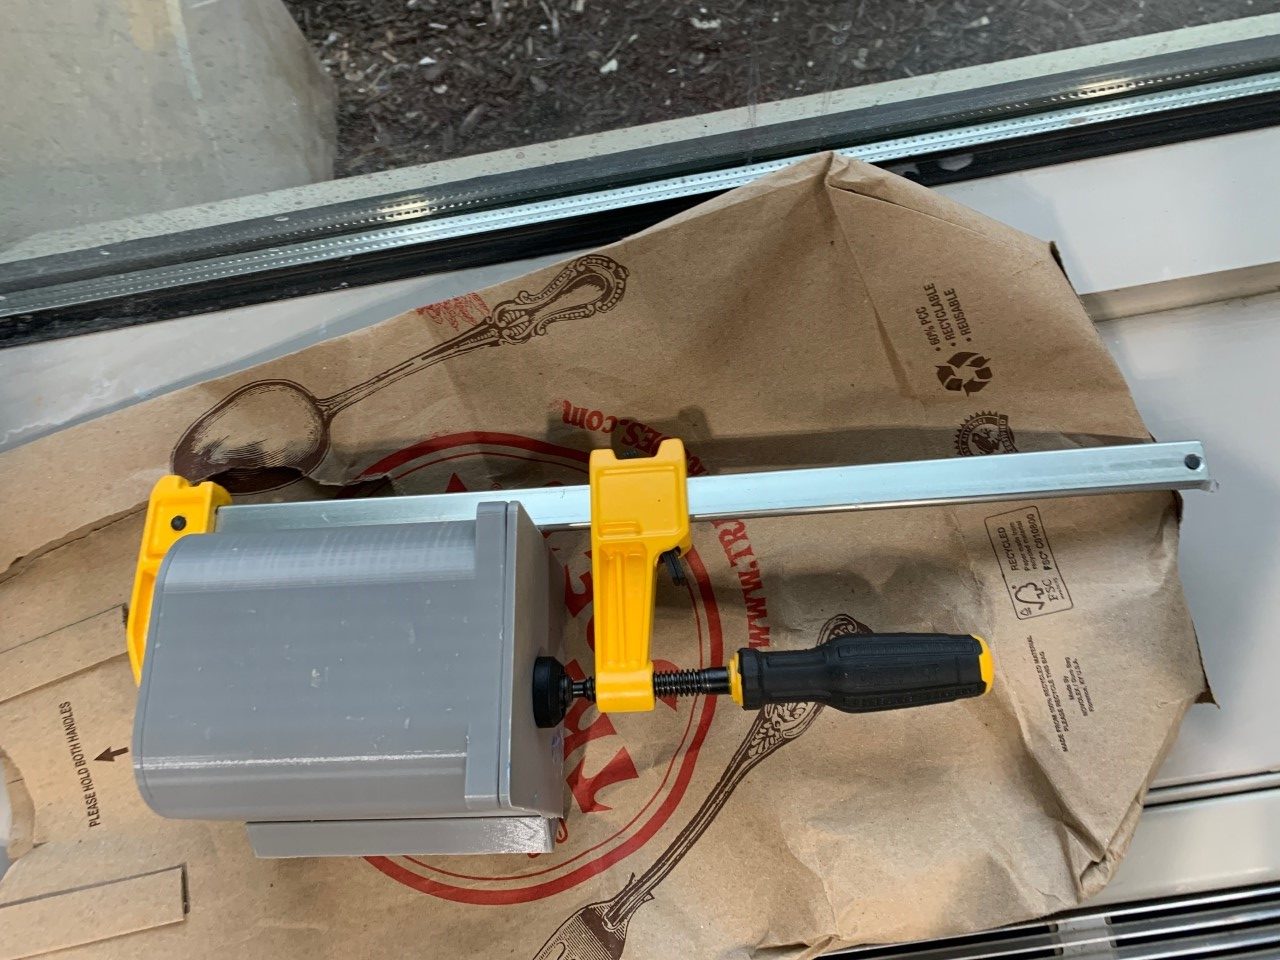
Grab a clamp! Tighten the clamp very well – you should get excess water leaking out from the mold. At this point, I took the clamp off and added some more pulp to fill in the areas where the pulp shrank from the moisture being squeezed out of it. Either way, you want the pulp to be extremely compressed in the mold.
Then leave it to dry! The maker’s guidelines give it 4-6 hours of being clamped before starting the demolding process. Go slow, waiting 6-8 hours in between removing pieces. My walls fused when printed, so I took the mold apart in a little bit different order than the original instructions: lid, then the inside portion of it, and once it was dry enough that it felt solid, the walls. It will take about 48 hours to dry, but mine took closer to four days before it felt like it was ready to be finished.
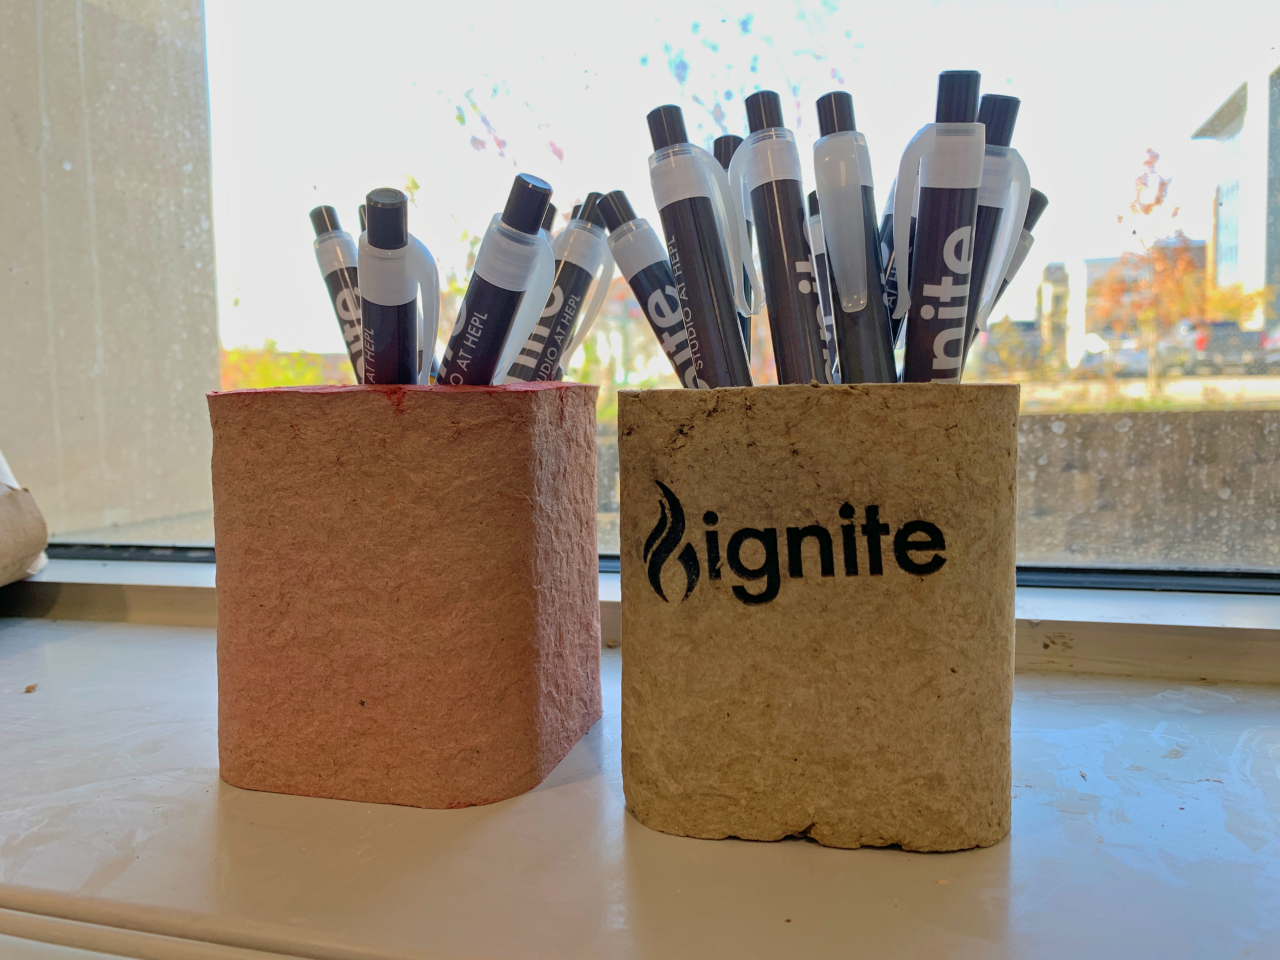
I even did one where I dyed the pulp with food coloring for a pink tint. The compressed cardboard takes to being laser engraved really well. I recommend putting the settings at power 16 and speed 100. There are lots of unique ways to customize these recycled cardboard containers. Come check out all the ways you can use equipment together at Ignite! Happy making!
