

By Daniel Wiseman
Have you ever wanted to create your own 3D models to be printed but you weren’t sure how? Using just a few tutorials and step-by-step guides–I tackle all the ways you can get started with 3D modeling and be on your way to creating your own cool 3D prints! Read on to learn how to create custom 3D prints. Once you know how to create your own models, make sure you get certified on Ignite’s 3D printers to print your creations.
How to Create Custom 3D Prints
The best way to begin 3D modeling is to use a capable PC or Mac, laptop or desktop machine with a standard mouse. I recommend using our Macs in Ignite’s DMLs as they are capable of using all the 3D programs suggested in this blog. But if you decide to use your own just make sure it meets the system requirements of the program you choose.

Currently, the best choice for 3D modeling is Blender 3D. Blender is an open-source free 3D program that’s highly popular among hobbyists of all trades. At Ignite Studio, we have Blender installed and ready to go on our Macs in the Digital Media Labs.
You can also try other programs like SketchUp Free and Adobe Substance 3D Modeler.
SketchUp Free works right in your browser and lets you save your projects and export .STL files which are needed for loading into our FlashForge 3D printers.
Adobe Substance 3D Modeler is free to use through our Digital Media Labs, which gives you access to pro level tools . If you feel confident in your 3D skills and want to use a high-level program, this is the one for you!
For this guide, I personally recommend using Blender, as it’s a really good entry-point into 3D modeling and printing for all skill levels.
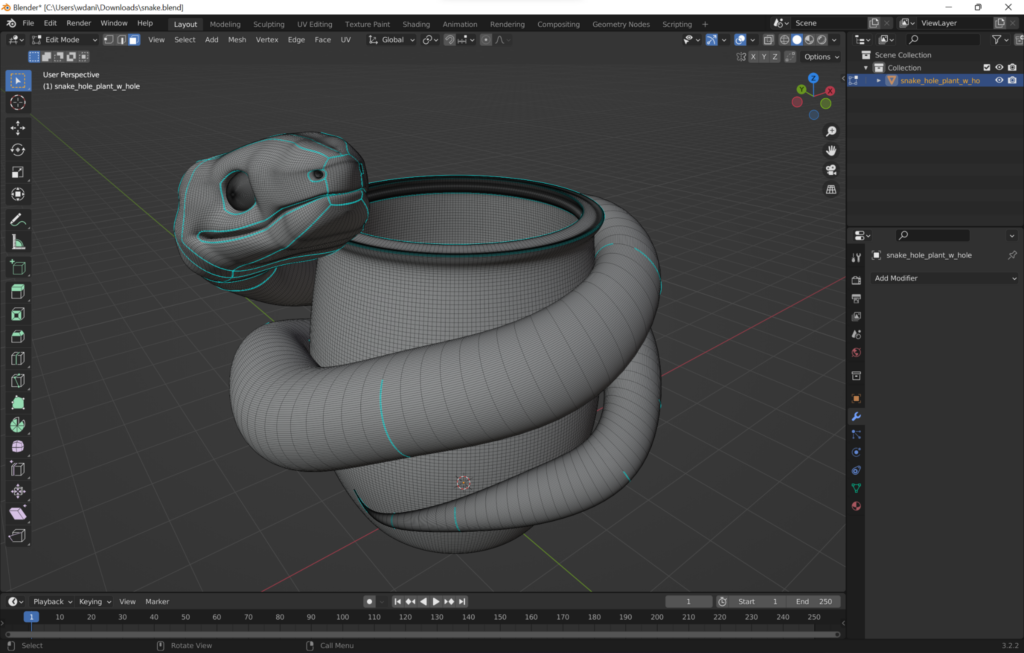
Modeling
To create your own 3D prints, you’ll need skills in 3D modeling–luckily you can still create some really cool projects while learning the basics at the same time!
If you need a tutorial to get started with 3D modeling in Blender, I recommend checking out this 3D modeling beginner tutorial series by Blender Guru. If you’re using the other programs I mentioned, I’ve listed the tutorials for them below:
For the Blender tutorials, you’ll only need to watch the first four parts of the series which teach how to use the interface, interact with objects, create 3D models, and modify those creations. For the other tutorials, you can go ahead and complete the entire series for those.

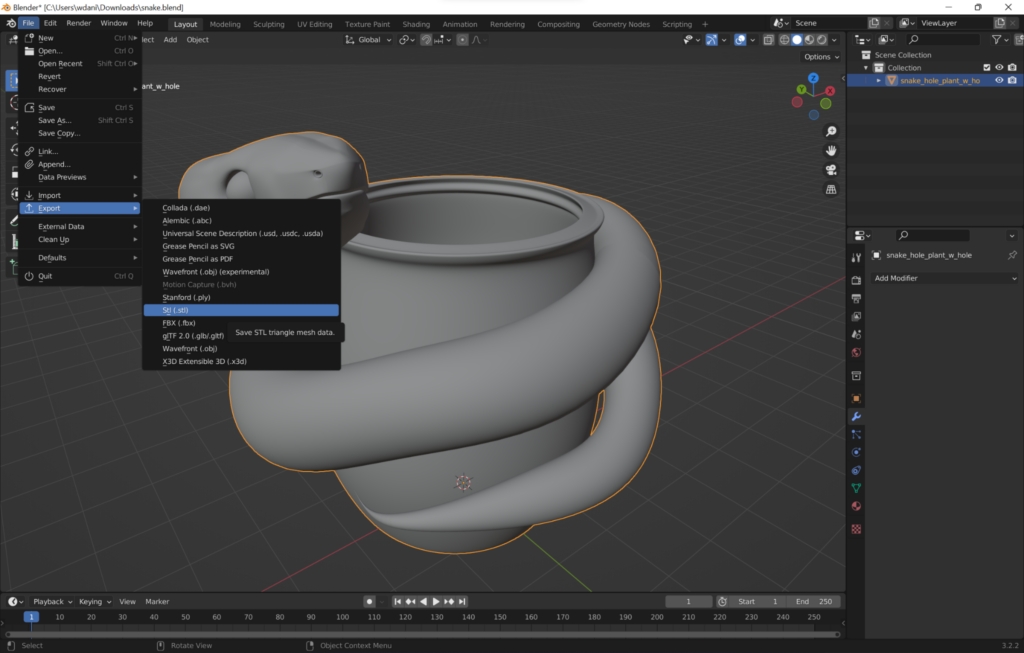
Converting Your 3D Model into an .STL
The file you save your project as by default cannot be read by the 3D printer–in order for you to print your model you need to export it as an .STL. With Blender and SketchUp Free, you can do so by following these steps:
- Selecting your object, go to file > export > stl
- Select where you would like the file to be saved, and then select the “Export STL” button
Adobe Substance Modeler doesn’t export in STL at this time, so instead you’ll need to export your model as an .obj using these steps.
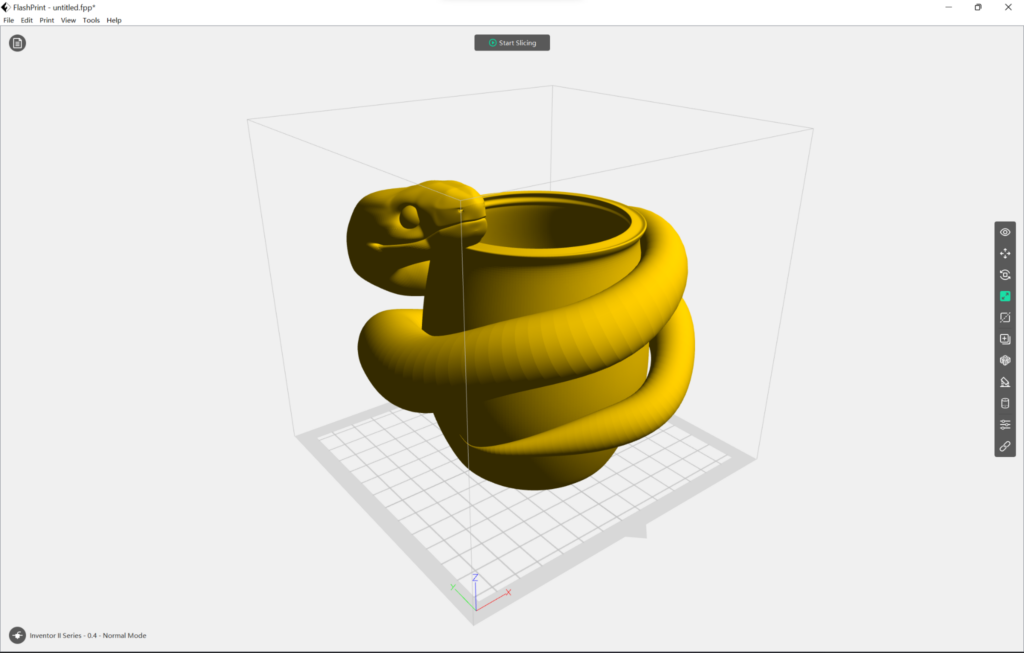
You can now move this to your flash drive and load it up in Flashforge just like you would if you downloaded it from Thingiverse or TinkerCAD and that’s all there is to it!
Hopefully you feel more confident about 3D modeling and learned more about how the process of 3D printing works from start to finish. We’re excited to see what you create and share with us–happy making!
