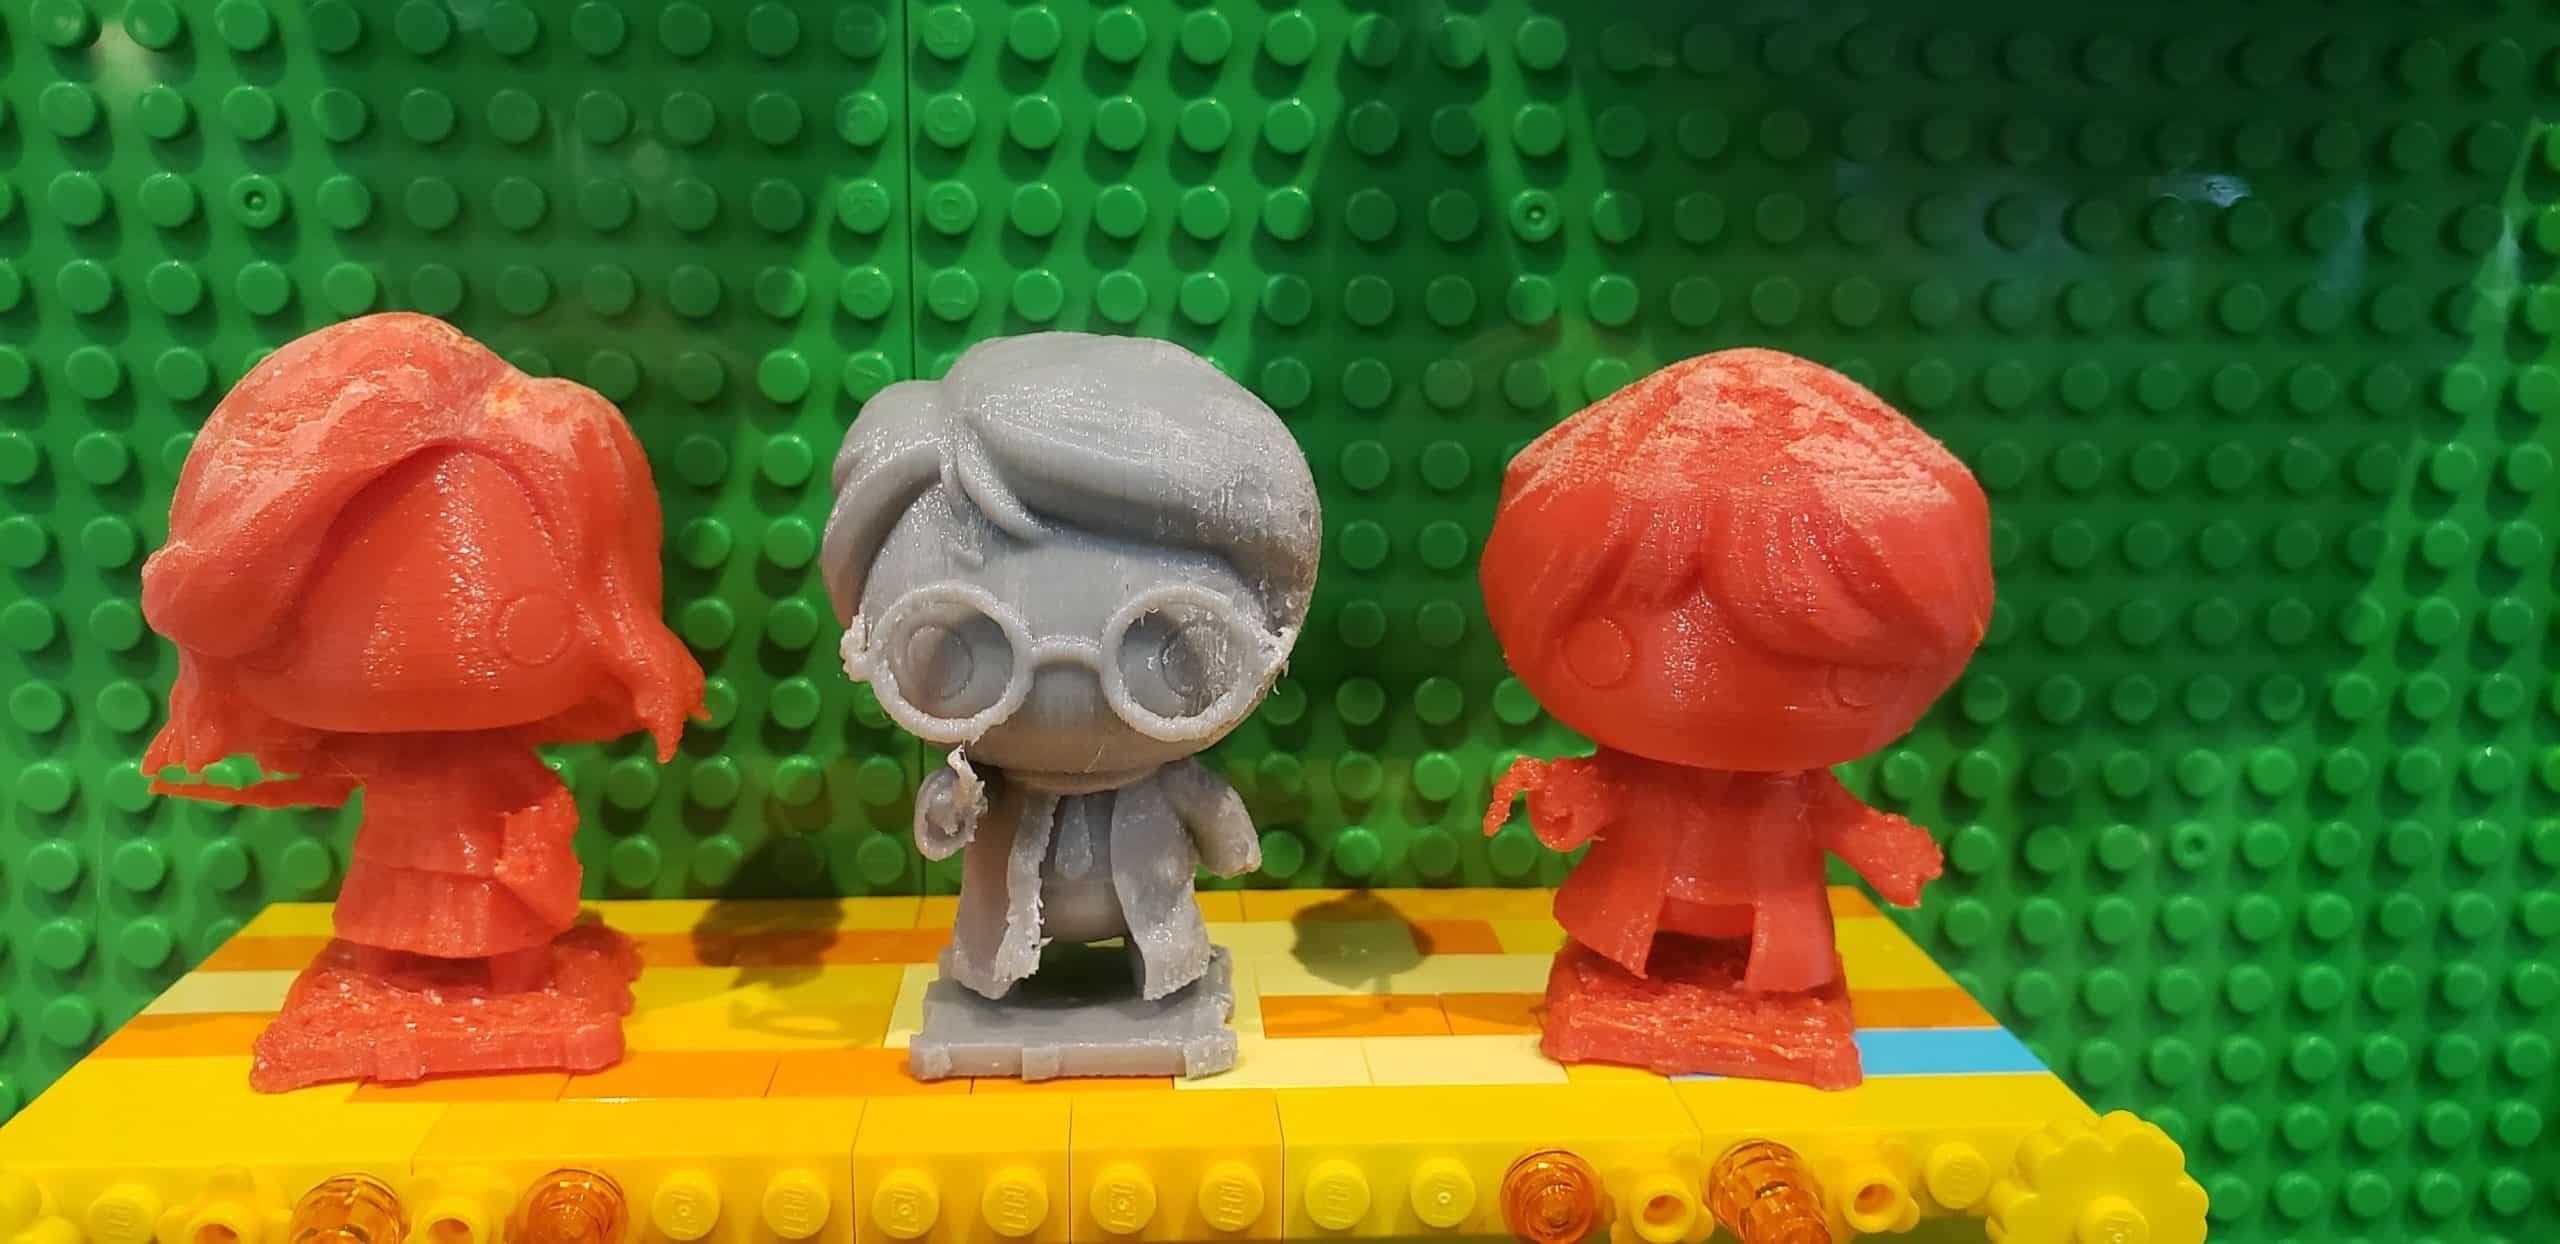
By Nick Douglas
This blog is dedicated to the elbow grease portion of finishing your 3D print to help it reach its full potential. Get, the sand paper, wood filler, and spray paint ready, because this is the most exhausting, yet frustratingly satisfying part of the process. Here’s a short list of the things that will help you get the job done:
- Spray Paint
- Spray Filler
- Wood Filler
- Bando Glazing Putty
- Wood Putty
- Gesso
- Dry Cardboard
- Plastic Spoons
- Small files
- Sandpaper (various grits)
- Dish Soap
- Exacto Knife
- Disposable Gloves
- Paint Filtration Mask

Prepping Your 3D Print
Take your prints for a bath. Lather them with dish soap for about a minute. Make sure to feel for rough patches in the object. These patches are trapped filament stuck in between layers of the print. If left alone, the debris could affect the final results of your paint job. You’ll know your print is completely clean when the print rinses and only shows the color of your filament–no off-white particles. Once you’re sure that your prints are clean, let them air dry. Optionally, you can use a heat gun or hairdryer to accelerate this process. But don’t place the print too close to the heat source, or your print will melt and become deformed. Be thorough and patient with this first set of steps. Your print will thank you!
Use Elbow Grease!
Be sure to use nitrile or latex gloves (whichever material is appropriate for your skin) for this portion. Now, I’m assuming we’re using an FFF or FDM printer, such as Ignite’s Robo or Flash Forge models. There’s going to be a lot of areas you’re going to need to fill and sand. We can now apply filler to any or all crevices of the print. You can use gesso, wood filler, bando glazing putty or 2-in-1 spray filler. The latter two are caustic so apply outdoors or in a well-ventilated area.

Make sure to read the instructions on the back of these products. The manufactures have exact information on how and when to use their products. More importantly, pay attention to dry times and temperature specs. These dramatically influence how the printed surface may react to filler. With wood filler, squeeze the amount needed from the tube and apply to the needed areas. Use this same process for gesso and Bando Glazing Putty. Scrap off any excess, then let it dry for 12 hours. To achieve a smooth surface, the material has to be stone dry. I recommend 2-in-1 spray filler as the easiest product for beginners. Spray all areas of your print, and let it dry thoroughly.

Take some 80-120 grit sand paper–a lower number means a courser material–and sand down the filled areas of the print. For smaller prints, a file will be helpful. Files are designed to reach tricky areas. For larger prints, sand in circular motions to achieve an even finish. Wash, dry, paint, sand, and repeat.
Wash any debris from off, and dry for 12hrs. Apply thin even passes of spray paint. And let it dry according to the manufacturer’s directions. Sand with a higher grit paper to further smooth the surface. Work your way up to 1600 grit sandpaper or higher depending on your preference. Repeat to perfection! This process is as long as you need it to be. To experiment with your paint job, use plastic spoons. They provide a ready-made smooth surface.

Finishing Your 3D Print
Congratulations! Your print looks fantastic! Now show it off to your friends. Or maybe there’s some room for improvement, and that’s fine as well. As long as you had fun. Oh, also make sure your head doesn’t hurt and your hands aren’t cracked. If they are, that means you’re not protecting yourself throughout the process. Until next time, happy making!


