
")
By: Amanda Sabo
Fall officially arrived on September 23rd, and now that it’s October, even the most jaded of us are ready to decorate for the season. Below I’ll show you three decorations I’ve made using materials at Ignite that are also available to you! I’ll let you know what you need to bring and what you can use at Ignite, and I’ll provide a link to the tutorial.
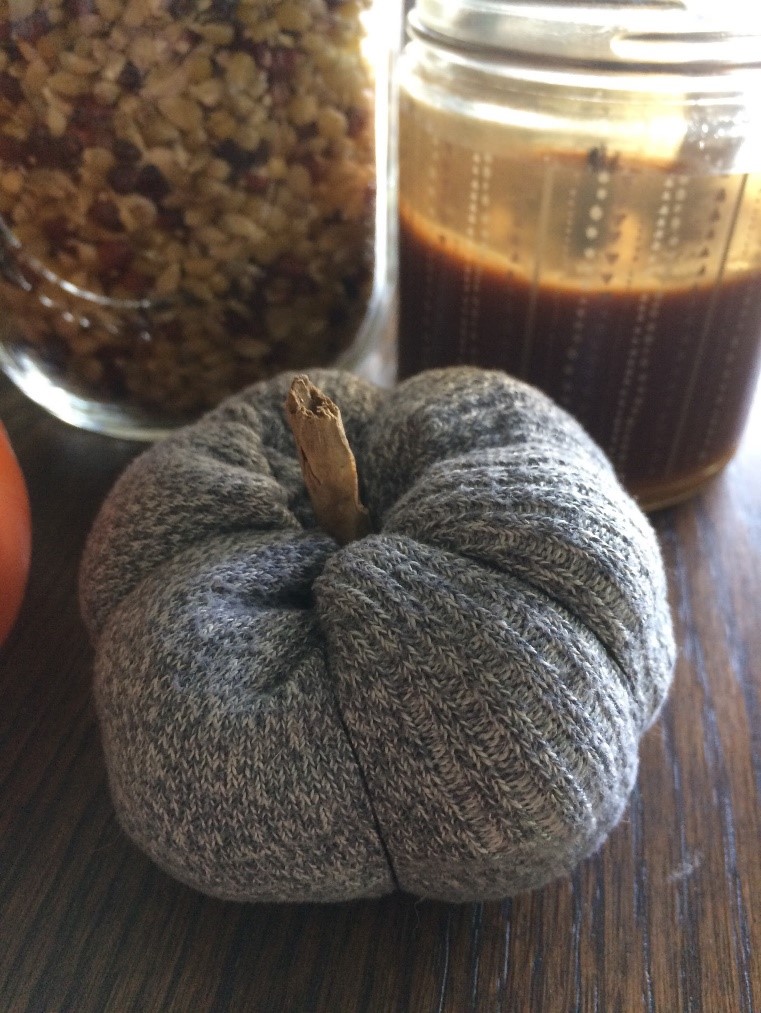 DIY Sock Pumpkins
This is the simplest project, and it turns out really cute. Making three or four in different sizes and different textures would really make these pumpkins stand out. Sit them on your dining room table as a centerpiece or stick them on a bookshelf.
Bring with you to Ignite:
- Socks (A great way to use old socks missing their pair! Chunky textures give your pumpkin an extra cozy vibe.)
Use at Ignite:
- Hot glue gun
- Needle and thread (These can be found in the sewing kit in the adult kit library.)
- Stuffing (I used extra fabric from another project I had finished instead of traditional stuffing. Be creative and see what would make a good stuffing alternative! Maybe some shredded paper or something from the found object art kit.)
- A stick (Pick one up on your way into the space from the parking lot!)
- Scissors
You can find the sock pumpkin tutorial here.
 Tin Can Lanterns
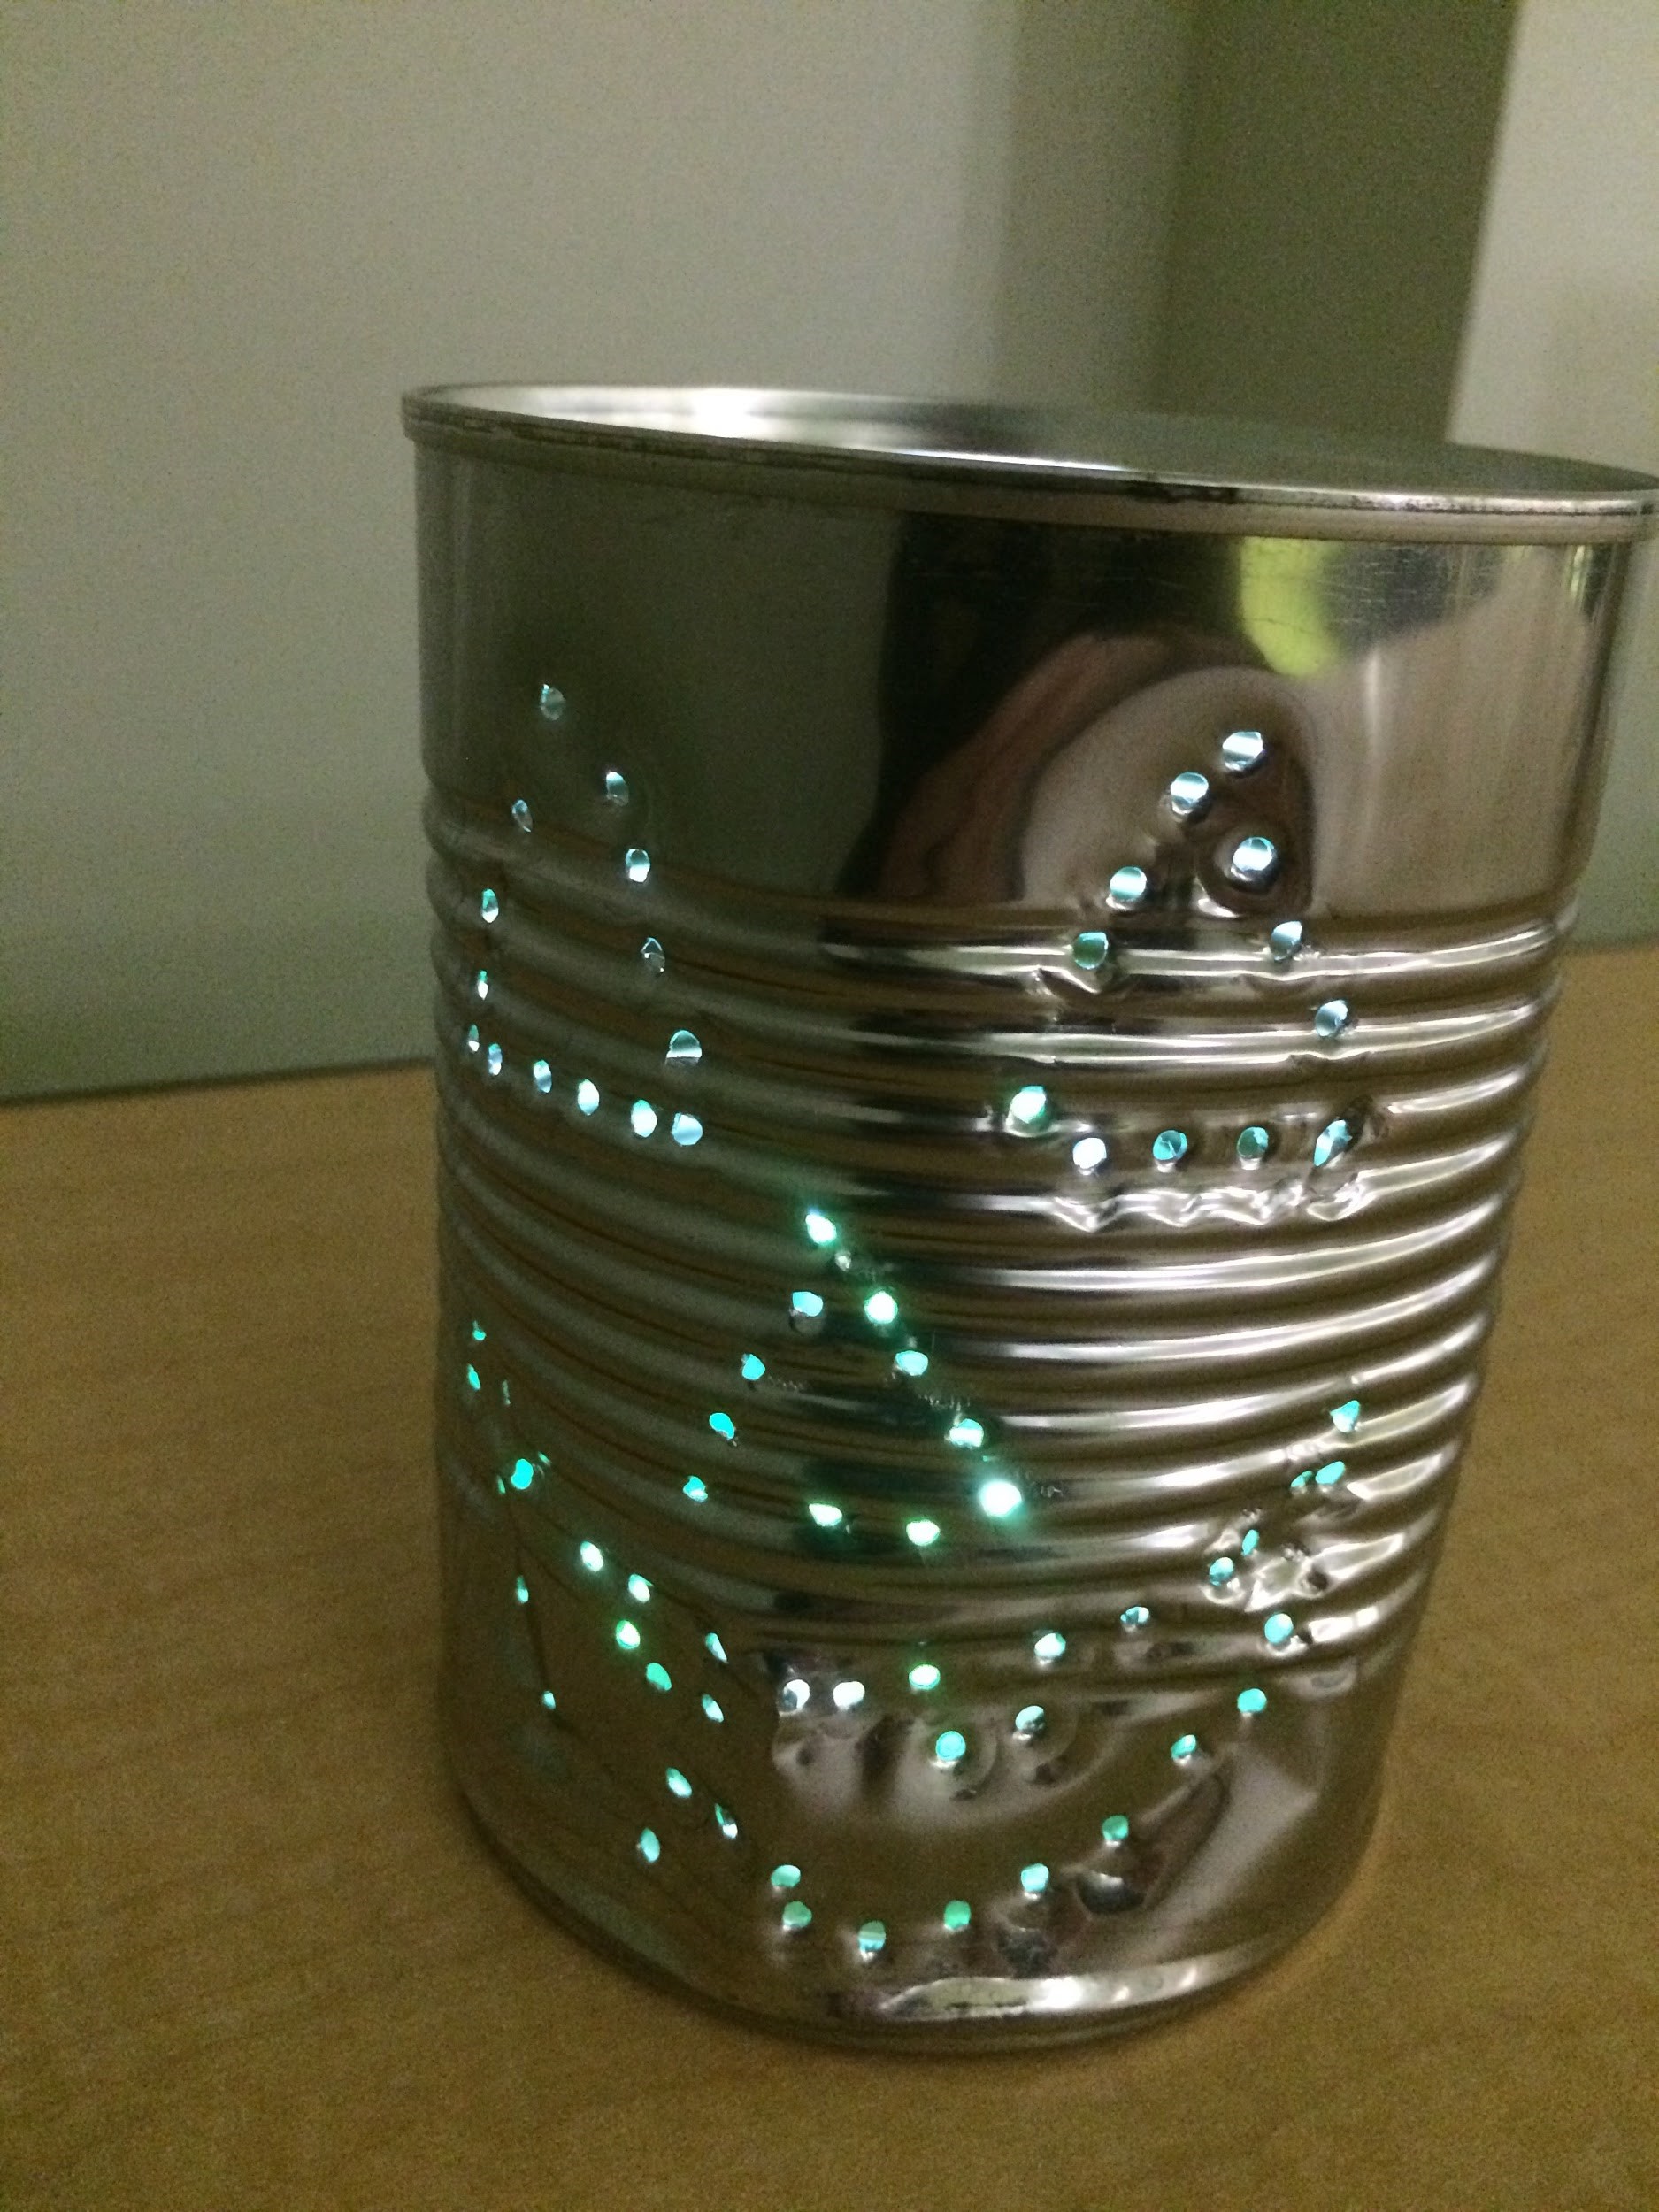
My arm was sore after this one! Having only rarely used a drill, I wasn’t prepared for drilling 75 holes. I made things a lot harder on myself by not putting pilot holes in the can beforehand. Save yourself the pain and use the nail and hammer to make pilot holes.
As you can see, my tin can buckled under the pressure I put on it with the drill, which gave me the opportunity to remind myself that it’s about process, not product. (I love my lantern even if it is a little crushed. Like my supervisor Jackie said, “Some pumpkins are a little smashed.”)
To light my lantern, I used a battery and LED light from one of our previous drop-in activities. These materials can be purchased at Ignite’s service point. Straddle the battery with the LED light. Put the longer lead on the positive side and the shorter on the negative side. Tape the leads down to the battery, and toss it in your can to illuminate your image.
Bring with you:
- Stamina!
- A nail
Use at Ignite:
- Tin can (My tin can came from a found object art kit from the children’s kit library.)
- Cordless drill
- Clamp
- Tape
- Hammer
- Paper
- Sharpie
- LED lights (20 cents each)
- Coin cell battery (2 dollars each)
You can find the tin can lantern tutorial here.
 3D-Printed Halloween Pumpkin
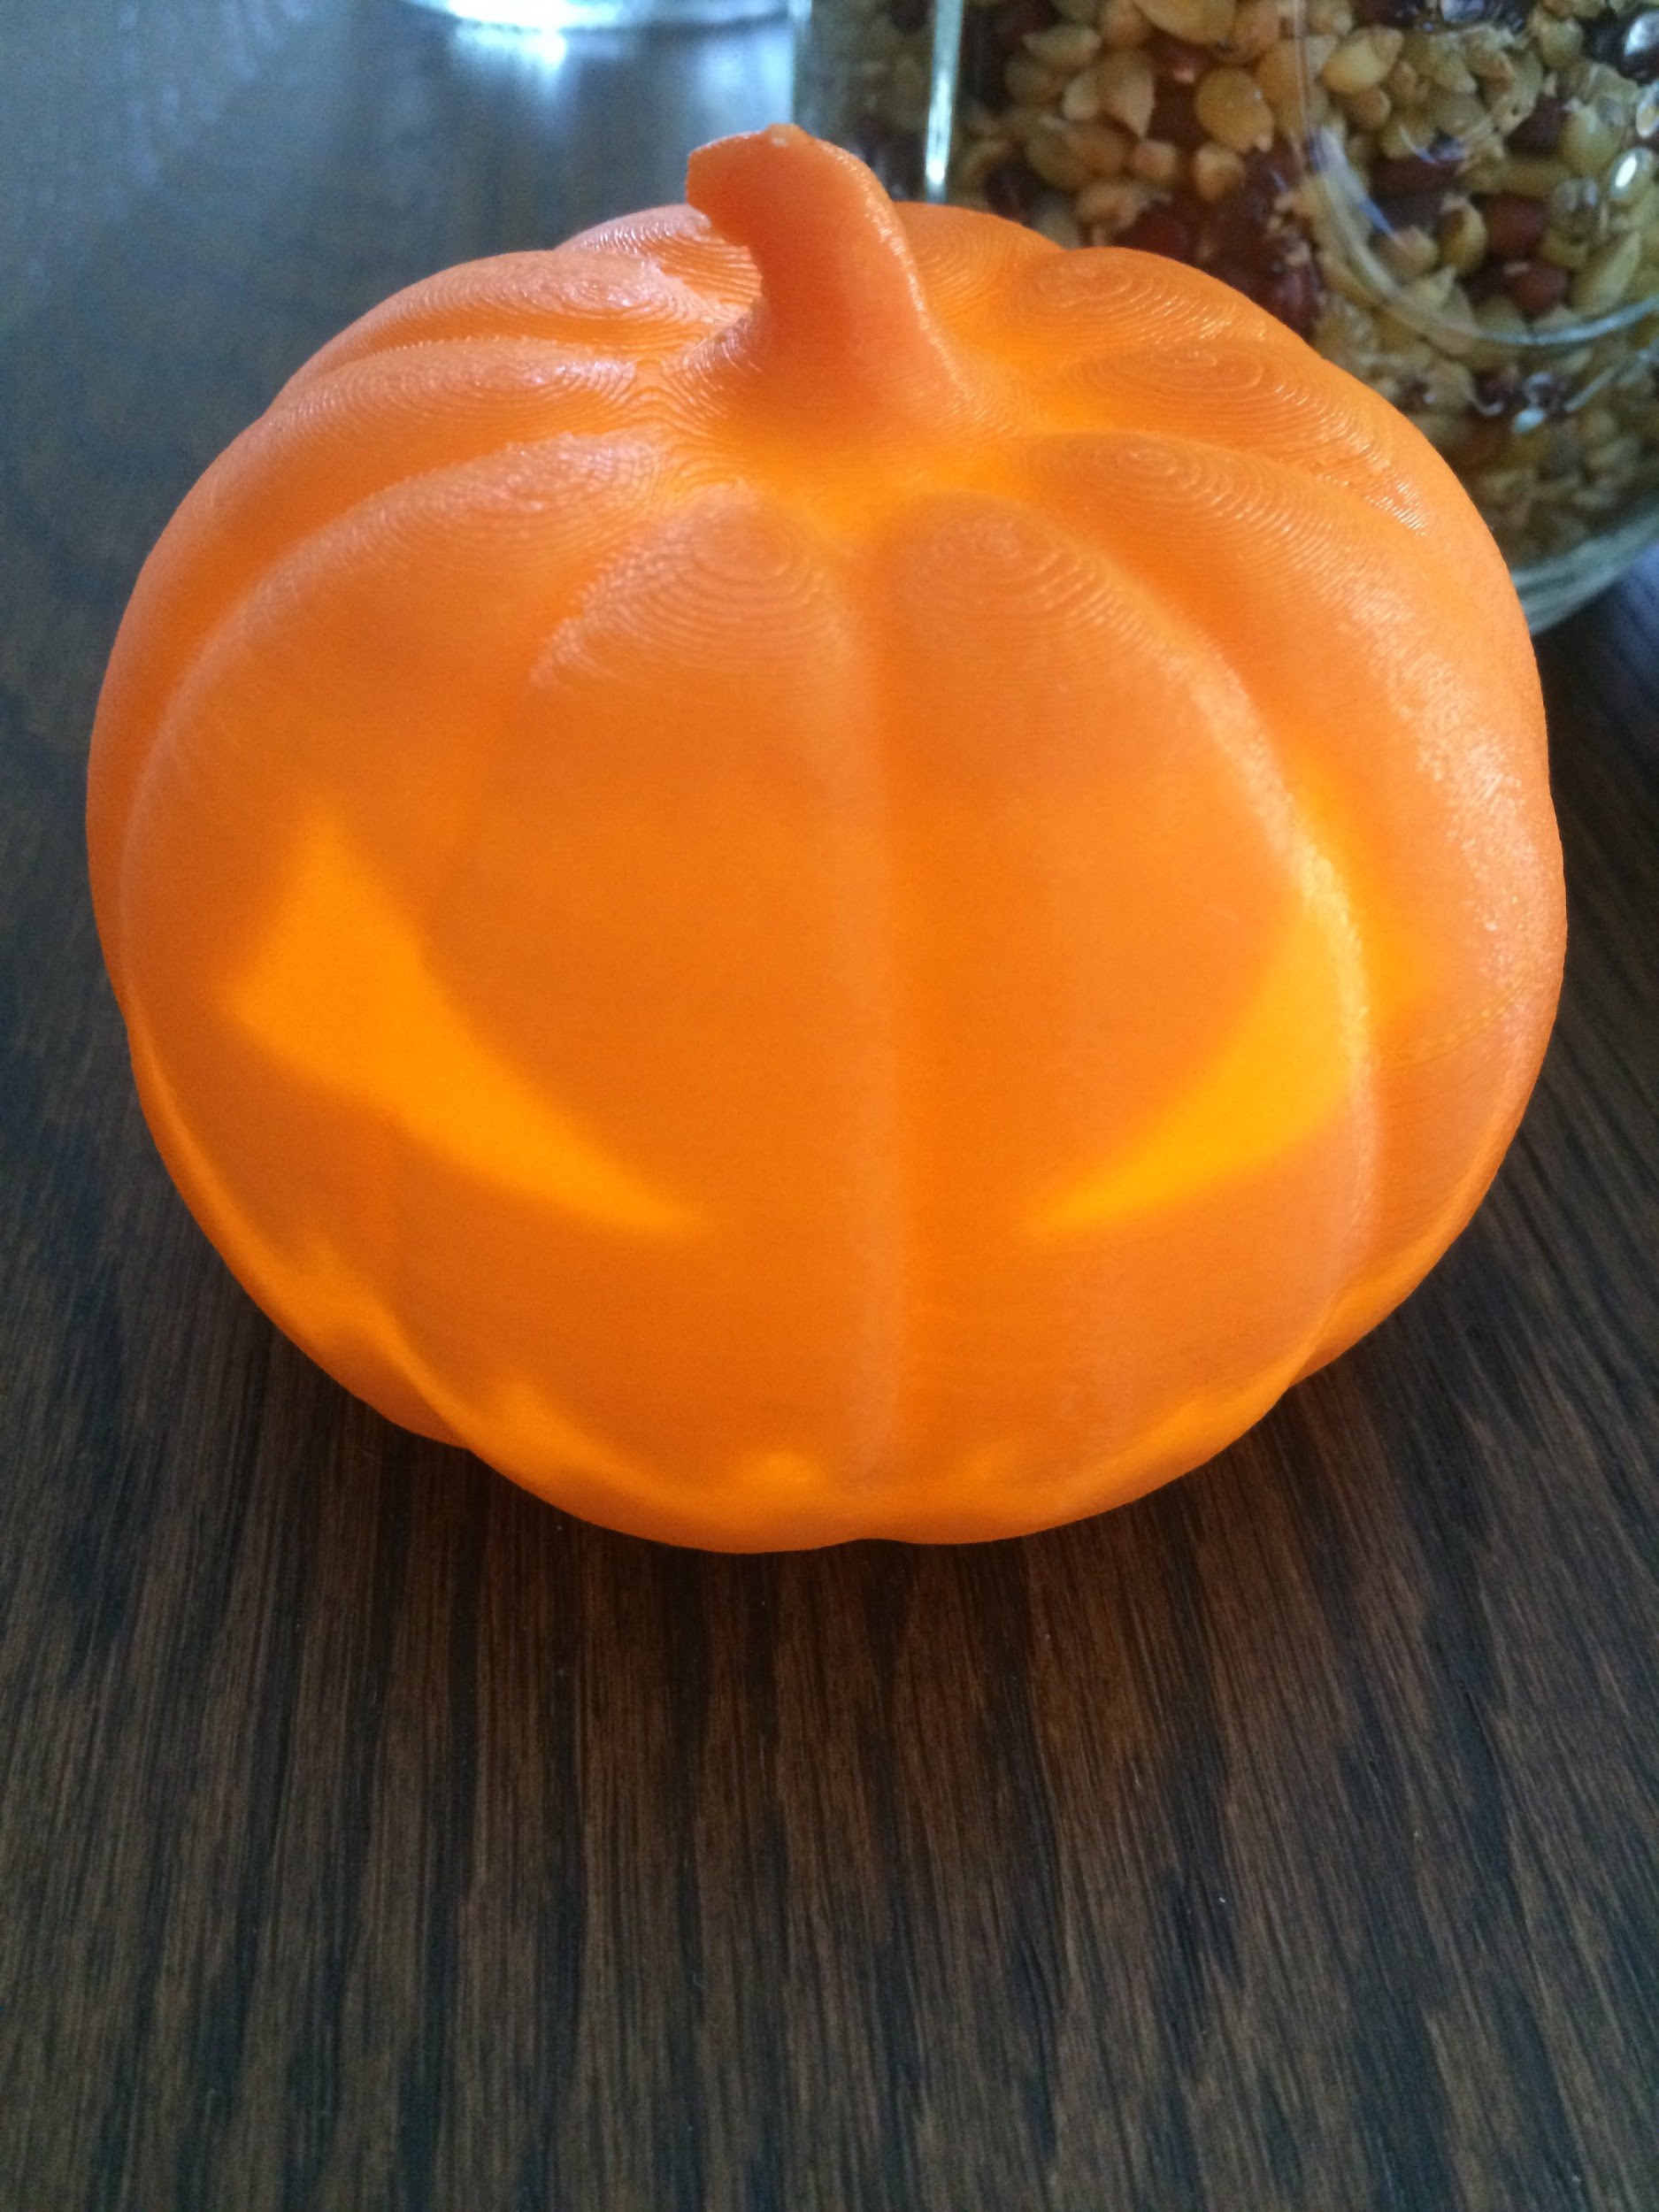
I’m always torn between decorating for fall and decorating for Halloween. You might wonder why I don’t use the decorations interchangeably. My fall decorations skew too sweet (an autumn bouquet in Ball jars) and my Halloween decorations are too scary (fake blood and zombies). When I put them together, they become a discordant mixture of sights. Another way to say that is they just don’t go. This 3D-printed Halloween pumpkin has solved my dilemma. It’s an autumnal decoration during the day and a Halloween decoration once night falls.
This project is for those of you who are certified to use the 3D printer. If you’re not certified yet, sign up! The registration for our November classes recently opened and can be found here. The great thing about this pumpkin is that you’ll be able to enjoy it throughout November, too!
You can use a battery-operated tealight or use one of Ignite’s batteries and LED lights to make the jack-o’-lantern face appear.
Bring with you:
- Nothing! We have everything you need.
Use at Ignite:
- 3D printer (Make a reservation by calling us.)
- Filament (Sold for 10 cents a gram.)
- Laptop
- Mouse
- Cura software
- LED lights (20 cents each)
- Coin cell battery (2 dollars each)
The 3D file can be found on thingiverse. If you tried to print the file as it is, it’d take over 16 hours! The reservation slots for the 3D printers are 5 hours each on Monday-Thursday, 3 ½ hours on Friday and Saturday, and 4 hours on Sundays. For this reason, you’ll want to resize your pumpkin so that it prints in the allotted reservation time. You can do this by selecting the scale tool in the left-hand toolbar. Using this tool, if you change the X value, it’ll automatically change the other values to keep your pumpkin in proportion. The smaller the X value, the smaller the pumpkin, the less time it takes to print.
Next time you see me in the studio, be sure to let me know how your fall decorating projects went!
