

By: Amanda Sabo
Hello Friends! Because some of you have recently asked about methods for T-shirt making, this blog post will introduce you to one method for getting your designs on fabric: heat transfer vinyl. Rather than take you through the technique step-by-step, I’ll highlight some important information and resources for you to use so you can feel confident and ready to jump in the next time you visit!
Heat Transfer Vinyl (HTV)
Using heat transfer vinyl (HTV) to make a T-shirt is a great way to test the waters of T-shirt design. It is somewhat simpler than screen printing and much easier to clean up. To make a T-shirt using HTV, first cut out a design using the Cricut Maker (which can be found against the wall by the FabLab) or the FabLab Vinyl Cutter. Then use the heat press to seal your design onto your fabric.
To use the Cricut for cutting your HTV, check out the Cricut Maker and the Cricut Maker Kit from the Adult Kit Library. The Cricut Maker Kit includes all of your getting started materials and directions. If you’d like more guidance on how to use the Cricut, you can sign up for the getting started course found here. It’s not required, but I recommend it to those who prefer to learn in a classroom setting rather than reading through the provided materials alone.
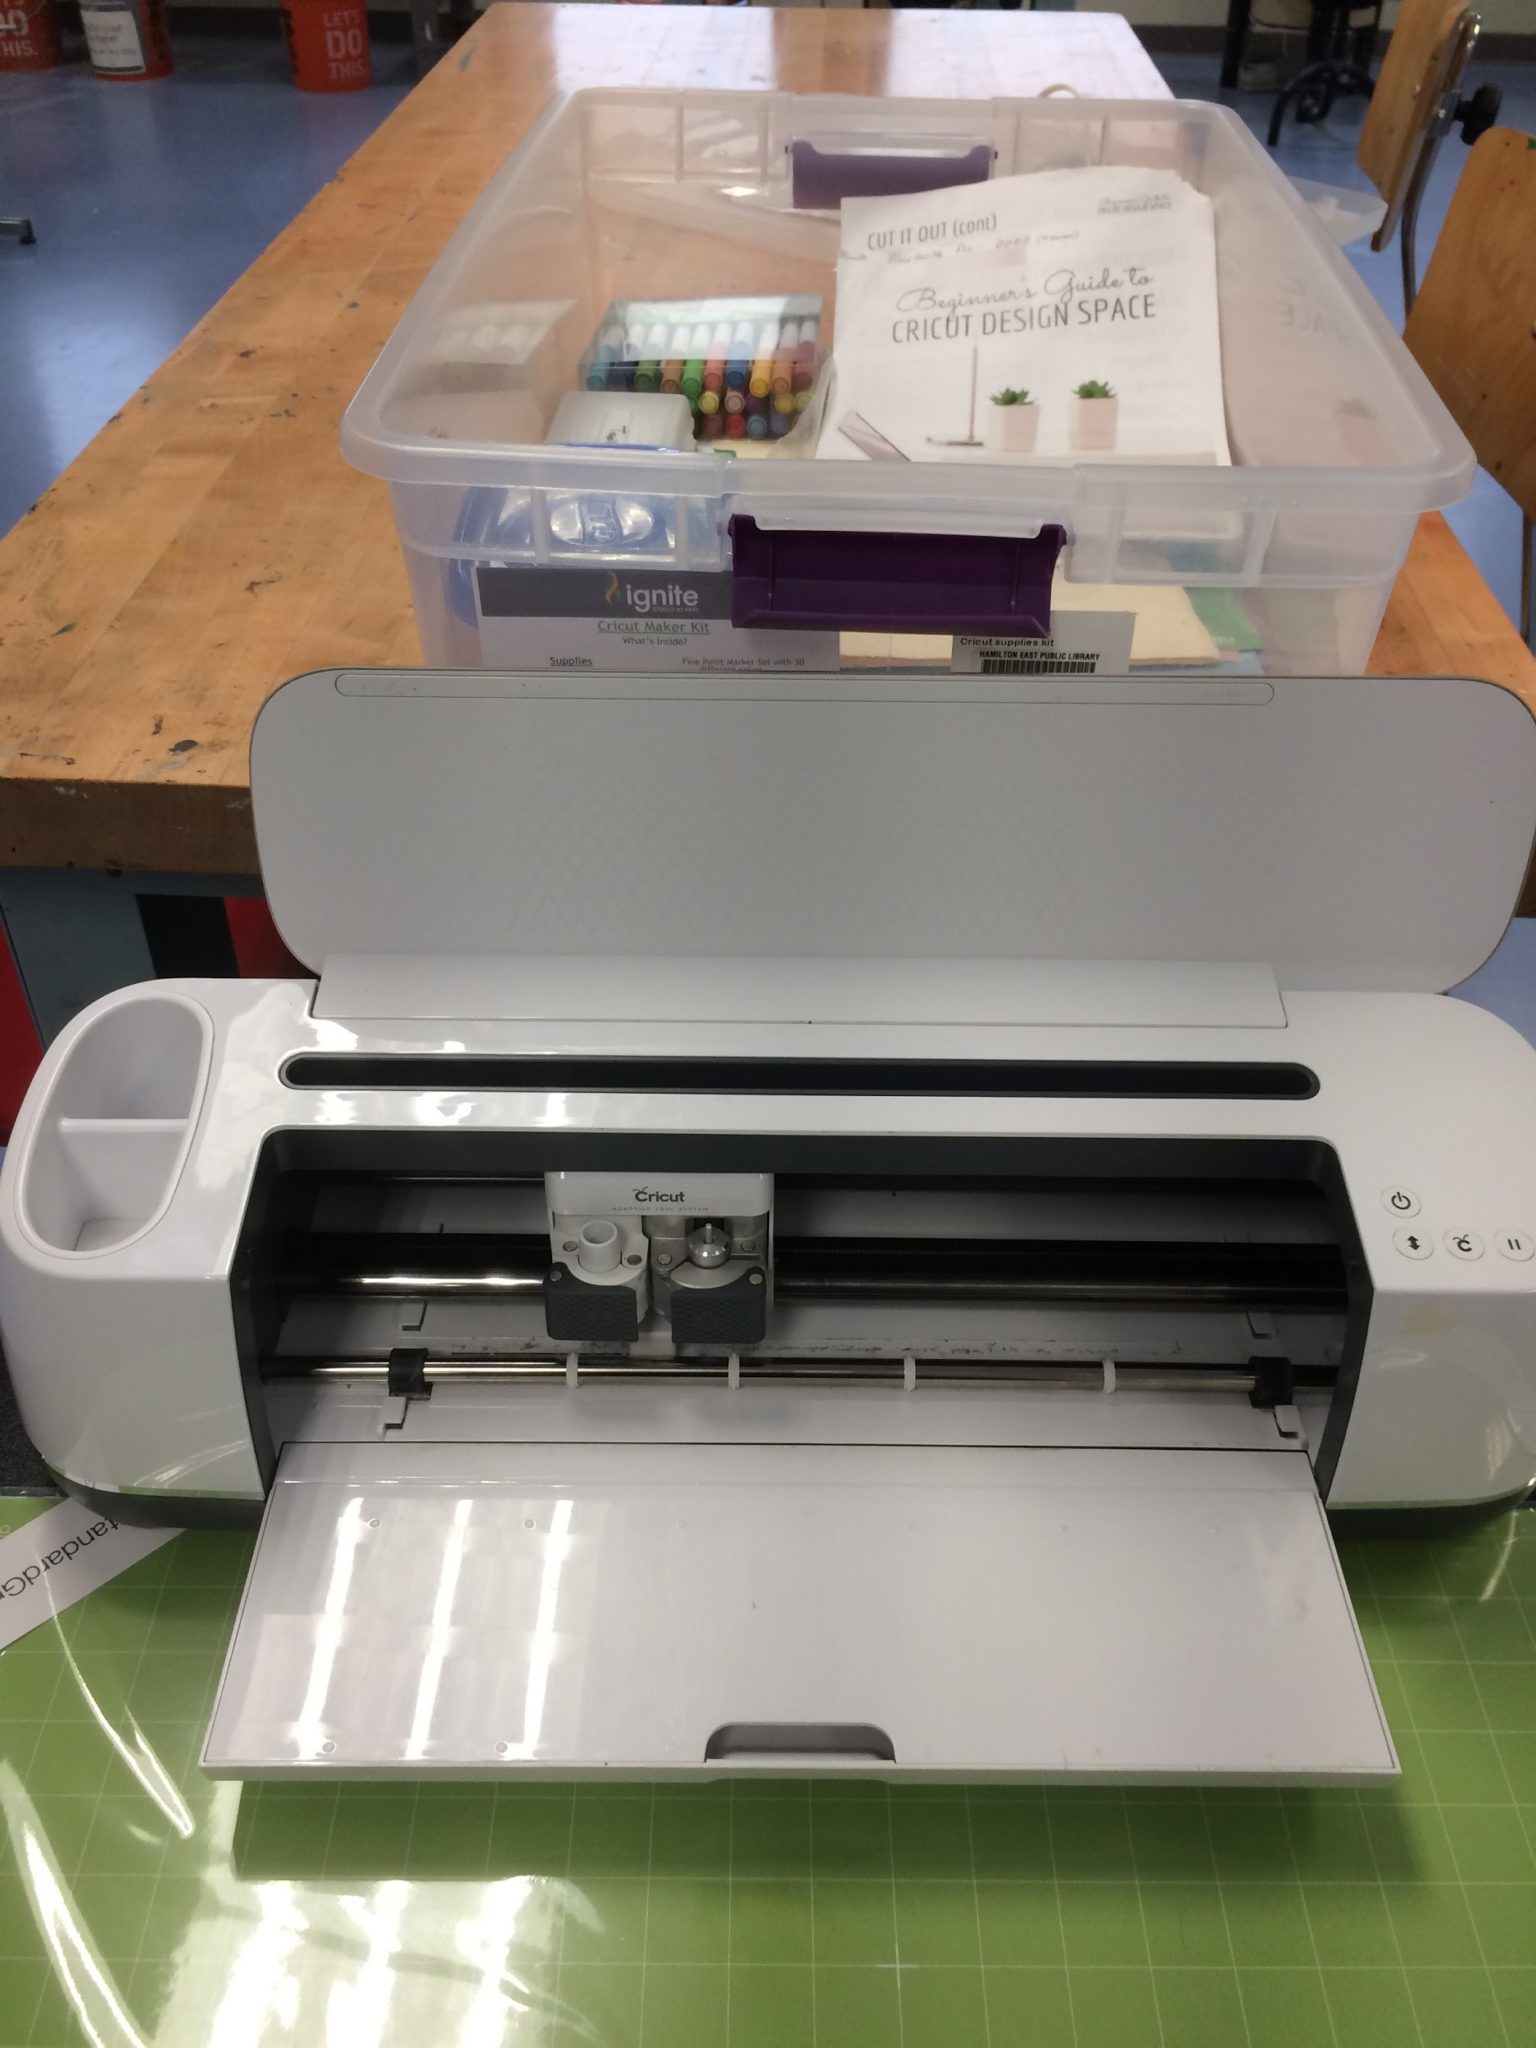
Ignite’s Cricut and Cricut Kit
To use the Vinyl Cutter to cut your HTV, you will first need to be certified and be 16 or older. To get certified, you will sign up for the certification class here and take the free, two-hour course where you will learn to use the VinylMaster software and the equipment, including the heat press. Once you’ve taken the course, make a reservation at the service point and get started!
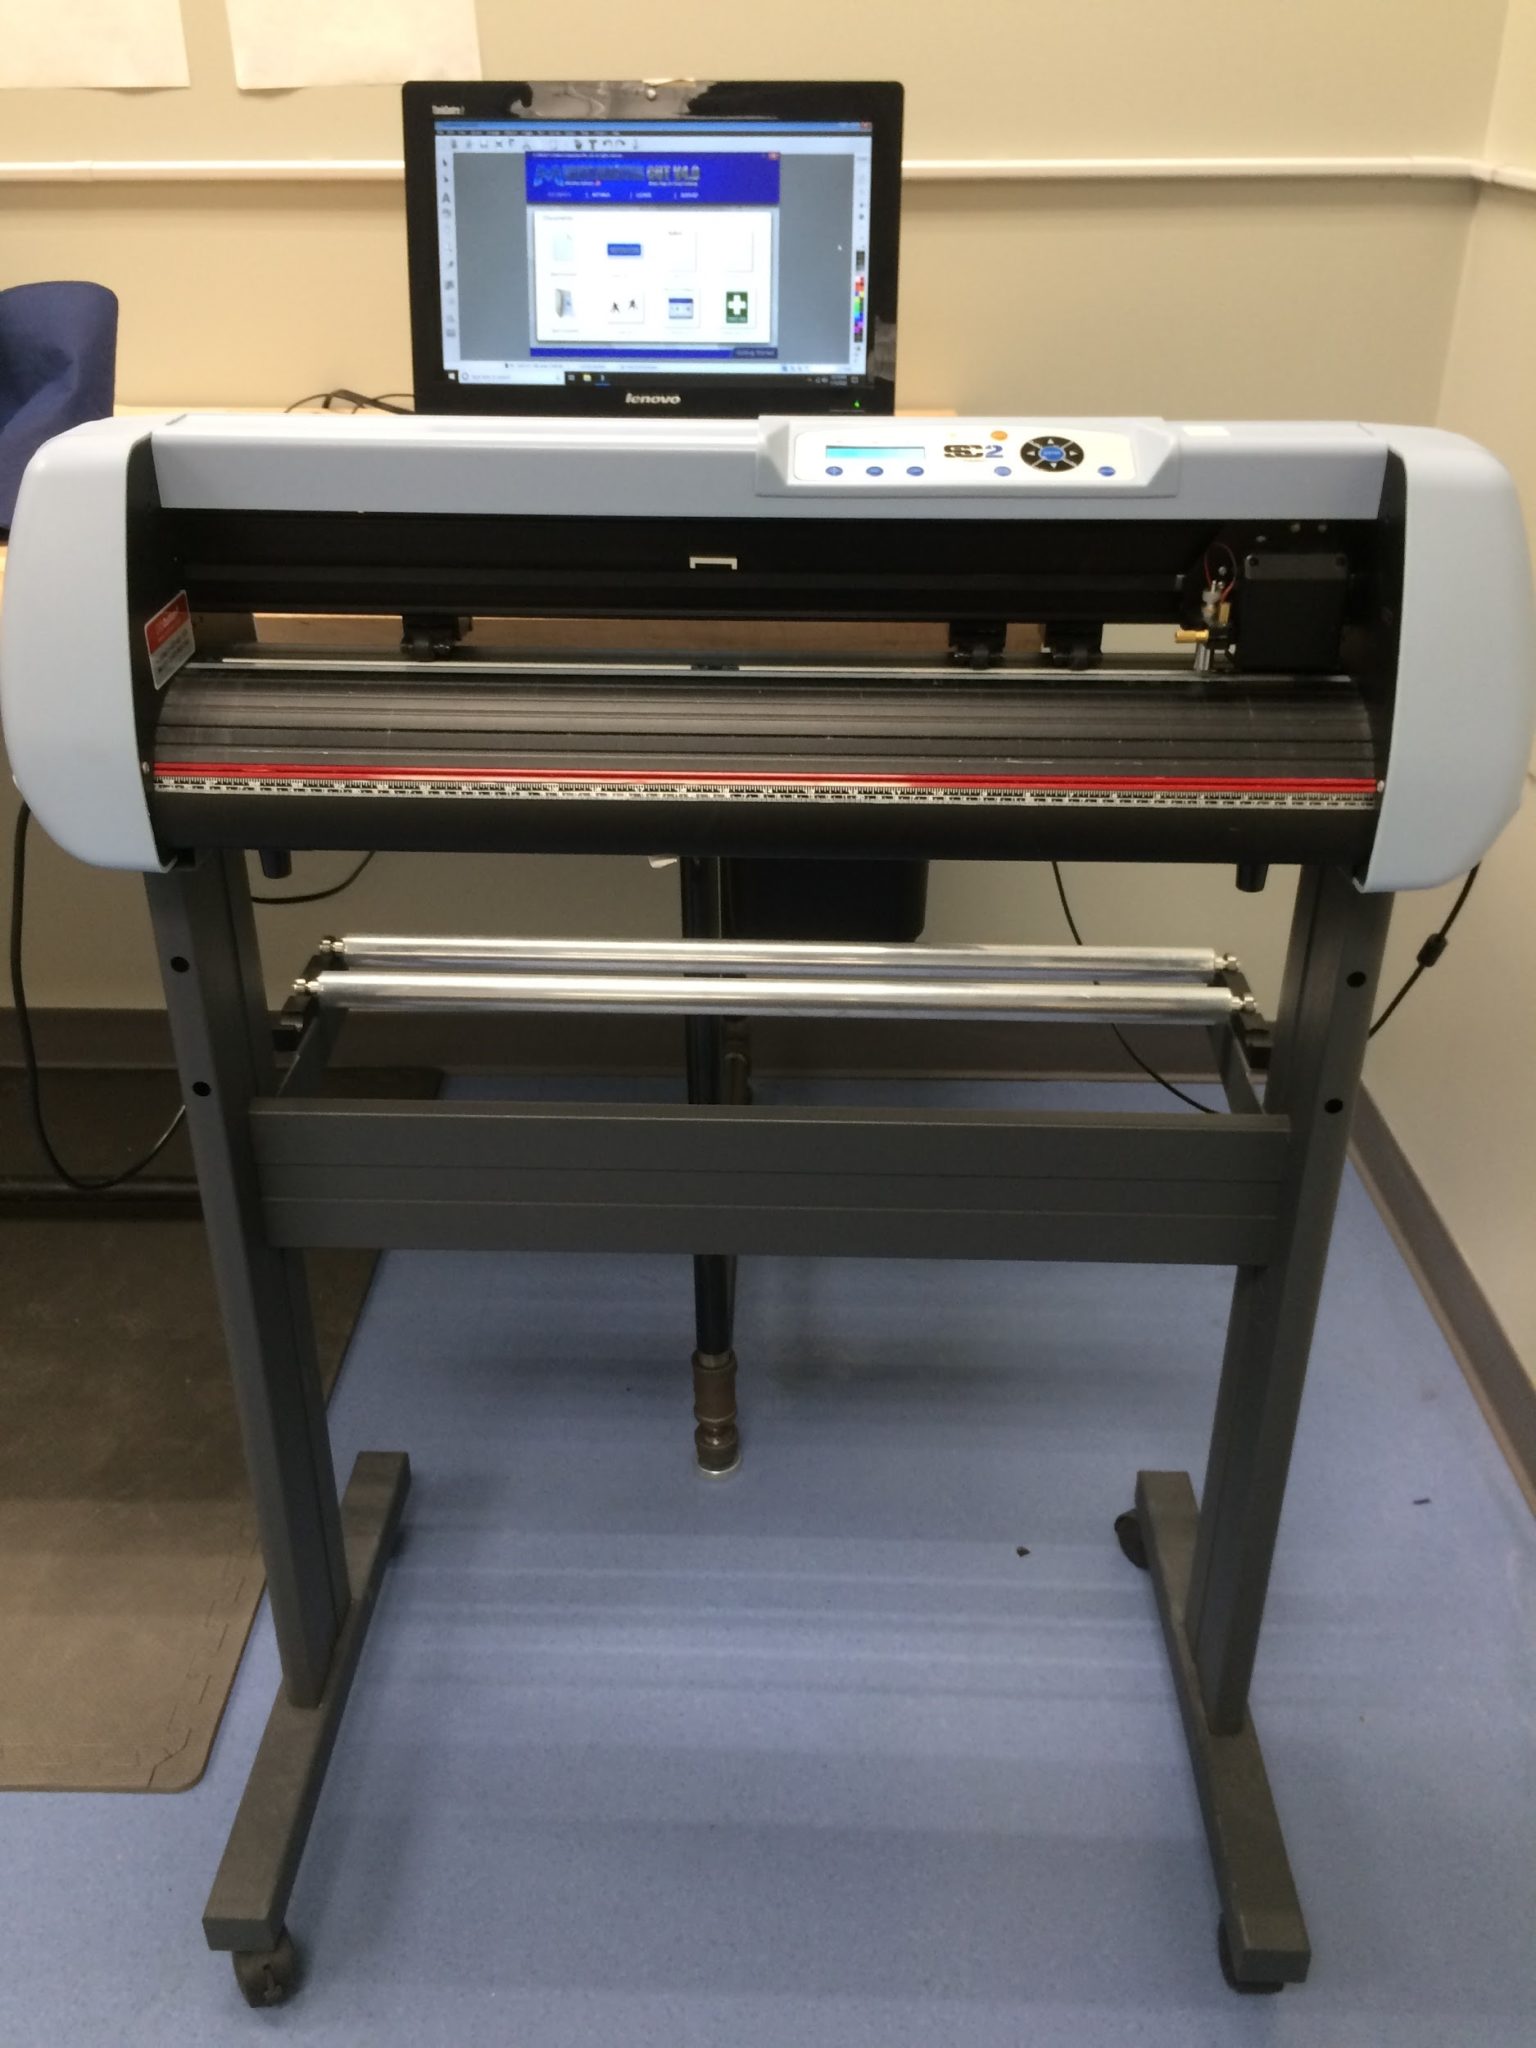
Ignite’s Vinyl Cutter inside the FabLab
After your HTV is cut, you will weed your design, meaning that you will remove all of the unwanted vinyl from the cut design. Next, check out the heat press (located in the FabLab). Open the heat press and place your T-shirt on it followed by your HTV (with the shiny side up). Place a sheet of the provided parchment paper over the HTV. Adjust the heat press settings for your materials, a list is provided on the wall behind the heat press. Press your shirt, and voila! Your first T-shirt is completed.
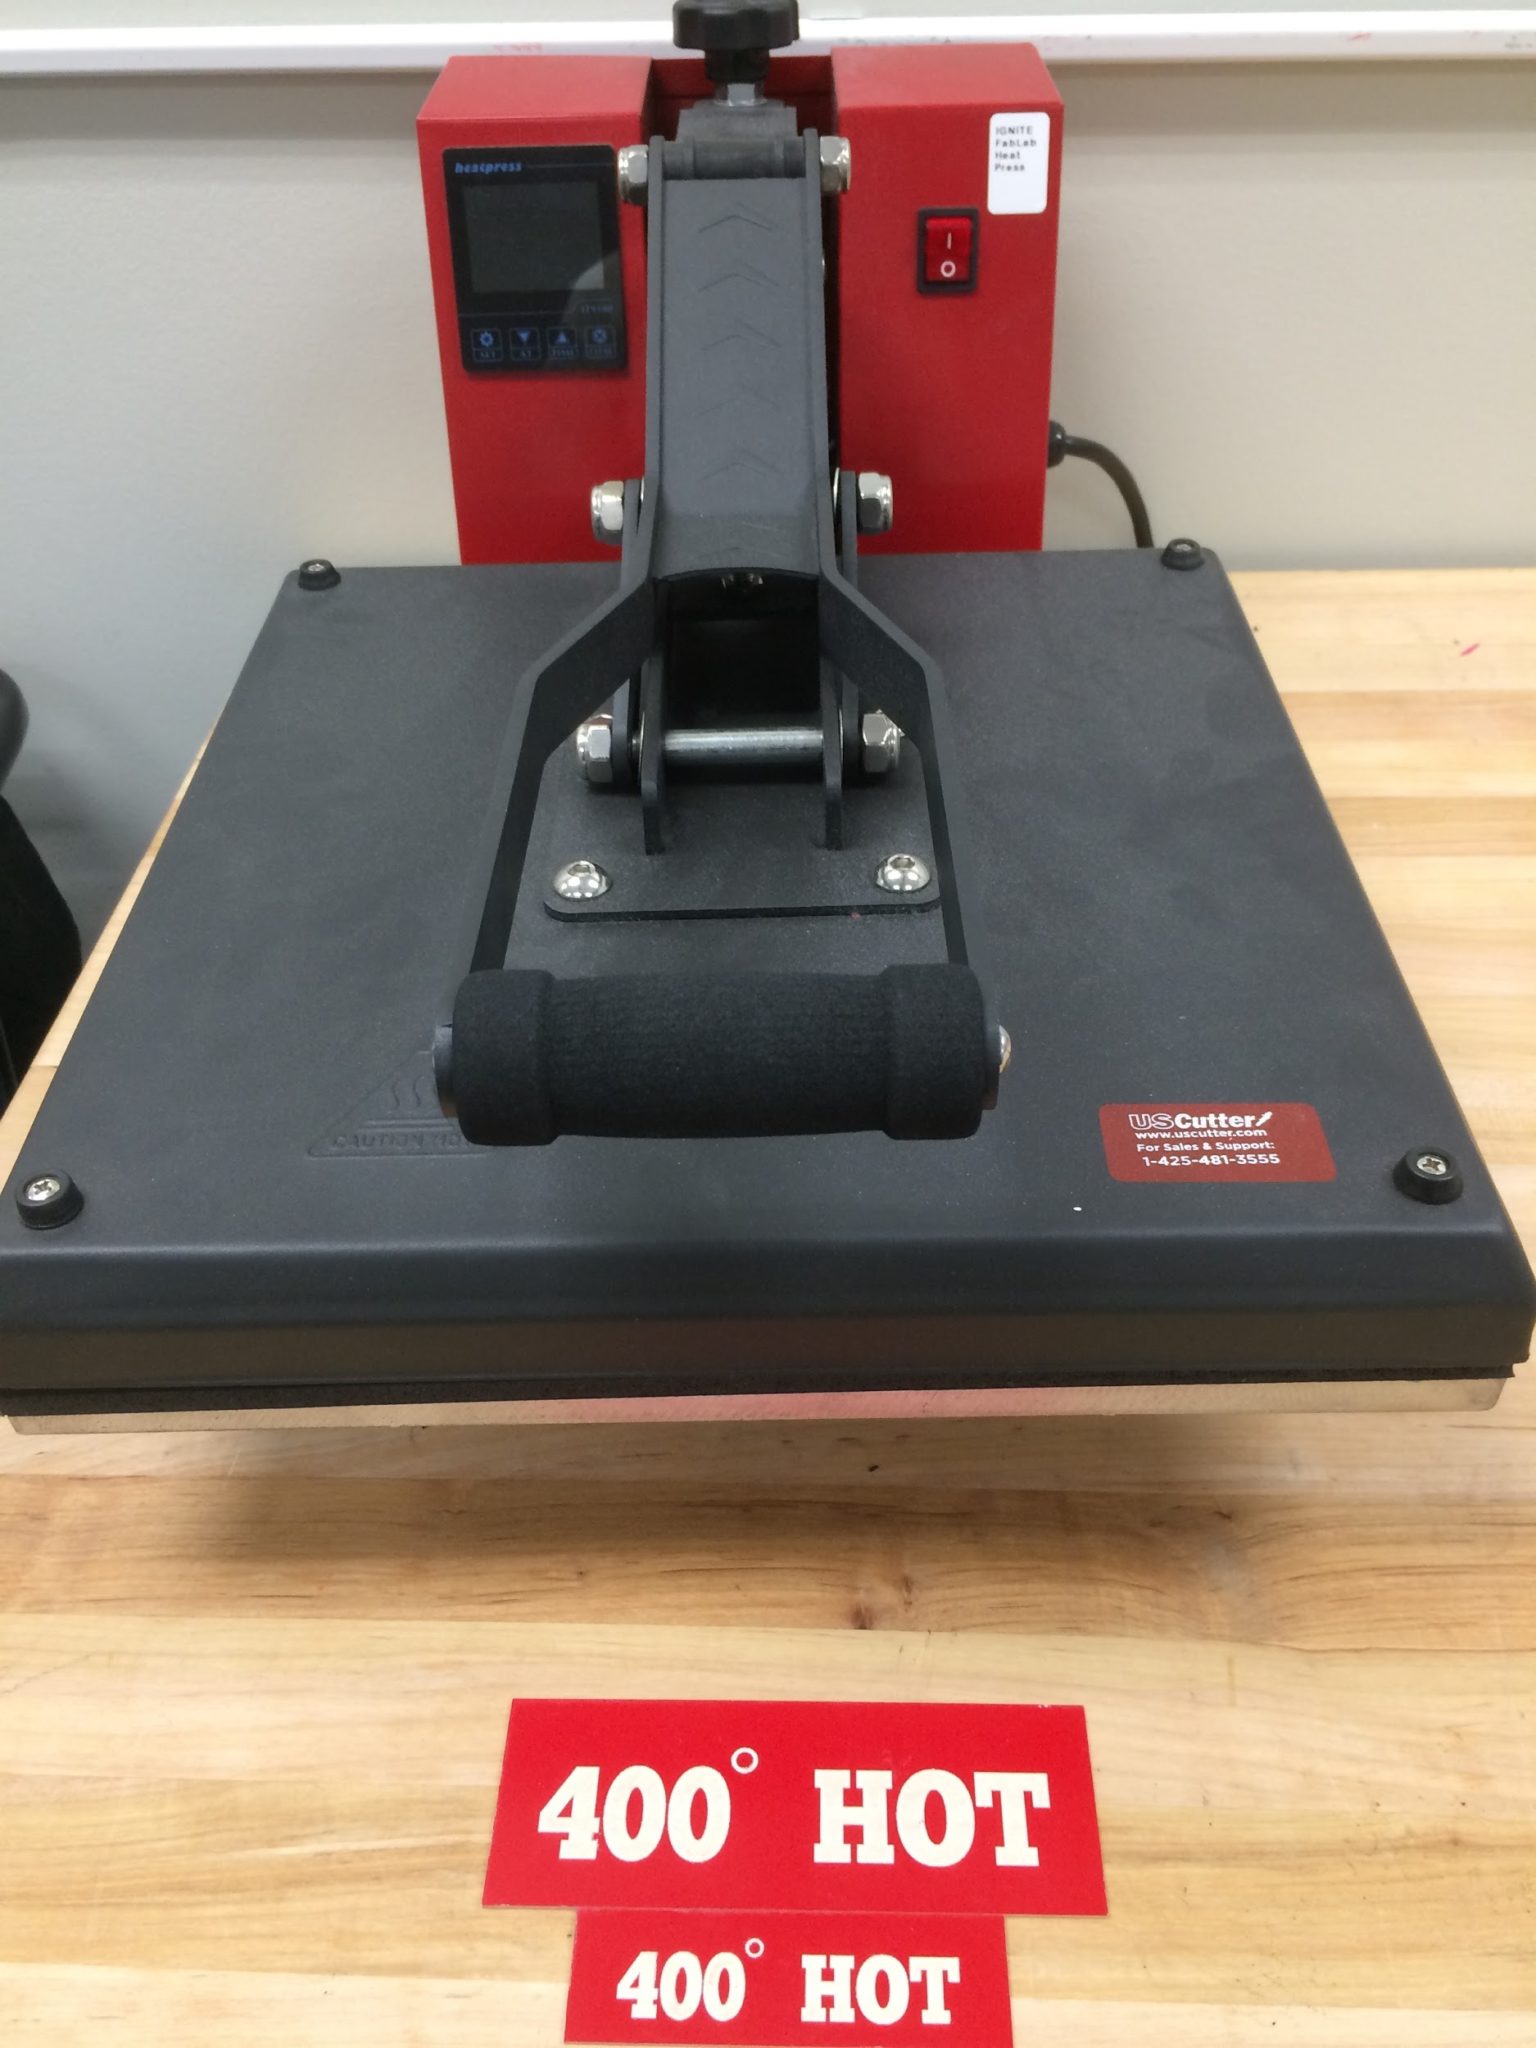
The Heat Press at Ignite
Some notes on this method for T-shirt design:
- Be sure your design is mirrored before cutting, otherwise your design will transfer backwards.
- Cut the HTV with the shiny side down.
- This method is best for making one or two items per design. If you are interested in making many items with the same design, consider screen printing.
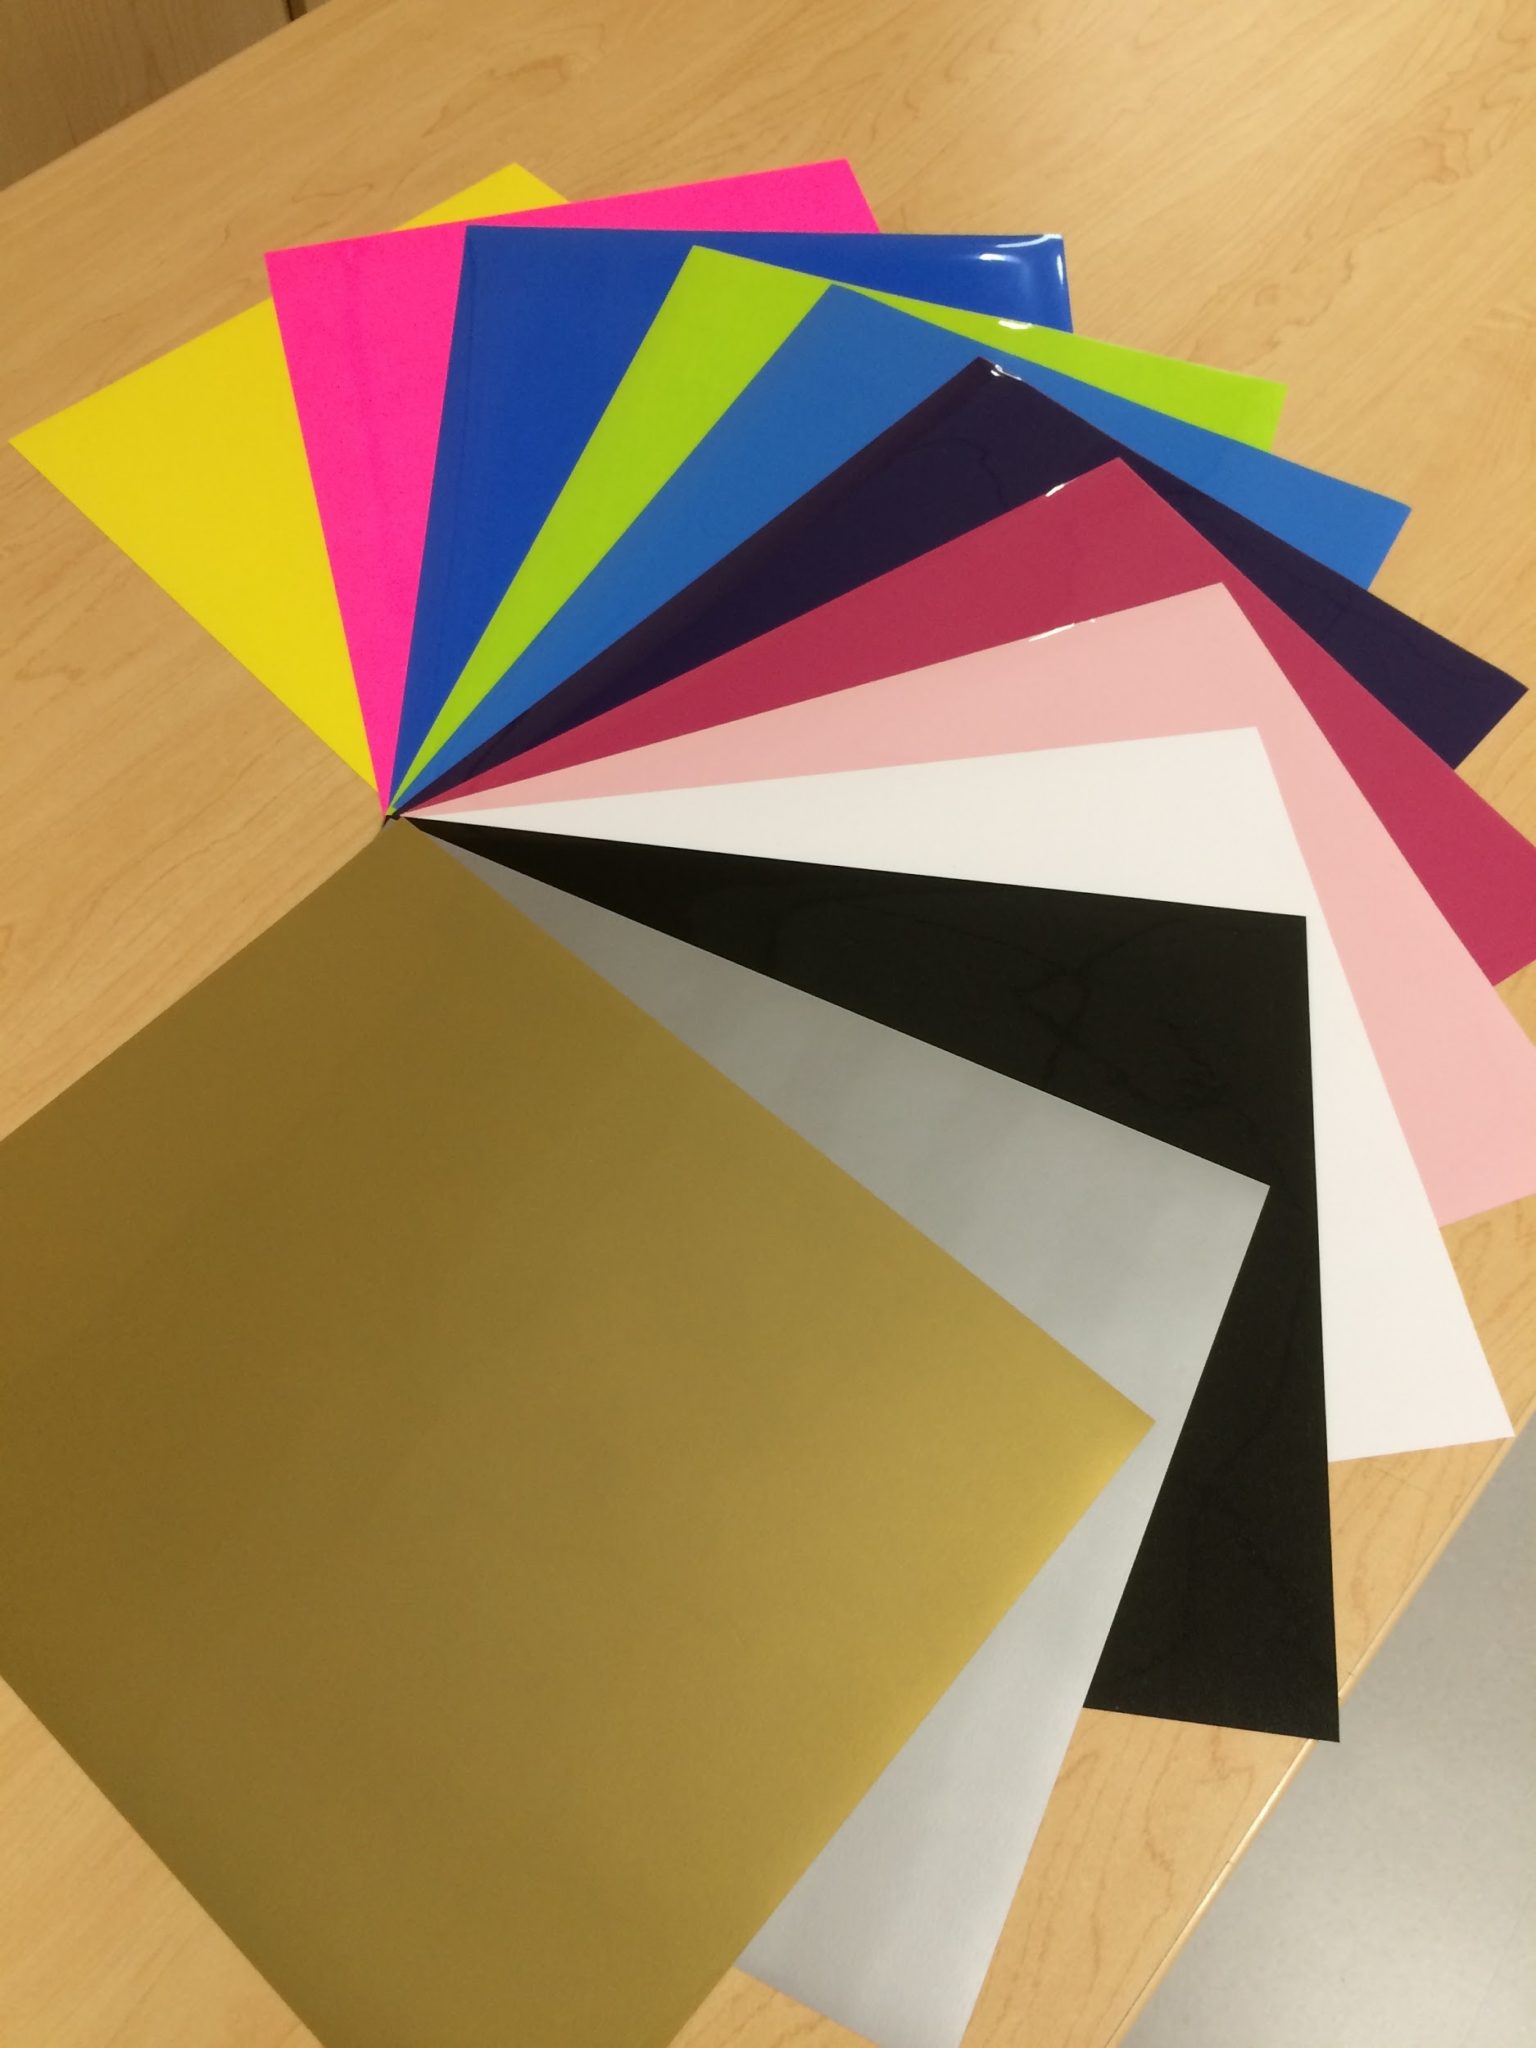
- Ignite sells HTV for $4 per sheet. It can also be purchased at craft supply stores or online.
- One important difference between the Cricut and Vinyl Cutter is the software. You may find you prefer one software to the other:
- The Cricut software is free. Cricut also has an app where you can do your designing on your tablet or smartphone in the comfort of your home.
- The Vinyl Cutter uses VinylMaster software, which is a cost software. Unless you want to purchase the software, you’d do your designing at Ignite on one of our laptops.
Resources
I like this post because Angie Holden provides links for weeding tips and explains how to layer HTV so that you can use multiple colors for your designs. She also includes a video and links to her designs on the Cricut Design Space. Angie uses the Cricut EasyPress, and you’ll be using Ignite’s heat press.
Heat Transfer Warehouse’s “Getting Started with Heat Transfer Vinyl – A Beginner’s Guide” is half a comparison of different products for the first-time buyer and half useful guidance about heat press settings and HTV application.
After you’ve tried your hand at T-shirt making with HTV, check back for my follow-up post about using our new screen printing kit for T-shirt design!
