

By Sydney Brink
With all the time spent indoors recently, we’re sure you’ve daydreamed up a story or two to kill the time. A blank page will allow you to translate your story ideas, daydreams, and comic books from your imagination into the world. Because making a book is a great creative outlet, today’s drop in is a DIY accordion book. If you have kids at home, this is a great drop in for young ones who like to read, write, doodle, or make collages. If you don’t have kids at home, this is a great opportunity for you to flex your creativity muscles. Think of it as designing a space for you to write down your thoughts or experiences during this unprecedented time.
Use this tutorial to make your blank accordion book with endless creative opportunities!
Materials
- Scissors
- Paper
- Glue
- Optional materials: a ruler to get a straight edge, cardboard, and decorative paper, or collage materials
Instructions
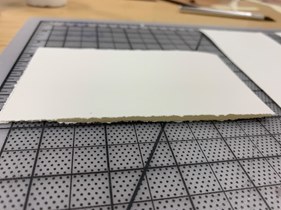
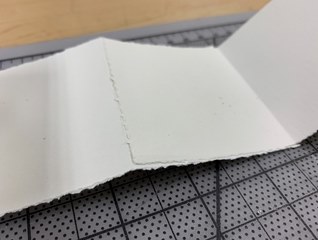
1. First, cut or tear two pieces of paper in half long-ways so you have four long strips of paper.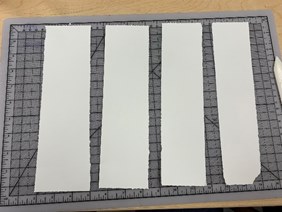
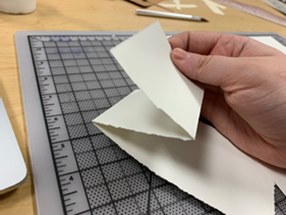
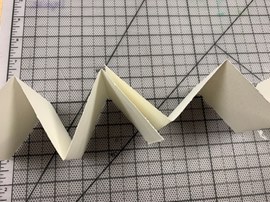
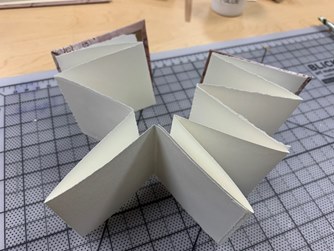
2. Next, fold one of your strips in half. Take the top half of the paper and fold it backwards until it meets the top of the paper to make a “v” shape. Do this in the opposite direction for the other side to make a “w” shape out of your strip of paper.
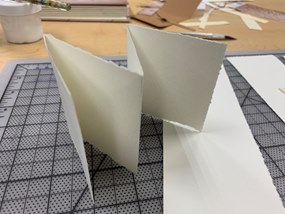
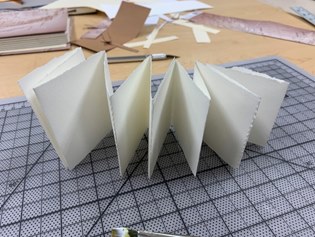
3. Do this for all the strips of your paper. Take the ends of two of your “w”s and glue them together to make your accordion book longer. Do this to all of your “w”s.
4. Use a weight while the glue is drying if you need your book to be flatter or stay together more securely. You can stop here and write or draw your story, or if you have the materials and time, you can use some cardboard (an empty box from the pantry would work well!) and some fun paper to make unique hardcovers for your book.
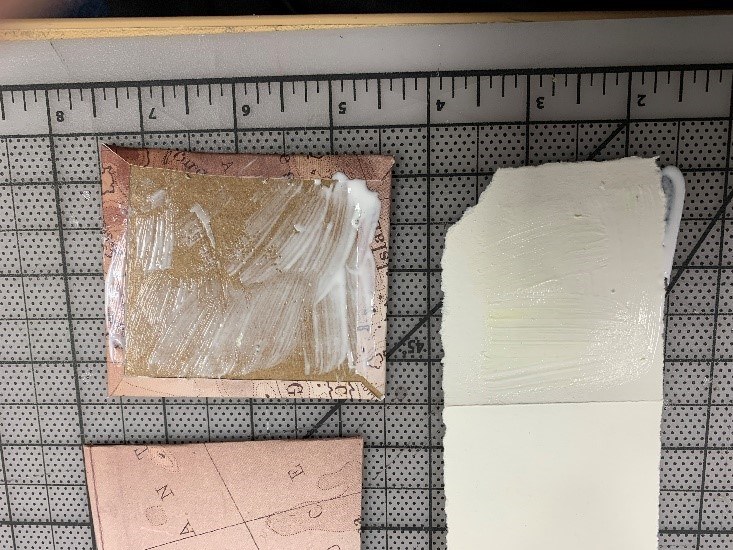
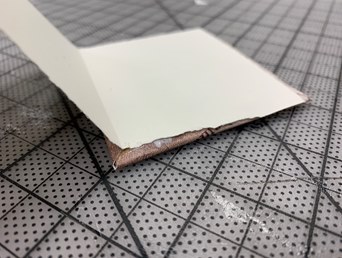
5. For the covers, cut your cardboard/paperboard so that it’s the same size as your “pages” (a little bit bigger is fine, too). Then, glue your decorative paper to one side of each cover, wrapping it over the edges and gluing the excess down on the back side. Finally, glue the covers with the exposed cardboard/paperboard against the first and last “pages” to make a book!
6. Now you can fill your book with your story or drawings!
