

By Daniel Wiseman
Looking for new ways to spice up your illustrations and designs in Adobe Illustrator? Ignite Studio has got you covered with some essential techniques that will instantly make your work more dynamic! Practice each Adobe Illustrator technique with our tutorials below.
Getting Started
I’ll be using the 2022 version of Adobe Illustrator, all previous versions will be able to perform the same functions but menu navigation might be different.
Adobe Illustrator Technique 1: Gradient Text Effect

When designing a logo, sometimes you want to aim for something cool and modern, this effect will achieve just that in just a few short steps! First create any shape you want, for this example I created this basic figure-eight using the pen tool.
Next create two circles using the ellipse tool.
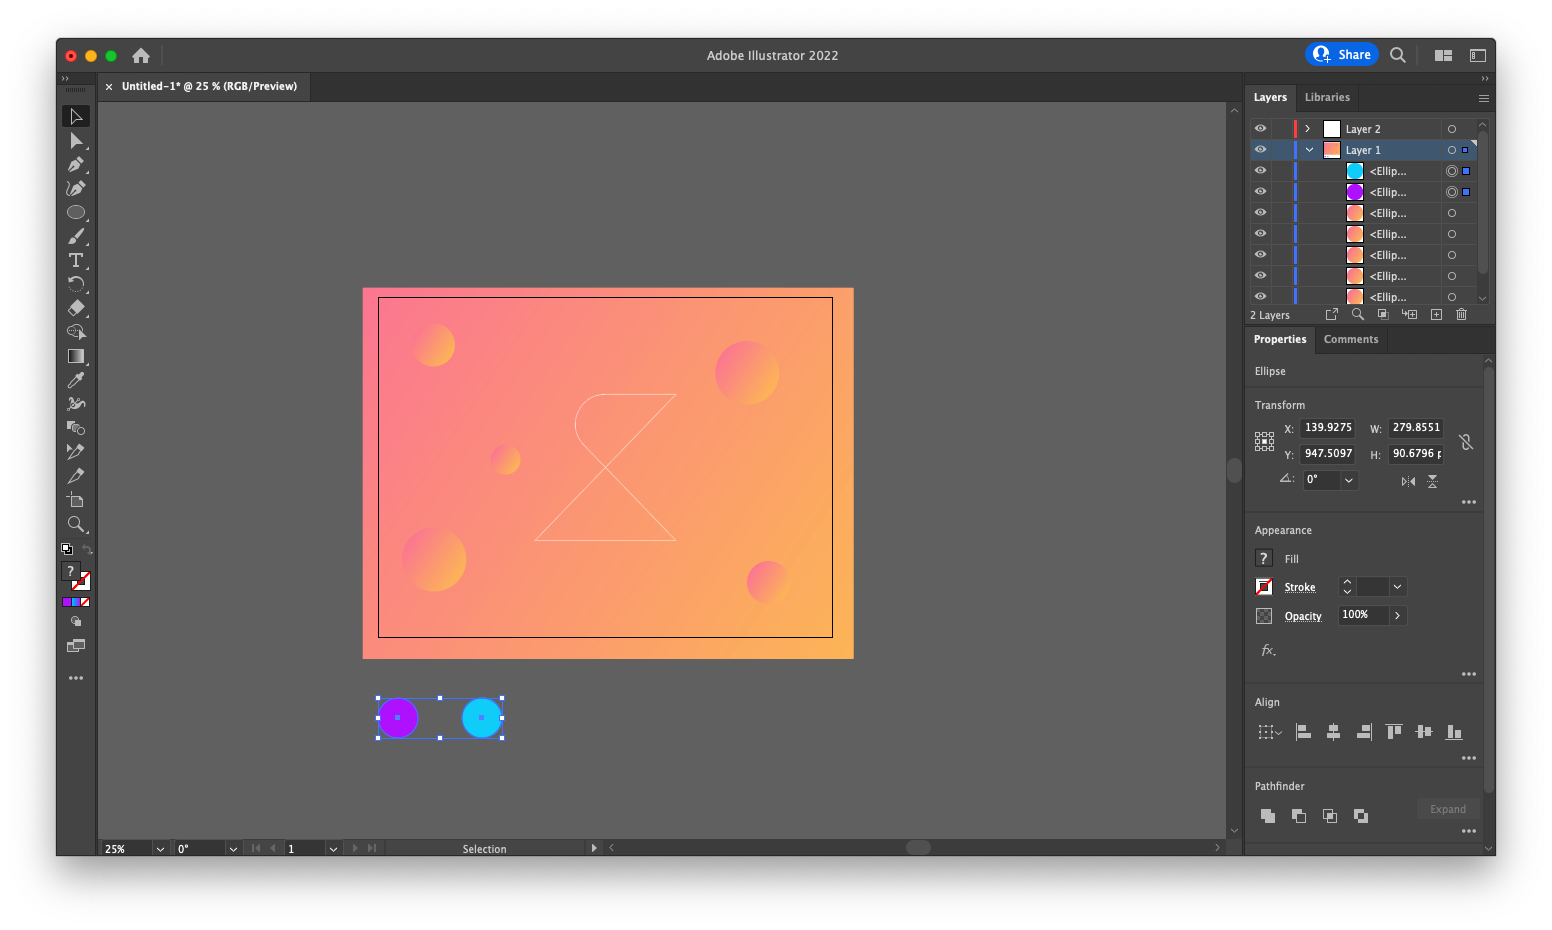
Apply each with a color of your choice, then select Object > Blend > Make. You can kind of see what the end result will be like here.
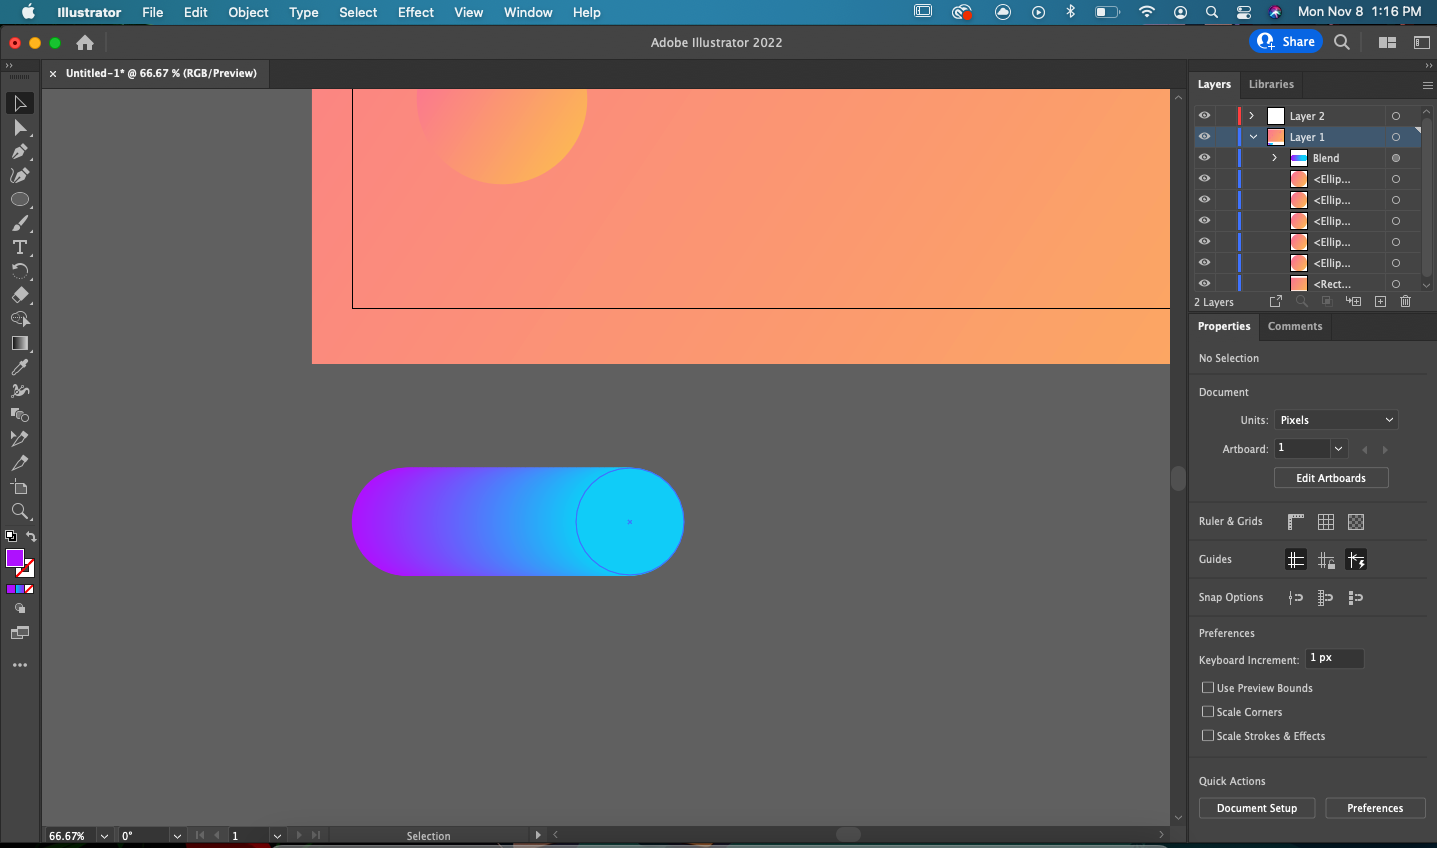
Now select all your shapes, and go to Object > Blend > Replace Spine.
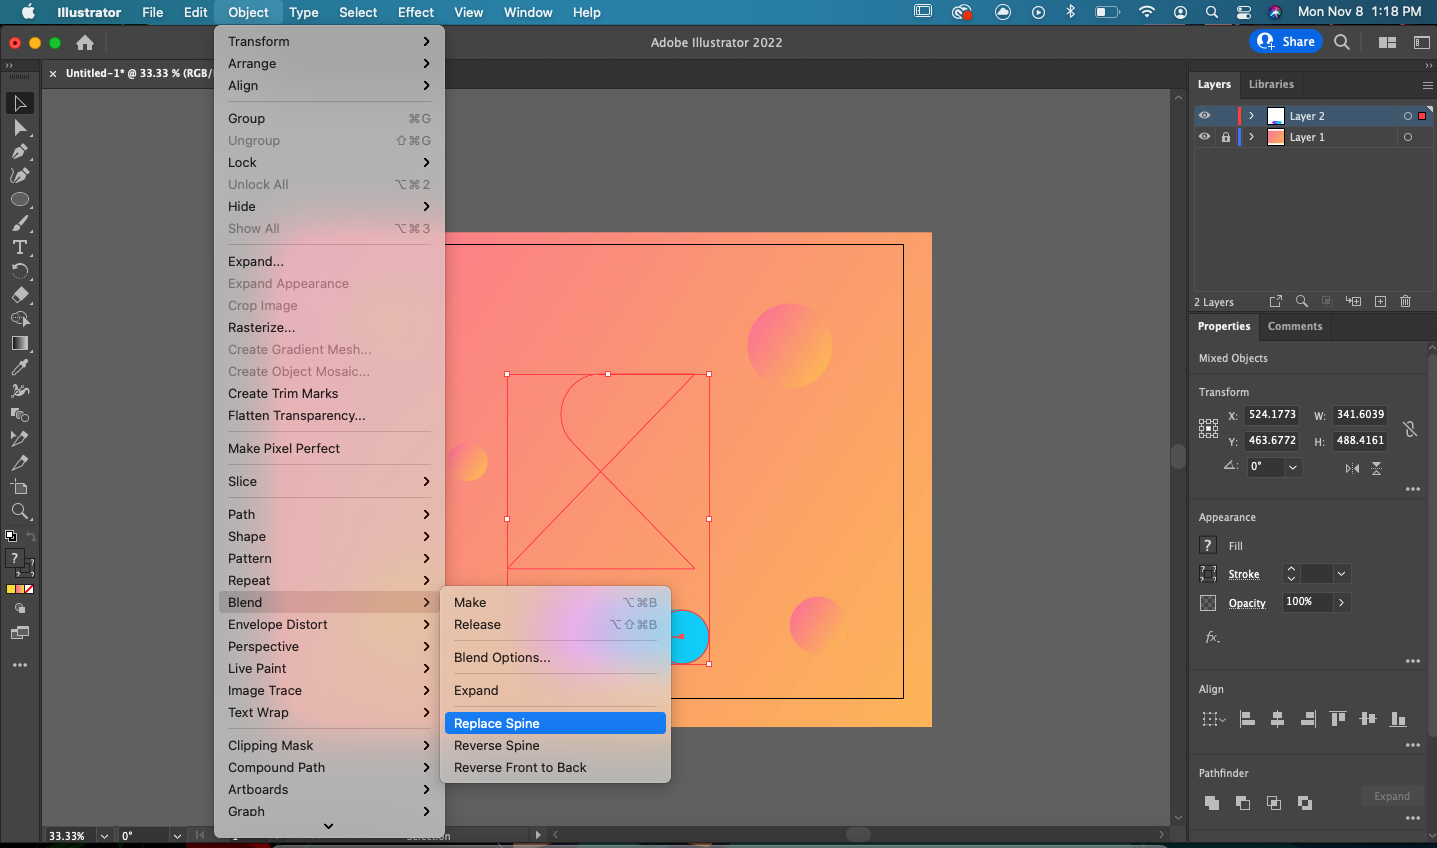
Now you have your design! Feel free to experiment with this process and create something unique!

Adobe Illustrator Technique 3: Deep Impression Type Effect

Deep impression type is an awesome technique that looks great in isometric and minimalistic works, but it works just about anywhere. Here’s how to create it!
Begin with the text of your choice and select all of it.
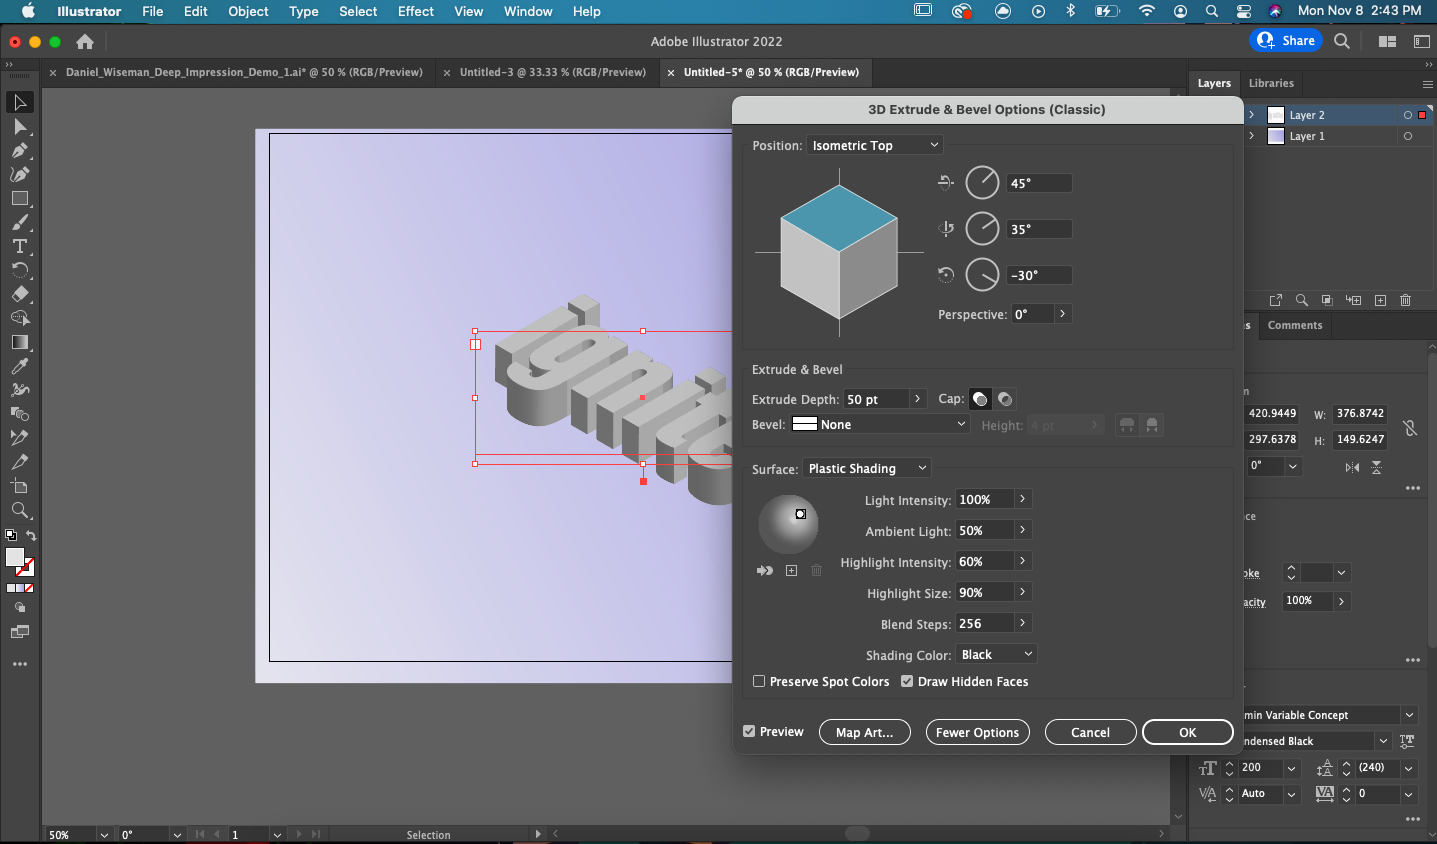
Convert the text into a 3D object by selecting Effect > 3D and Materials > 3D (Classic).
(For previous versions, Select Effect > 3D)
Click More Options, then select Isometric Top under Position Change.
Change the Blend Steps to 256 > Check the Draw Hidden Faces box > Select OK.
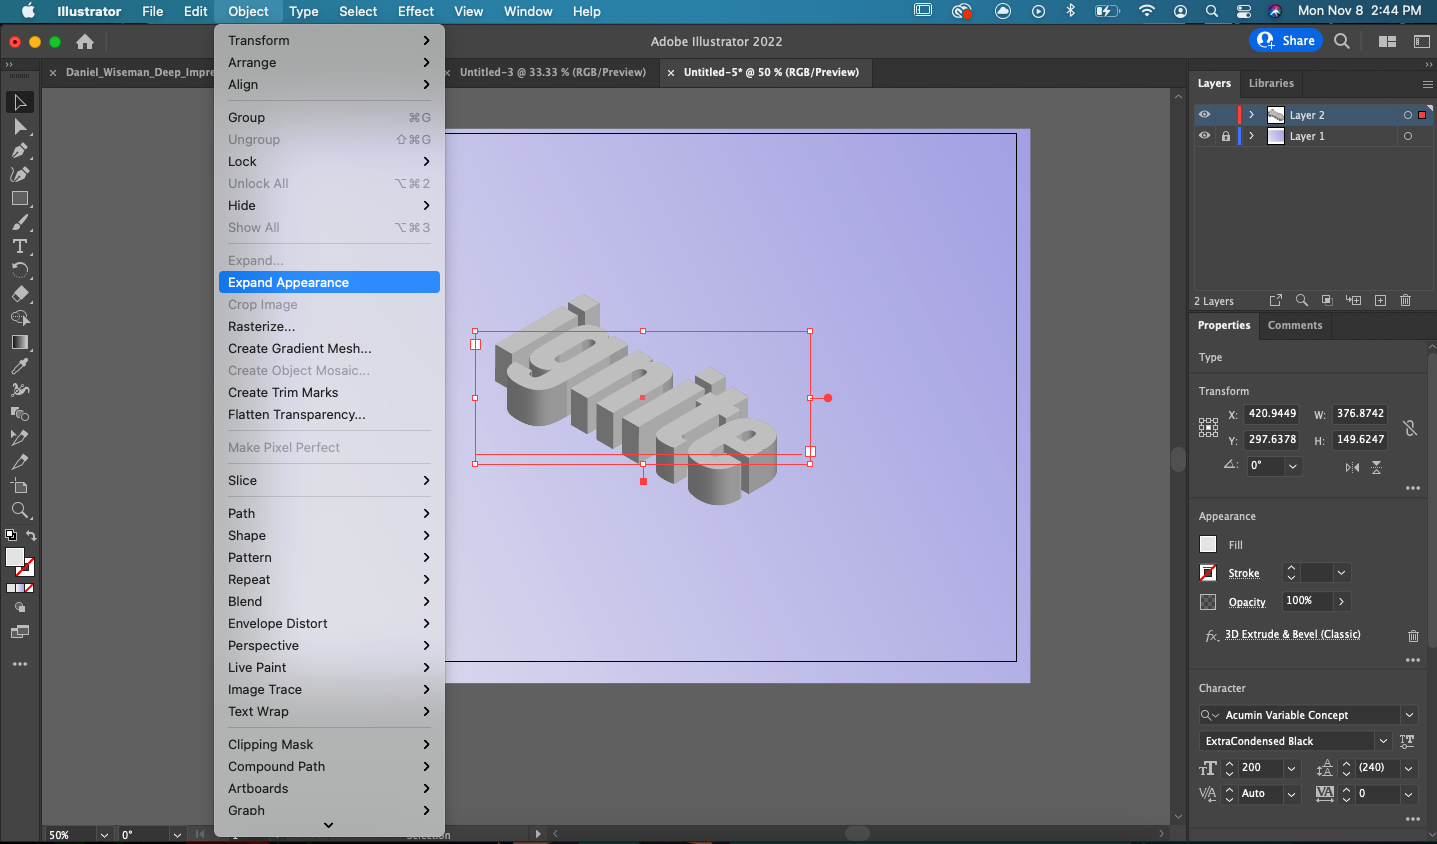
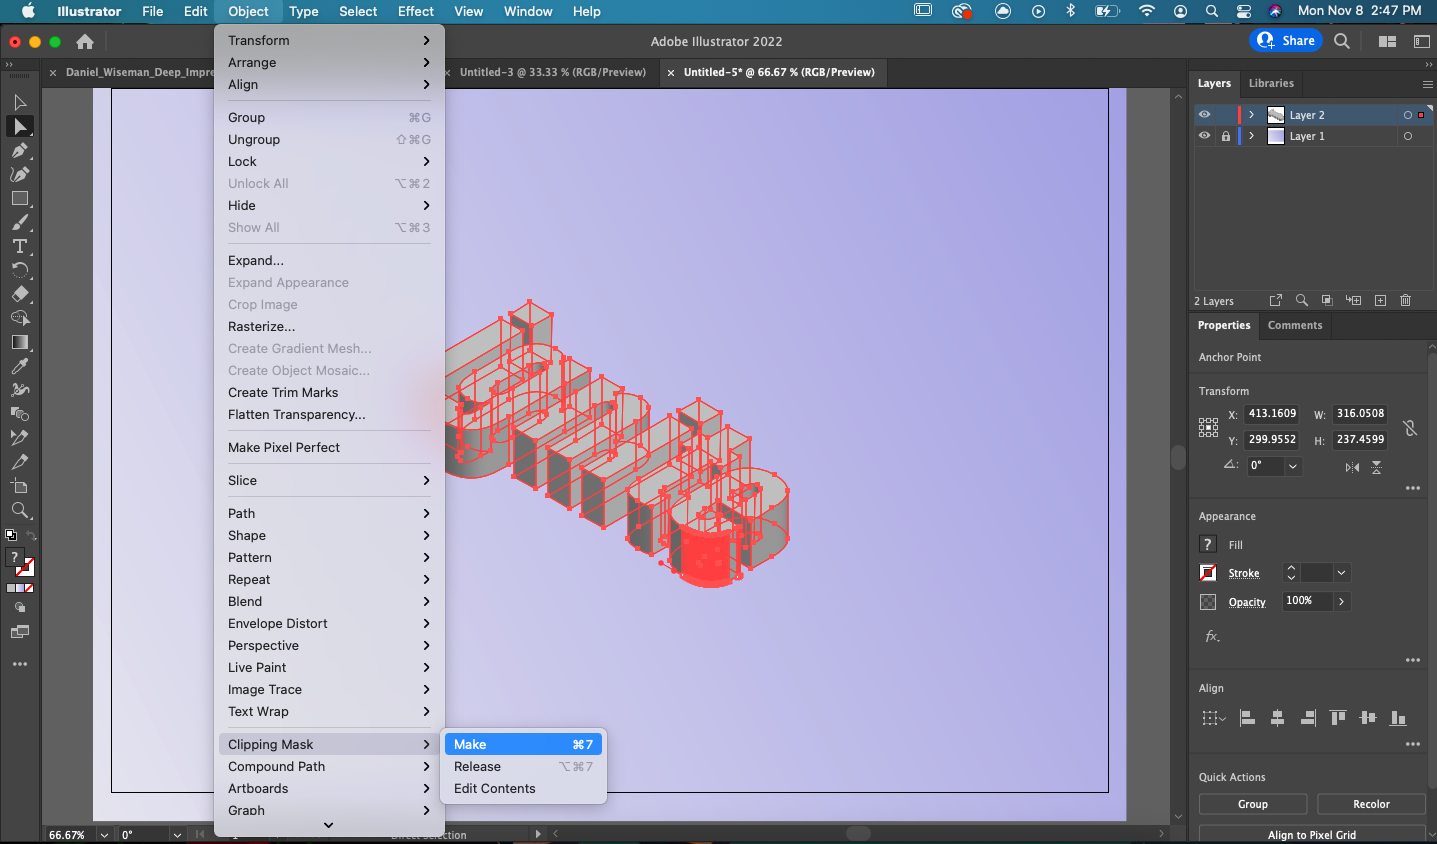
Select the entire object, go to Object > Expand Appearance.
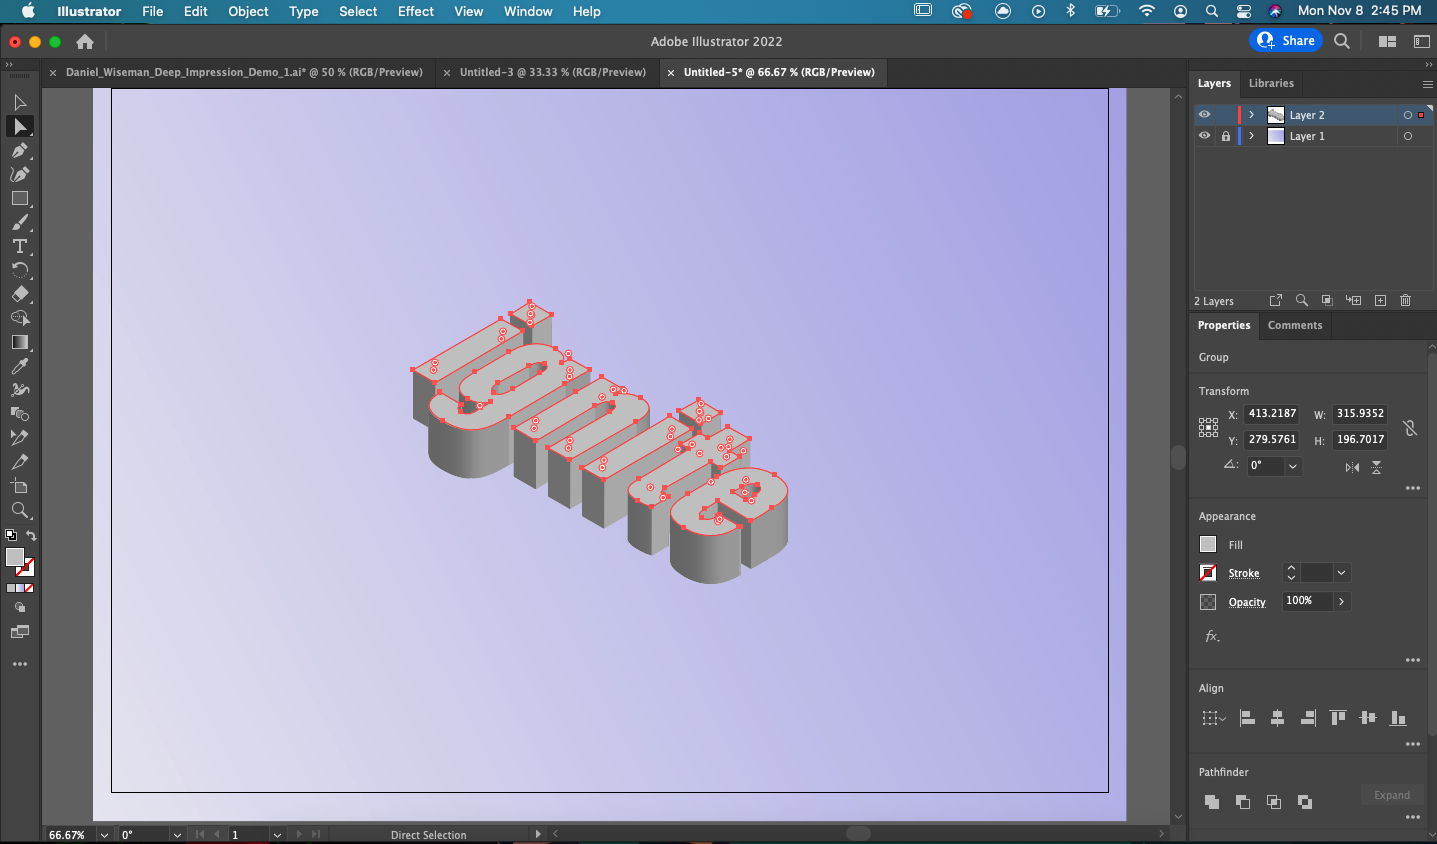
Using the direct selection tool, select the top faces of your text and then type Ctrl + X or Command + X on Mac, to delete the faces.
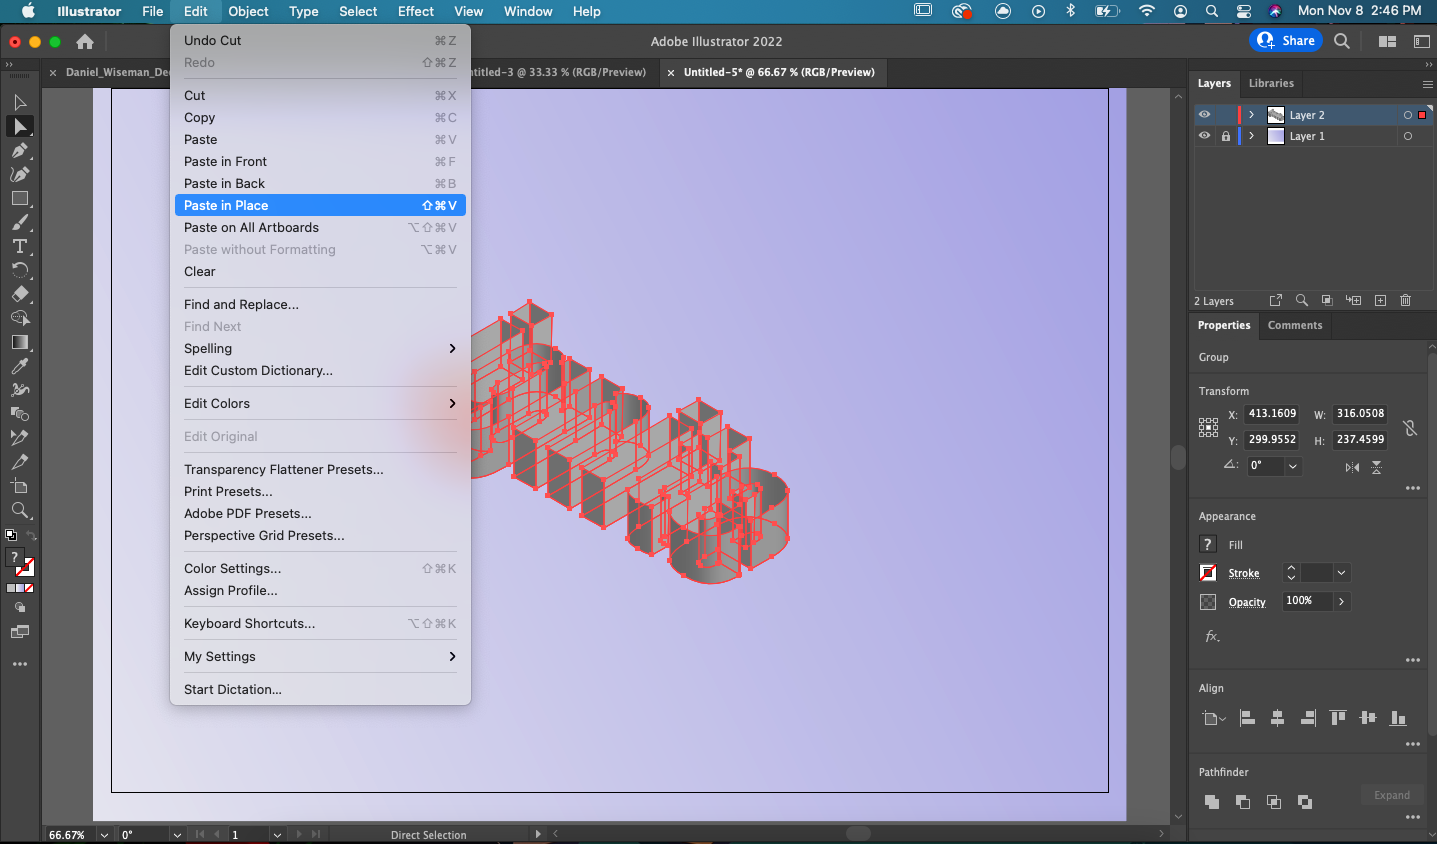
Once deleted, select Edit > Paste in Place.
Afterwards go to Object > Compound Path > Make.
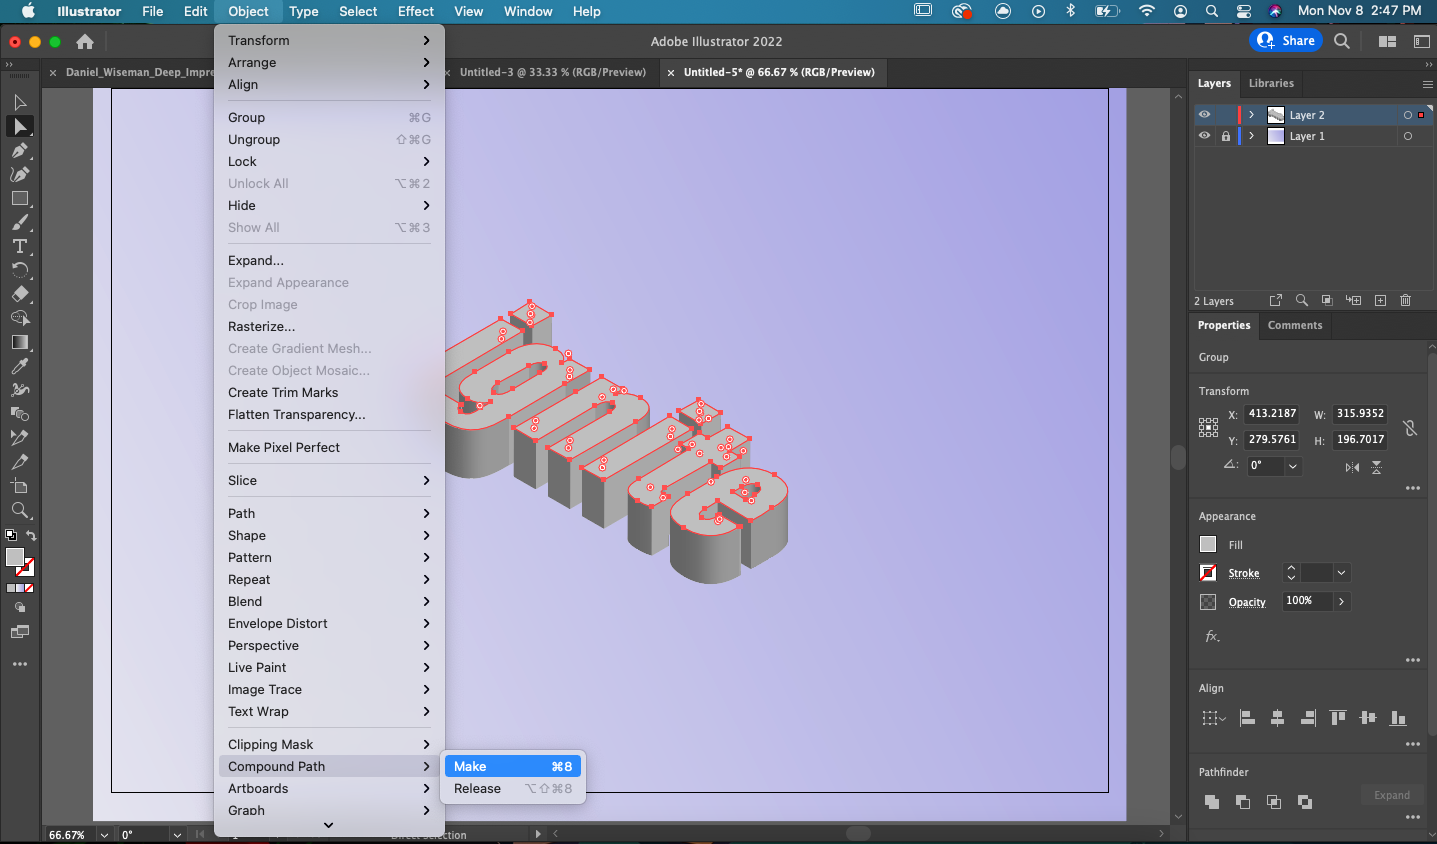
Finally, go to Object > Clipping Mask > Make.
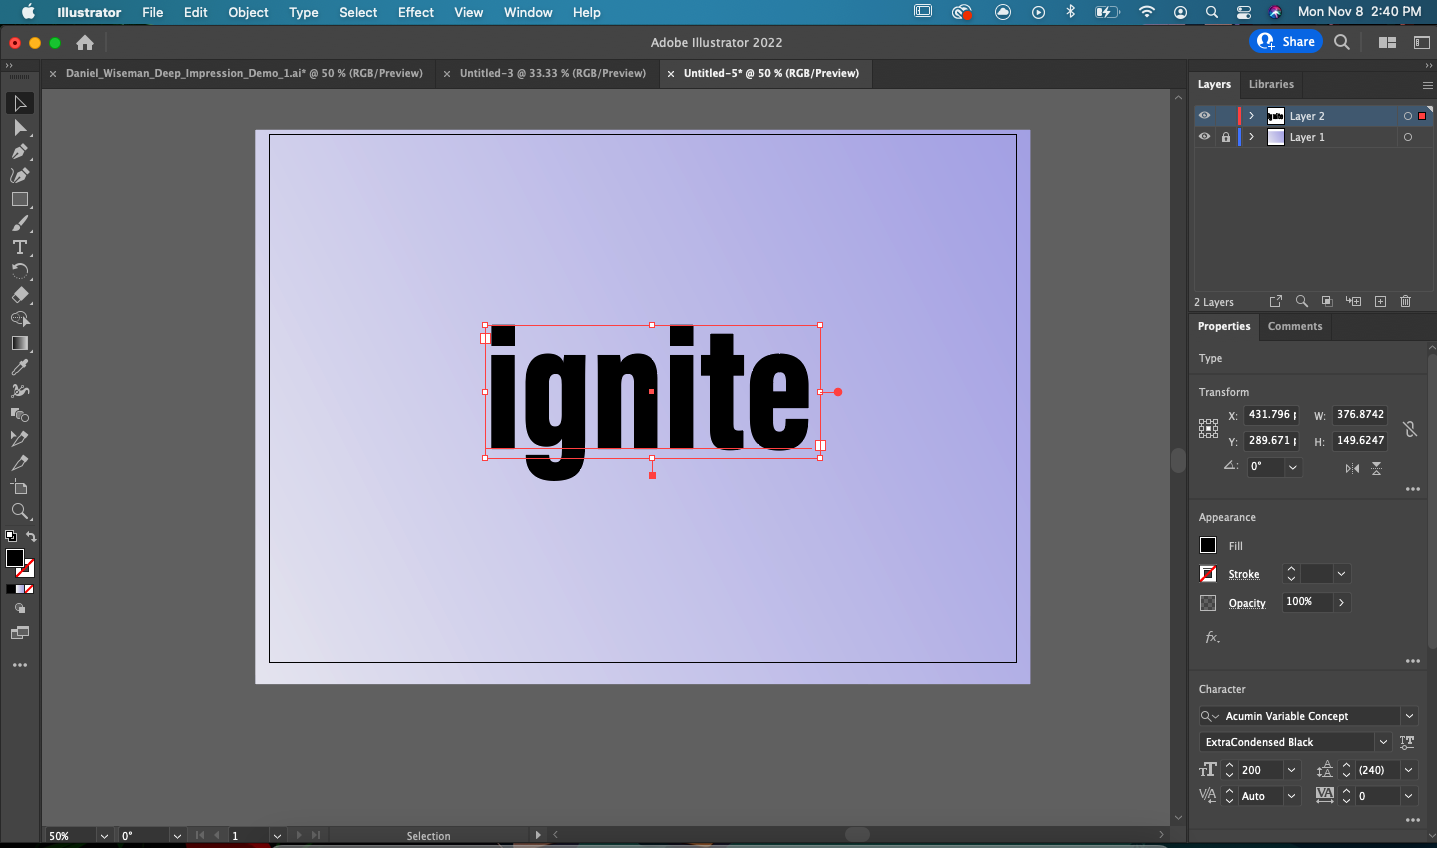
Your text should now appear something like this!

Adobe Illustrator Technique 3: Wavy Lines
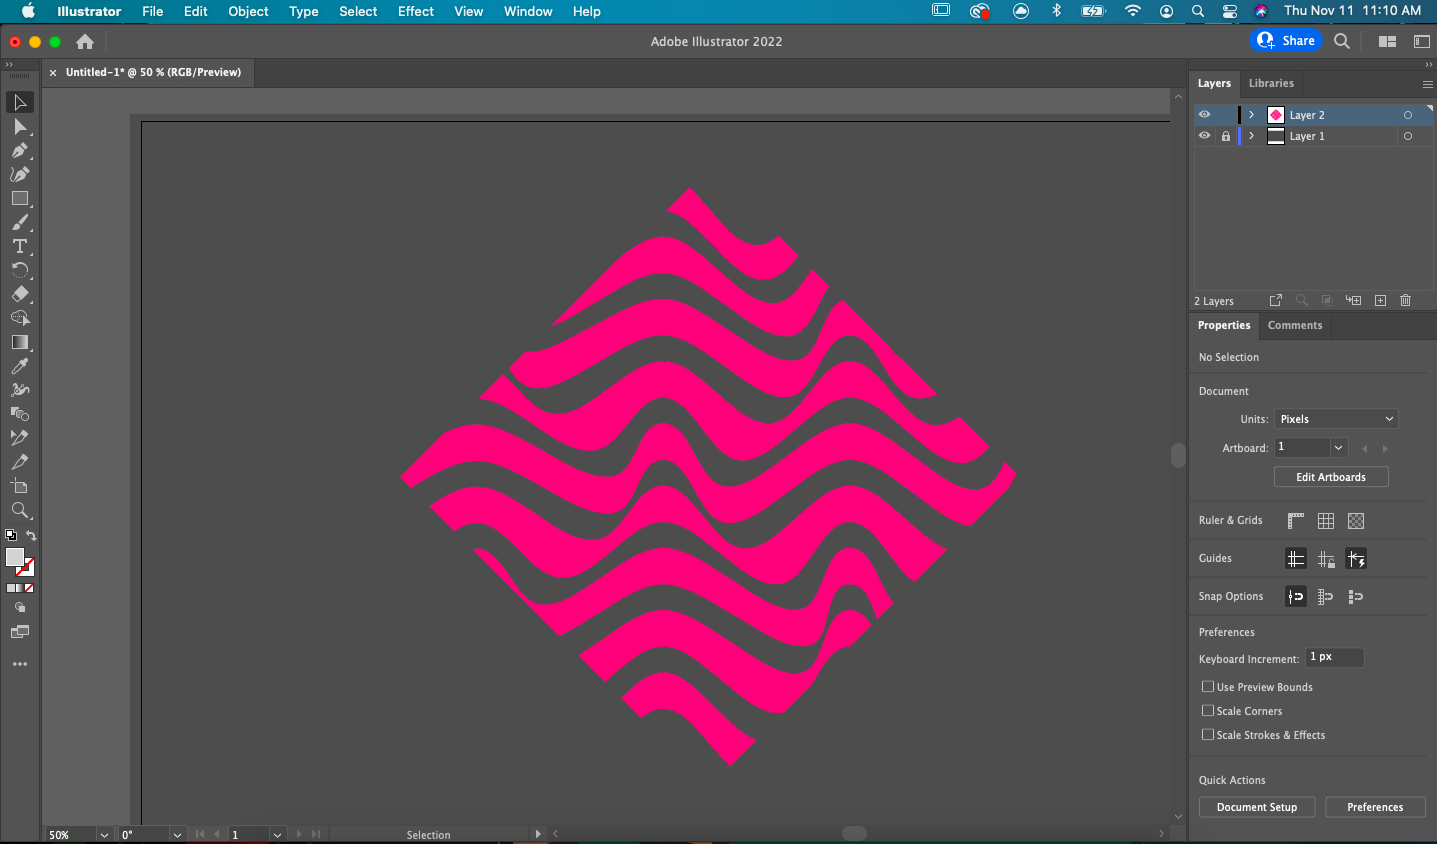
Haven’t you heard? Wavy lines are in! Creating them is quite easy too, so here’s how to do just that.
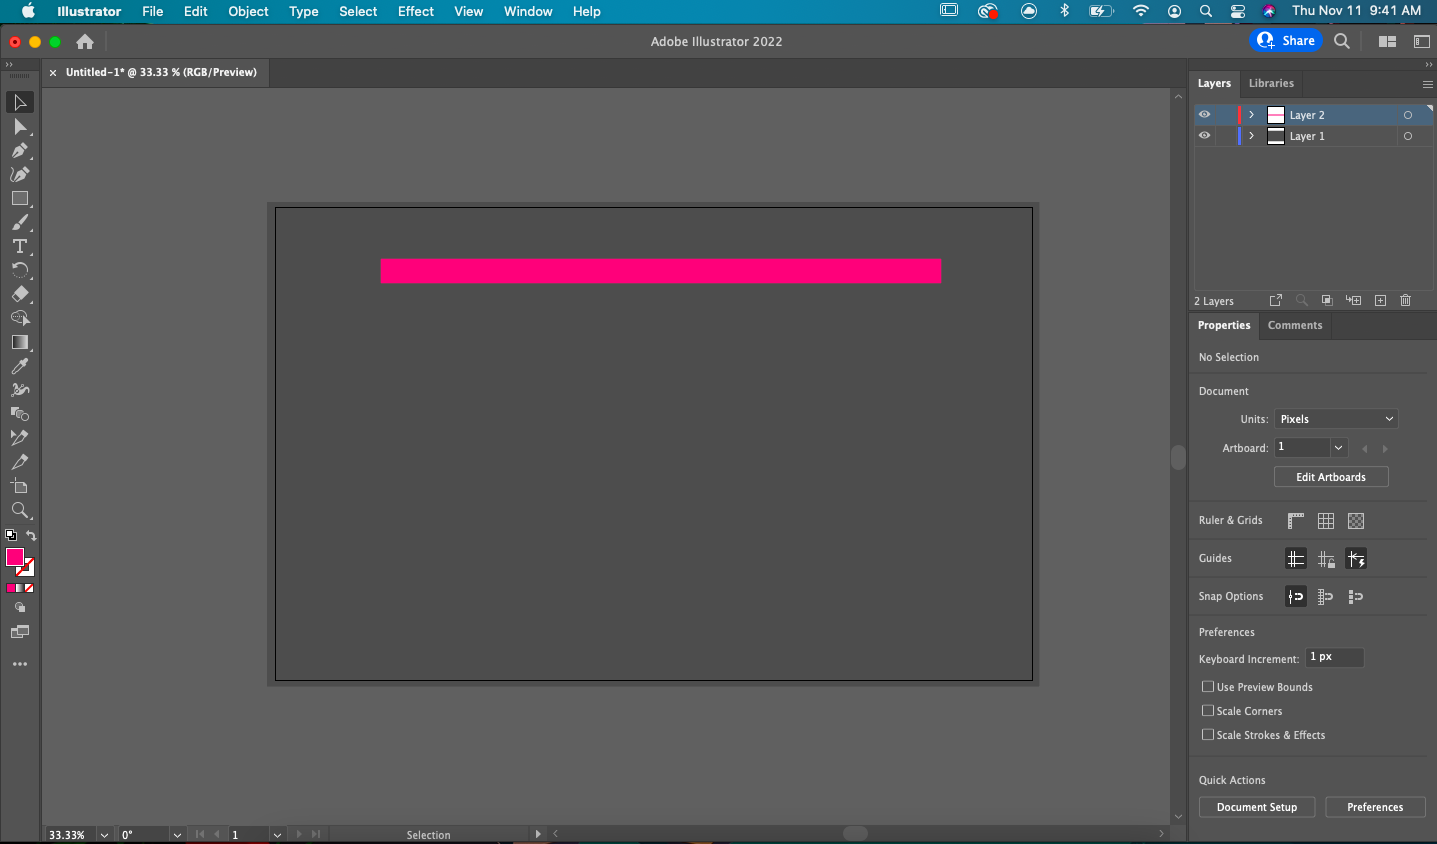
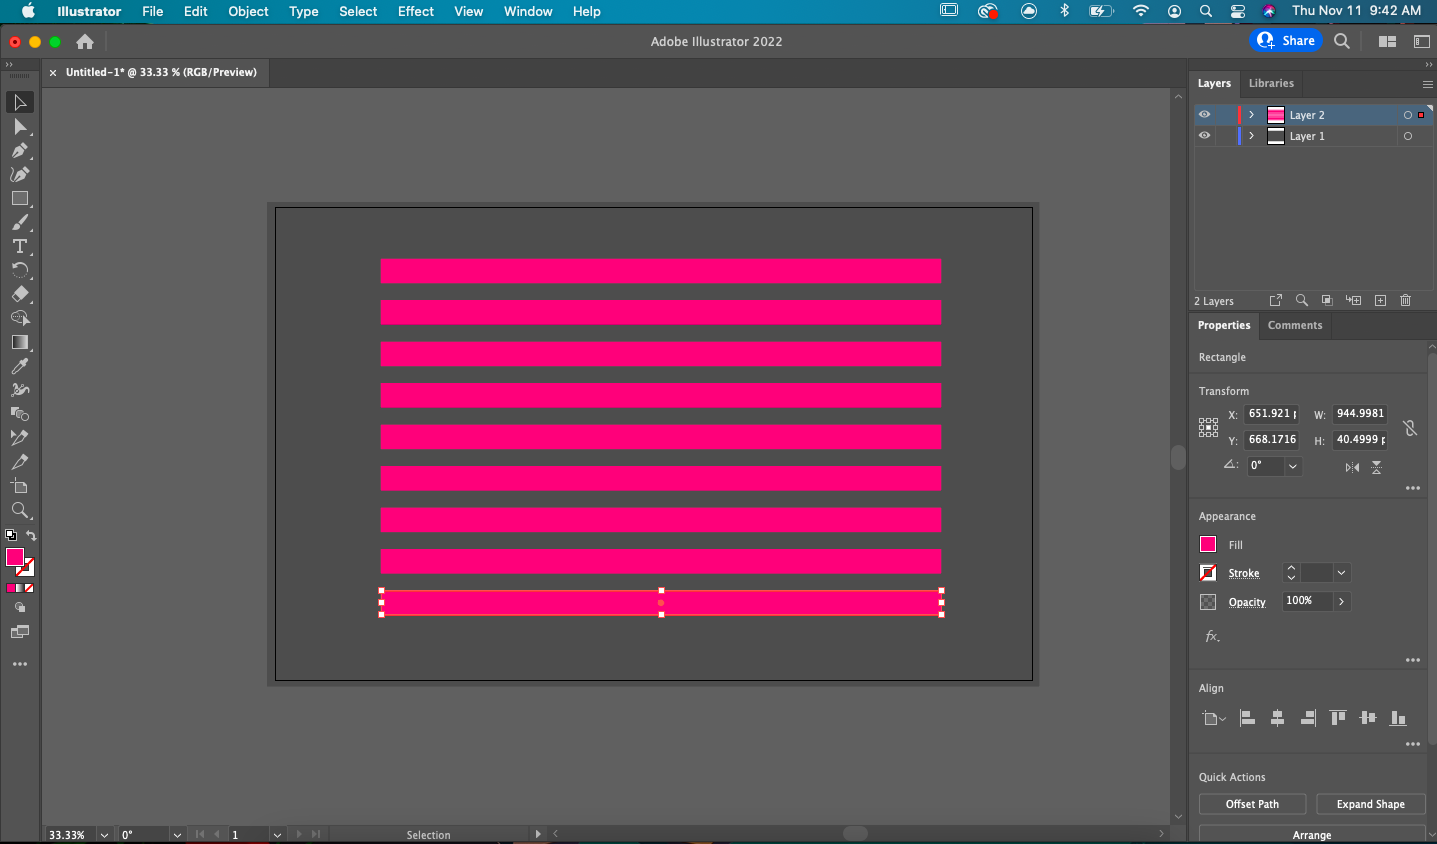
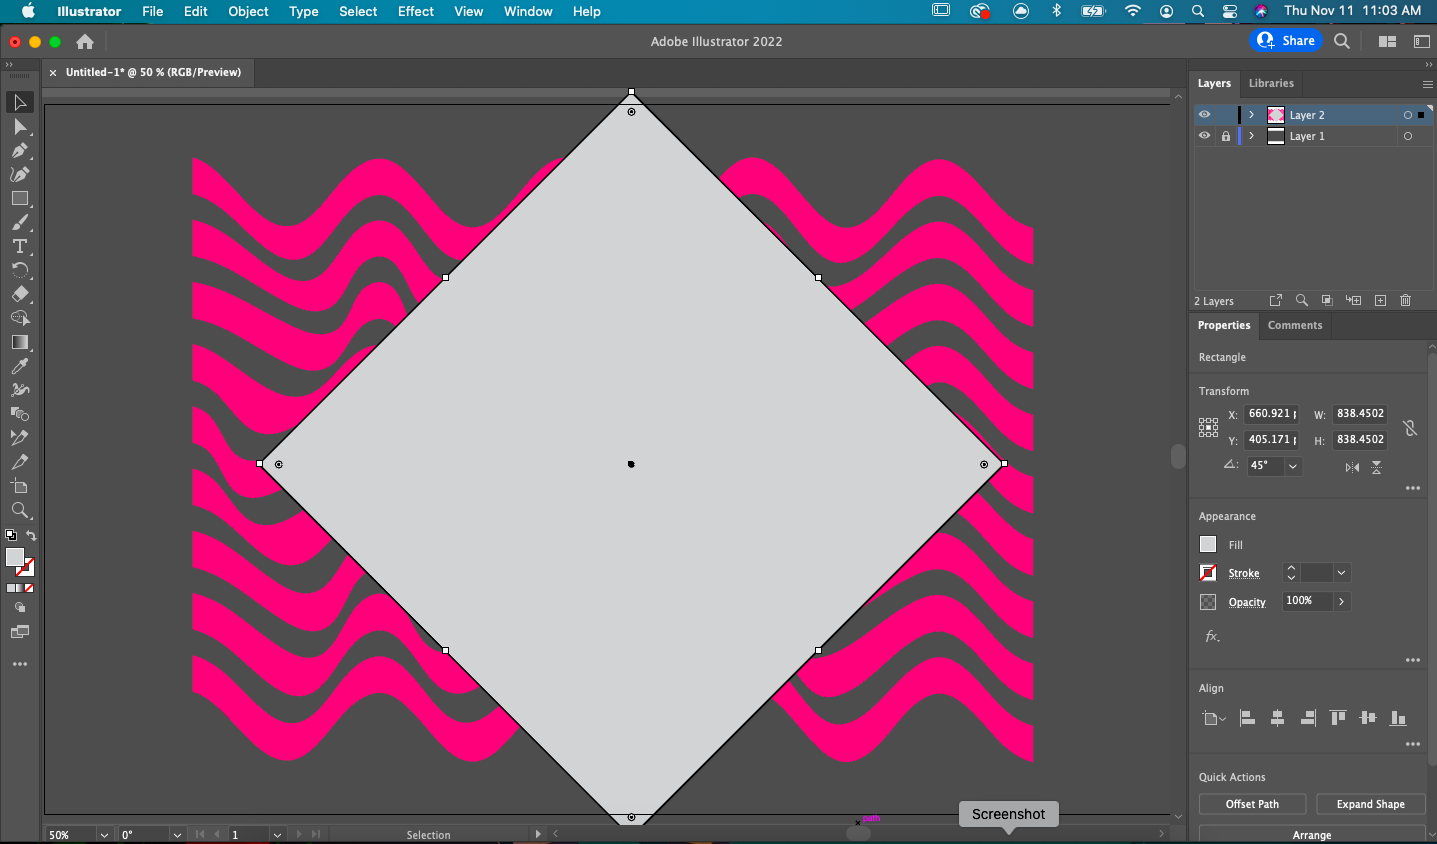
First start by creating a rectangle using the shape tool (Make sure this shape is on it’s own layer).
Transform and duplicate the rectangle across the canvas.
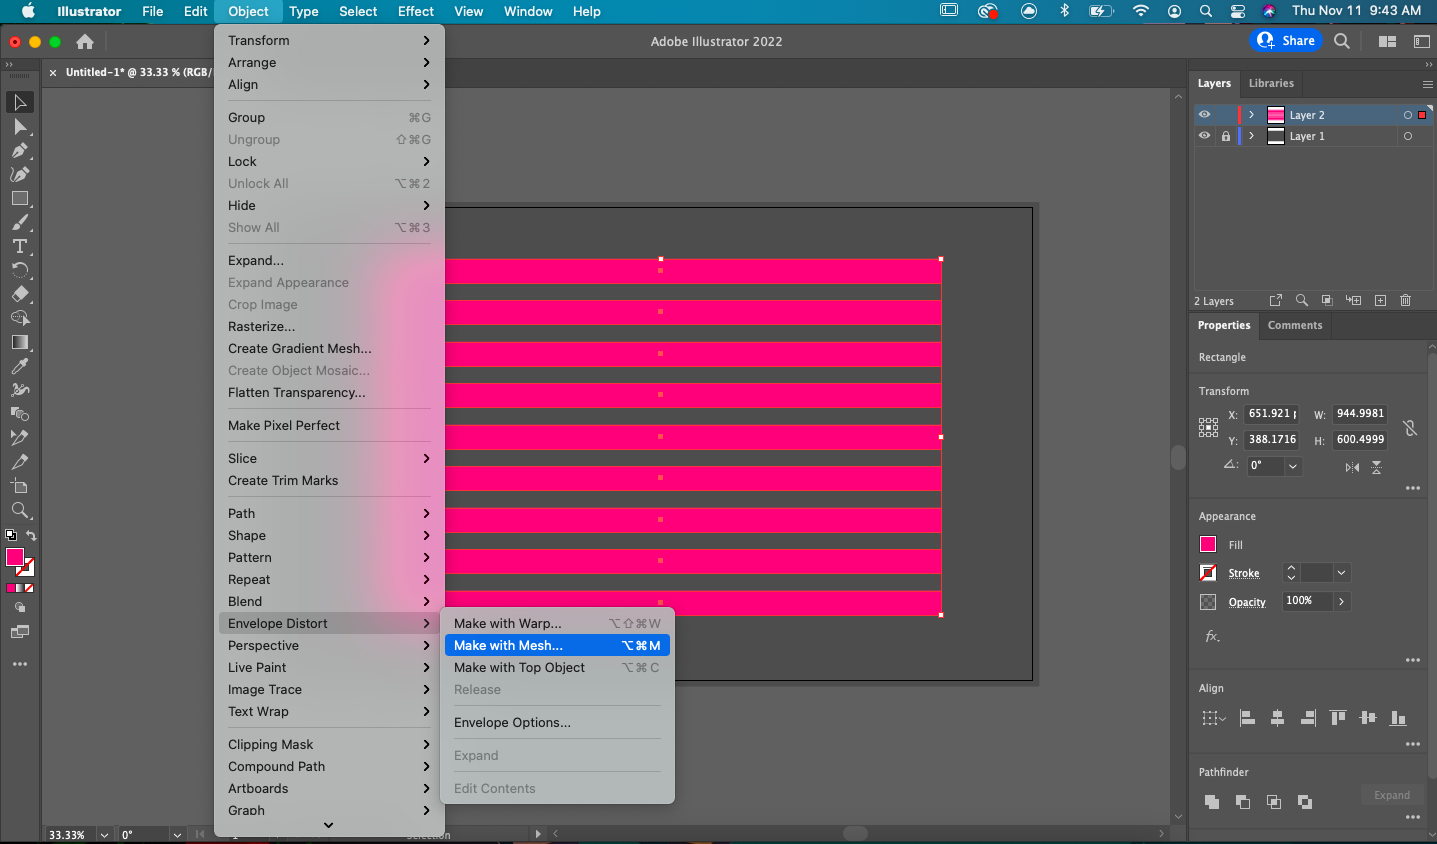
Go to Object > Envelope Distort > Make from Mesh.
I chose to go with four rows and nine columns for this example, but you can choose any amount you like.

Select every other column in your mesh and drag them either up or down.
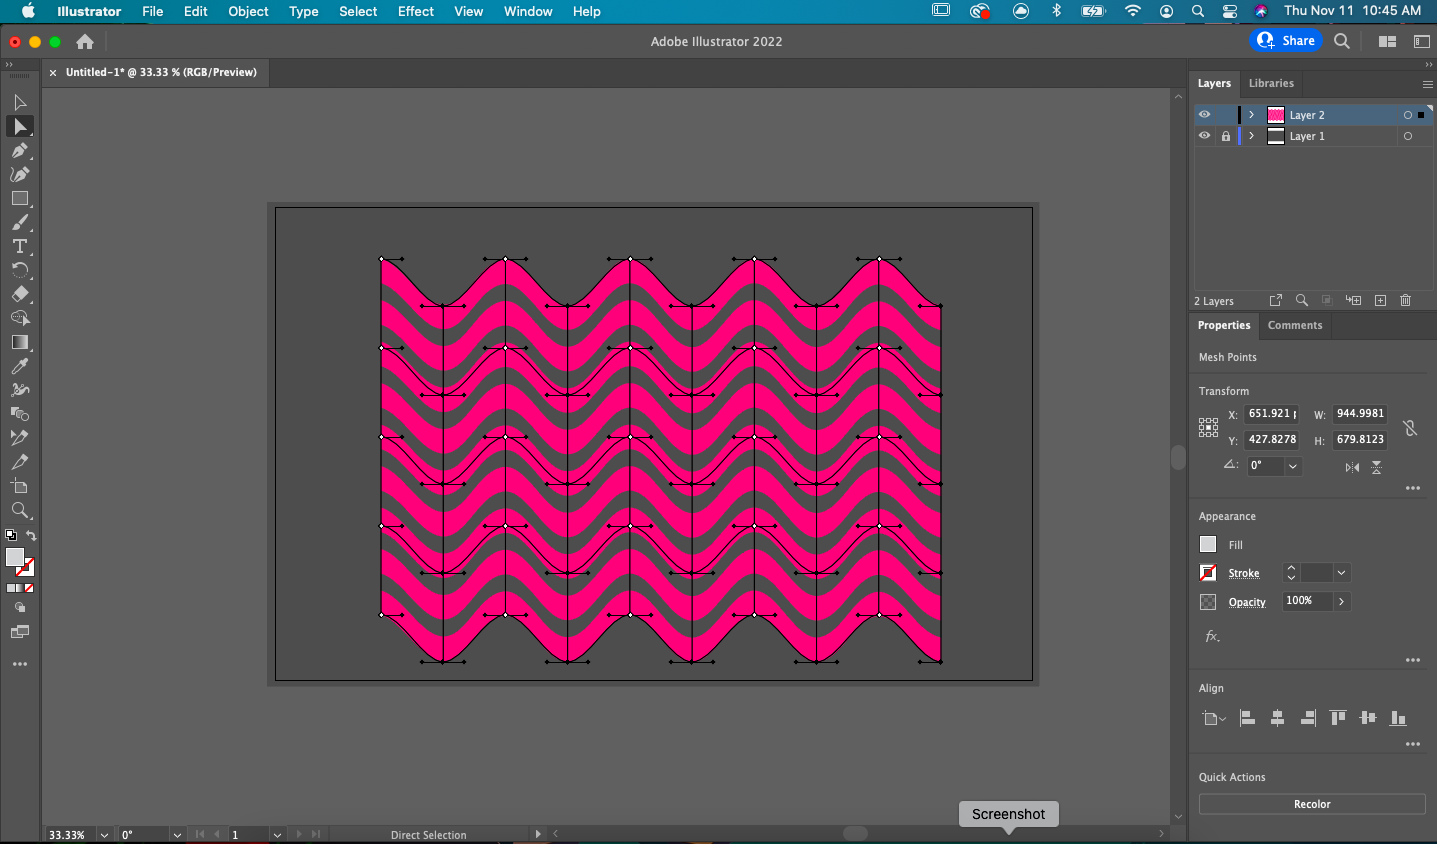
You can also manipulate your rows if you so choose.
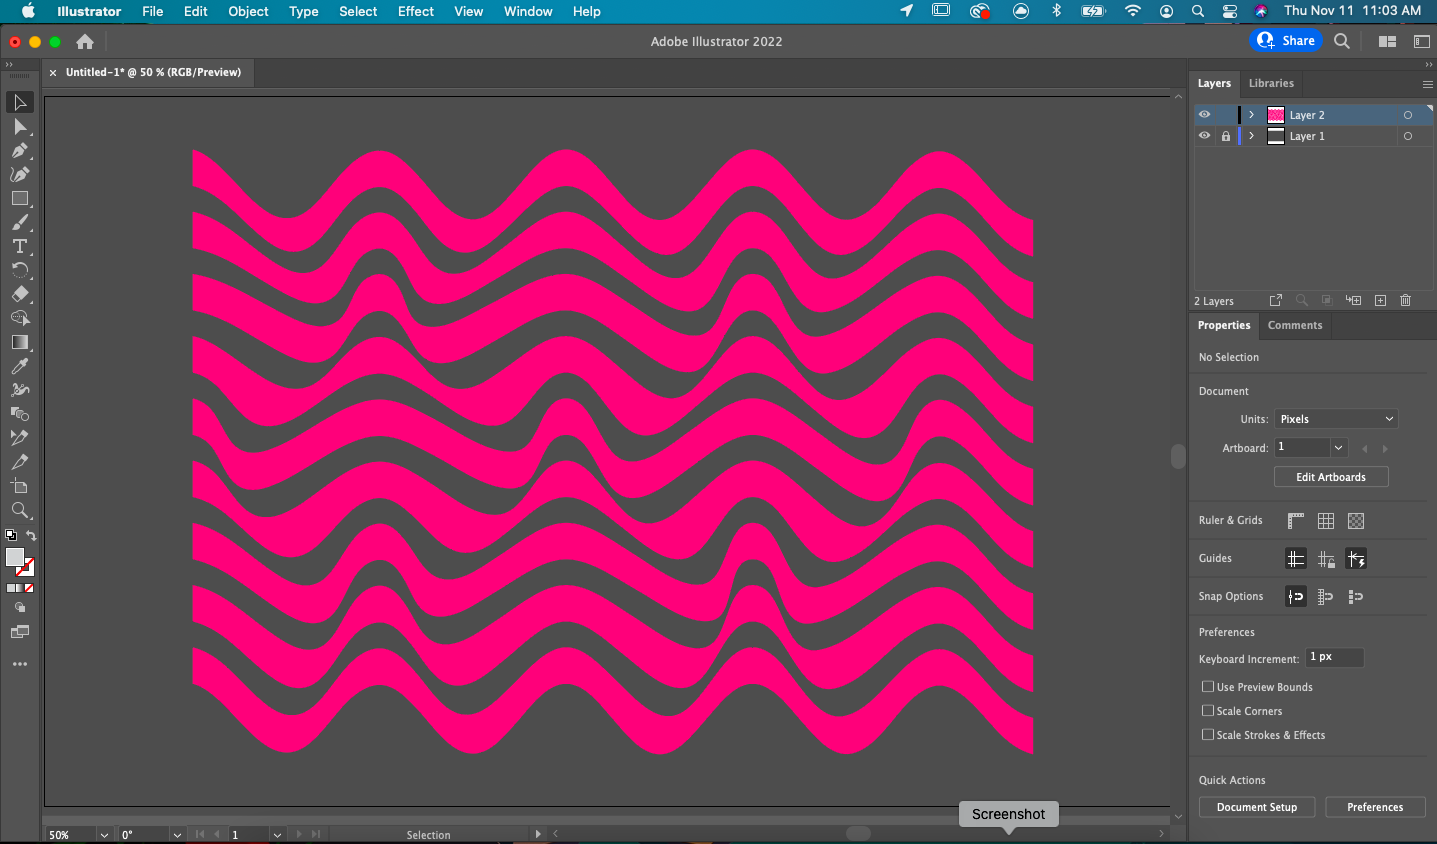
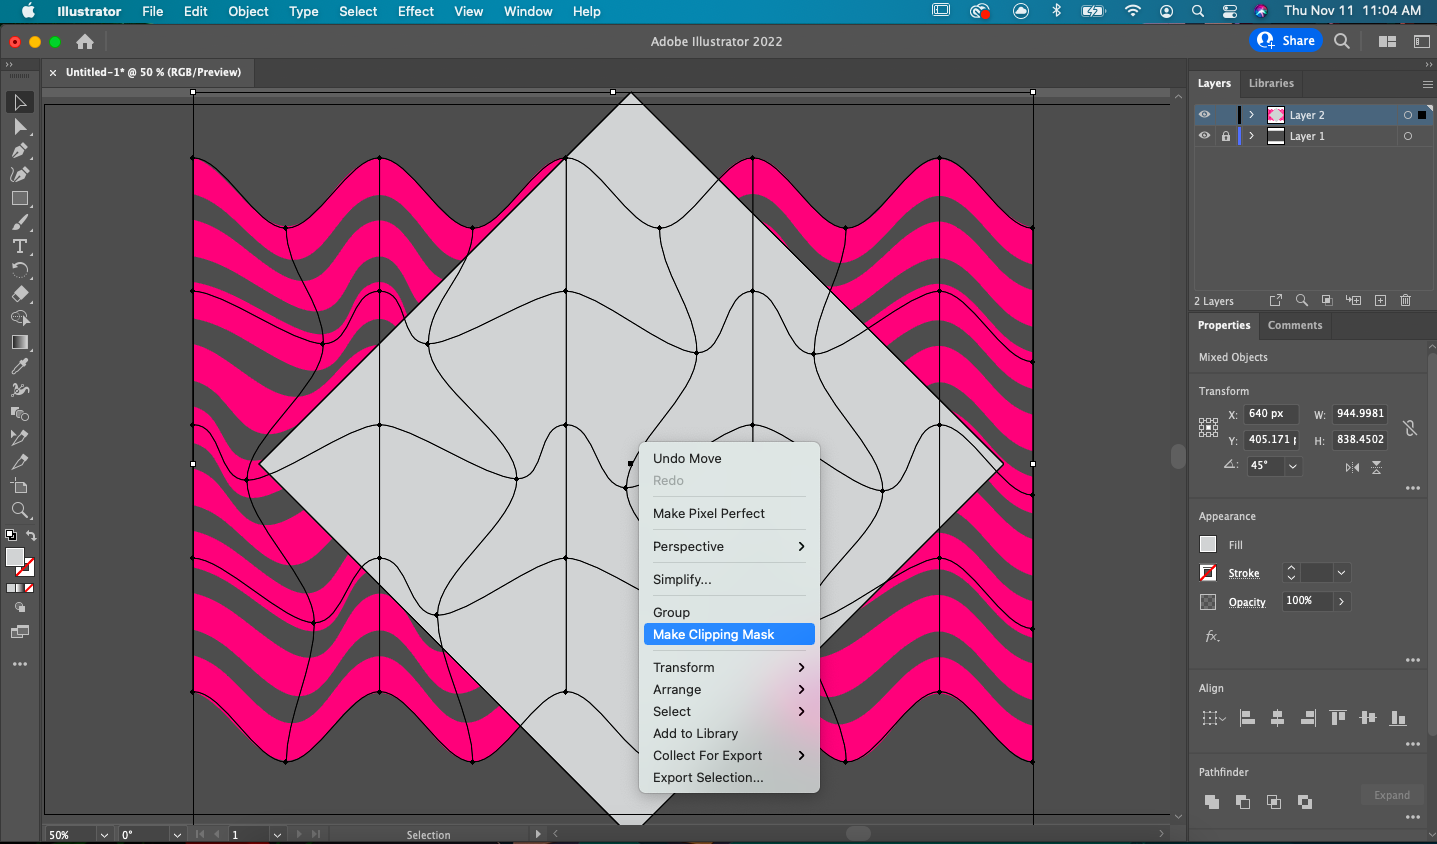
And we’re done! I like to use clipping masks when doing this, so here’s some extra steps to achieve that too.
Using the shape tool, create any shape over the lines.
Select all your lines and shapes, then right click and select “Clipping Mask.”

Want to learn more? Stay updated on the wild world of features for Illustrator and other adobe apps by checking out the Adobe CC YouTube Channel! Also check out illustration tips and advice on their website!
If you want to try some of the latest features in Illustrator, book a reservation for our Digital Media Labs today! Happy Making!
