

By Alyssa Dyar
It’s Spring! Flowers are blooming. Birds are singing. Bees are making honey. And we are making art! Acrylic Pressed Flower Frames are a fun, simple project to get you out in nature and then back into Ignite Studio.
Acrylic Pressed Flower Frame
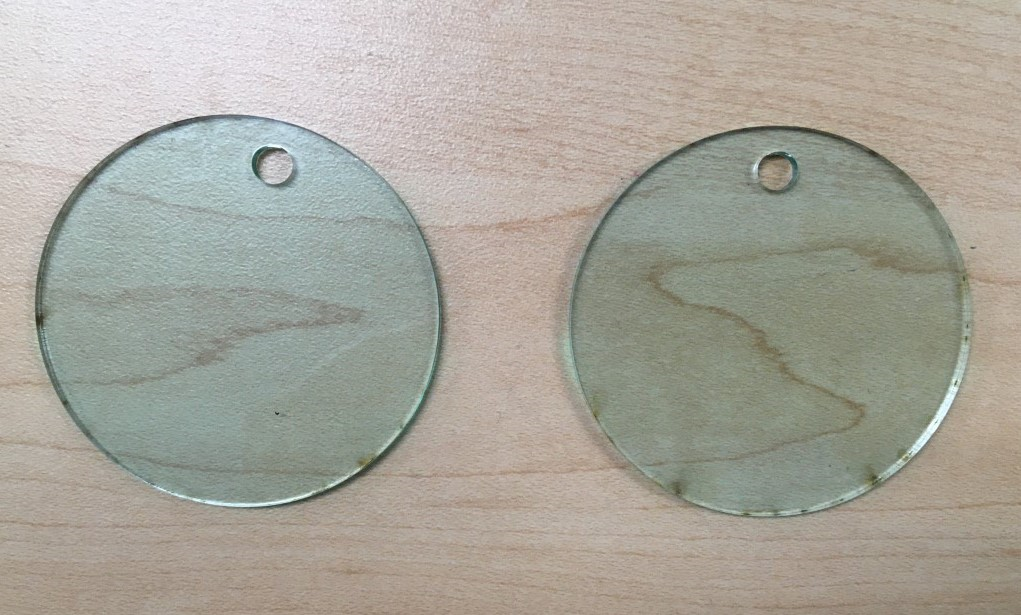
I chose the green glass acrylic for sale at Ignite Studio to press my flowers between. Cut your acrylic into a shape of your choosing using the laser engraver. The recommended settings for this material are a speed setting of 13 and power setting of 55.
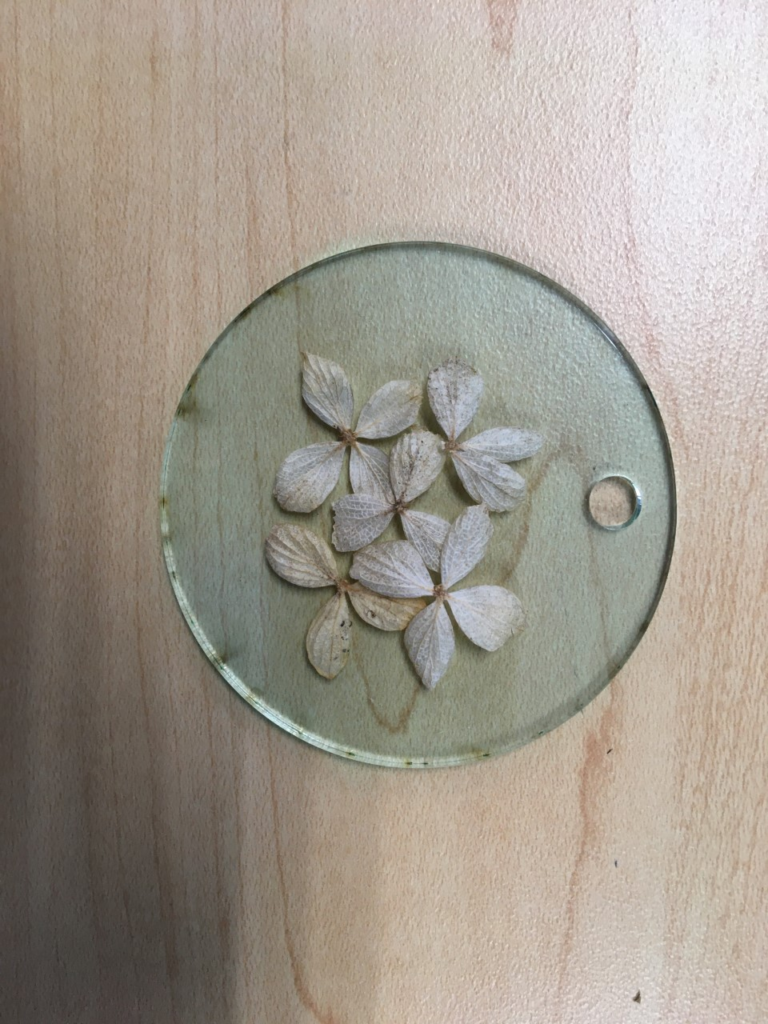
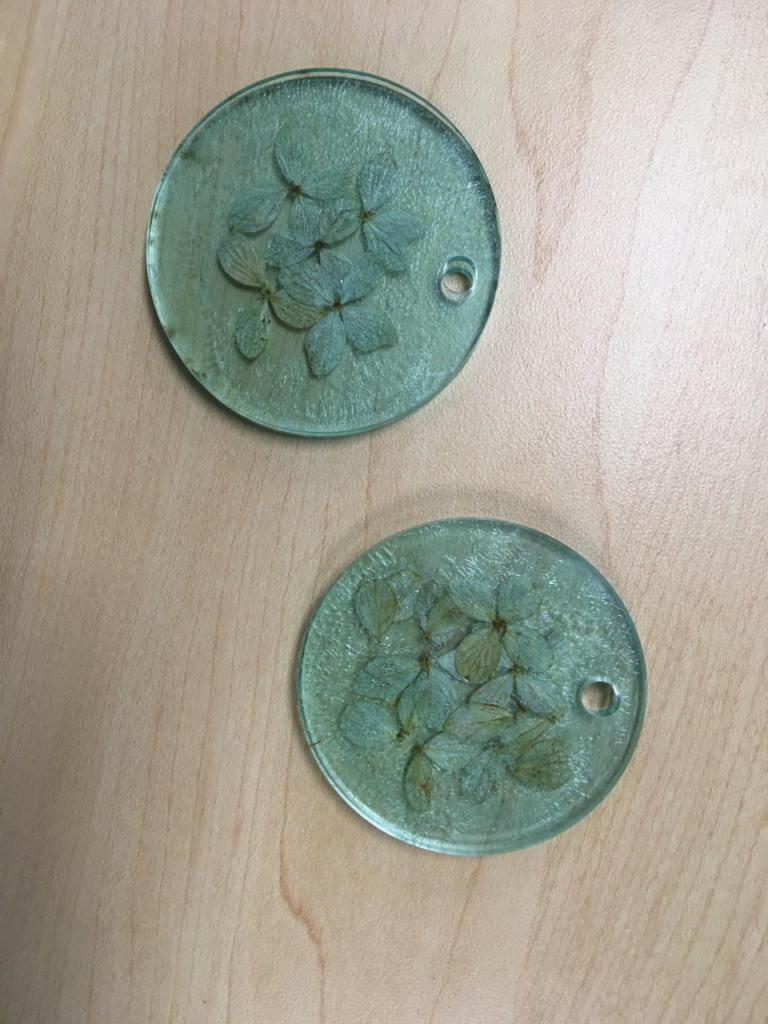
Go outside, and collect some wildflowers. If they are fresh, press and dry them between two heavy books for no less than two days. Arrange your dried flowers on top of one of the pieces of acrylic. These flowers are dried hydrangeas from last year.
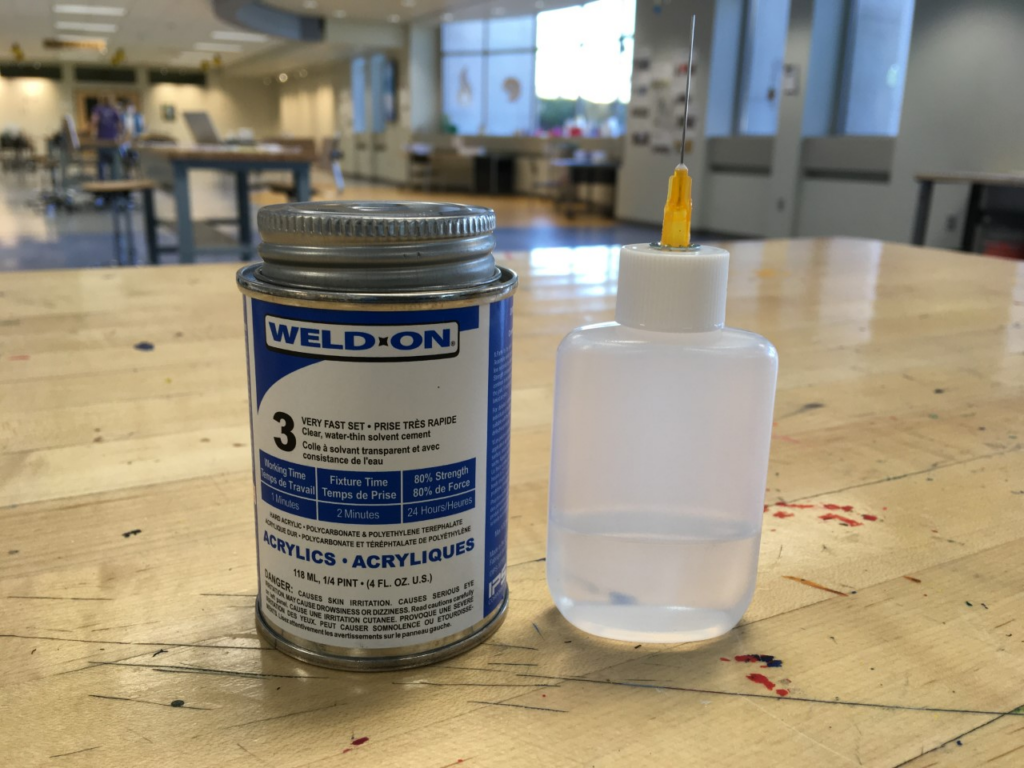
Connect the pieces of acrylic using Weld On 3, a solvent that permanently bonds acrylic together in a molecular fashion similar to welding metal. This was the first time I used this product, and it worked very well. We have some available in Ignite if you would like to try it out. just ask a staff member for help accessing it. Remember to wear gloves!
While researching this product, I read a small amount goes a long way. And I did not seem to follow that advice. I got a cracking effect from the solvent setting, which I ended up liking, so I did it to all three of my pressed flower frames.
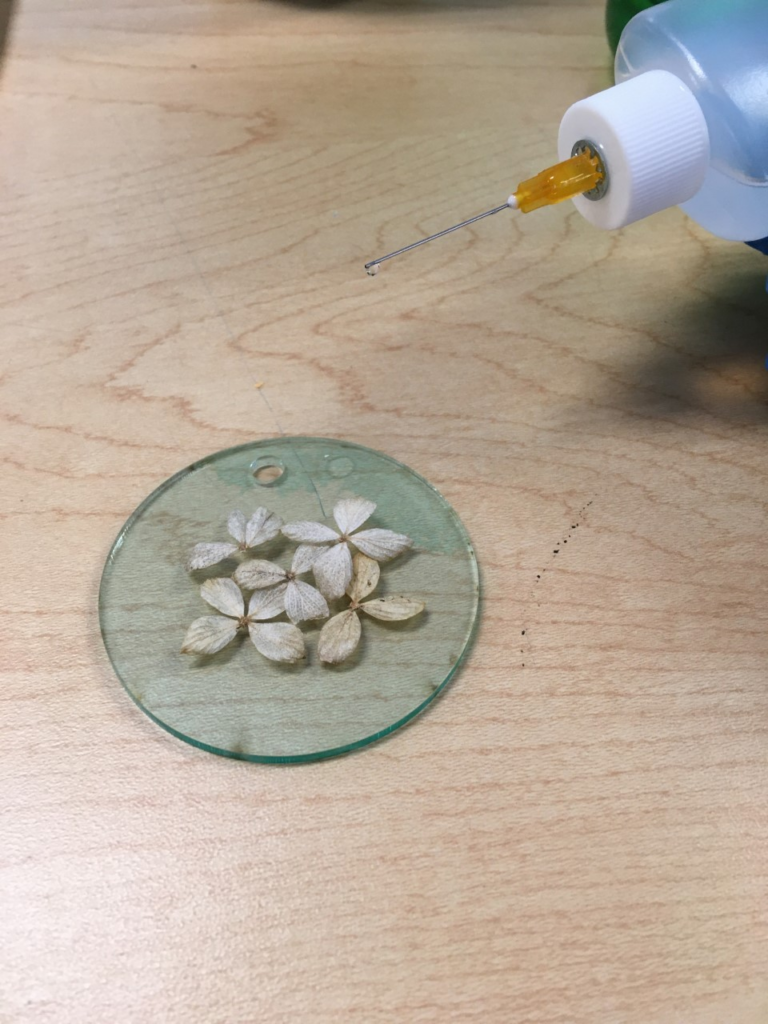
The effect reminded me of veins in flower petals. If you do not want cracks, flood the surface of the acrylic and the flowers, then press the two pieces of acrylic together. Use a paper towel to wipe away any excess.
Now I have an acrylic pressed flower frame to remind me that spring is always near all year round. Happy making!
